92
Practical Applications
Manual - Straight Stitch no. 1
Preparation
attach the Slide-on table ►
hoop the fabric into the darning hoop (optional acces- ►
sory). The darning area stays evenly taut and cannot be
distorted
Sewing
work from left to right without using pressure ►
when changing direction on top and on bottom, move in ►
curves (avoid points as this prevents holes and thread
breakage)
work in different lengths so that the thread is better
►
spread over the fabric
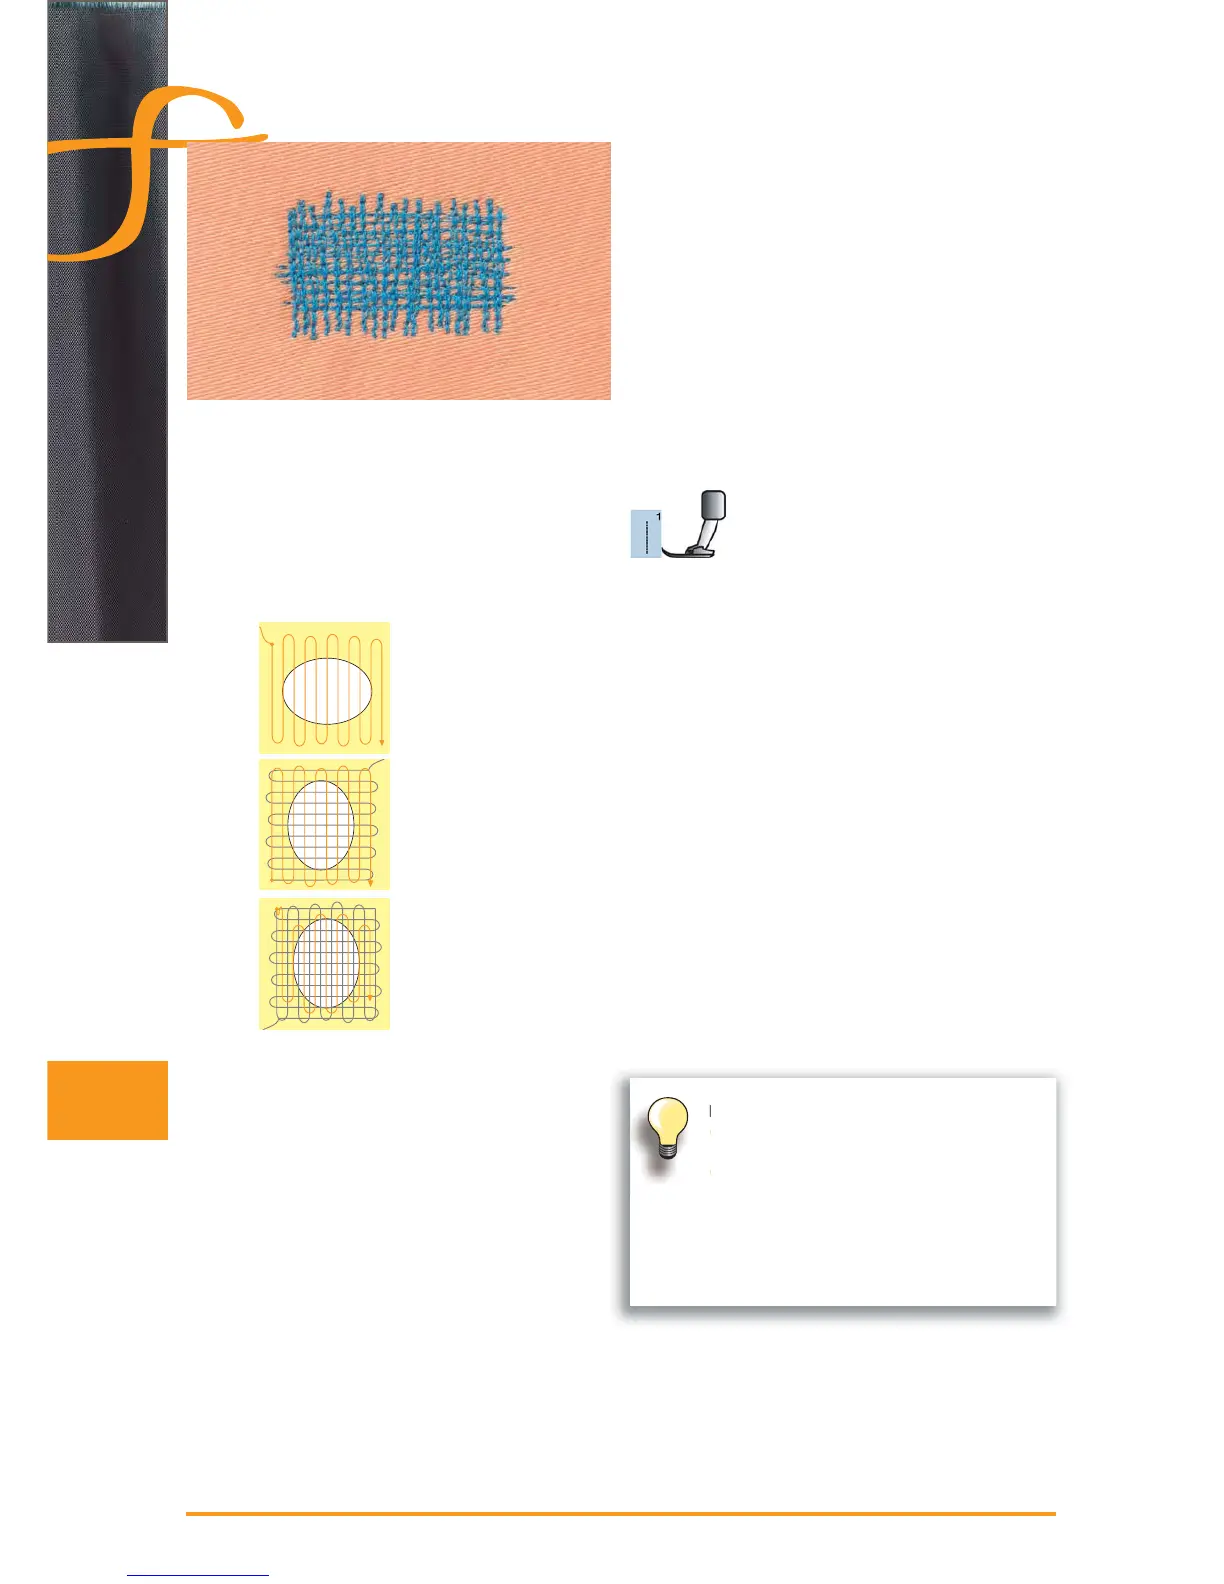
Stitch Over the Hole 1
sew the first rows to cover the hole (not too close, sewing beyond the worn area) ►
work the rows in irregular lengths ►
turn work by a quarter turn -90° ►
Cover the First Rows 2
sew over the first rows - not too close for a soft finish ►
turn work by a half turn - 180° ►
Complete Darning 3
sew loosely and in same direction as 2nd rows ►
Darning Holes or Worn Areas
Darning
1
3
2
Darning foot no. 9 ►
Poor stitch formation
if the thread is lying on the right side of the ►
fabric, the hoop is being moved too quickly
if there are knots on the wrong side of the ►
fabric, the hoop is being moved too slowly
Thread breaks
If thread breakage is a problem, it could be
that the hoop is not being moved smoothly.

 Loading...