24.14
Assembly notice for lubricated version:
•
While installation is basically a reversal of the re-
moval process, careful attention should be di-
rected toward the following:
•
Apply approximately 20 g (0.7 oz) of grease to
the tracks on the inside plate and install rollers
•
Lightly grease O-ring and install
•
Install spring clamp, sliders on transfer element
and grease the recesses in the sliders
•
PInsert transfer element
•
Check transfer element to ensure that it slids
without stiction
•
Secure variator cover
Fluids and lubricants:
Shell Retinax HDX2 ...... approximately 20 g (0.7 oz)
X
Torque specification:
Variator cover mount ...................................... 4 Nm
Dismantling, testing and assembling
drive variator
Checking individual components of
driven variator
For the sake of clarity, these illustrations show the
vehicle with the powertrain cradle removed
L
Note:
Dismantling is necessary only in the event of a mal-
function!
– Checking clutch (
a
21.5)
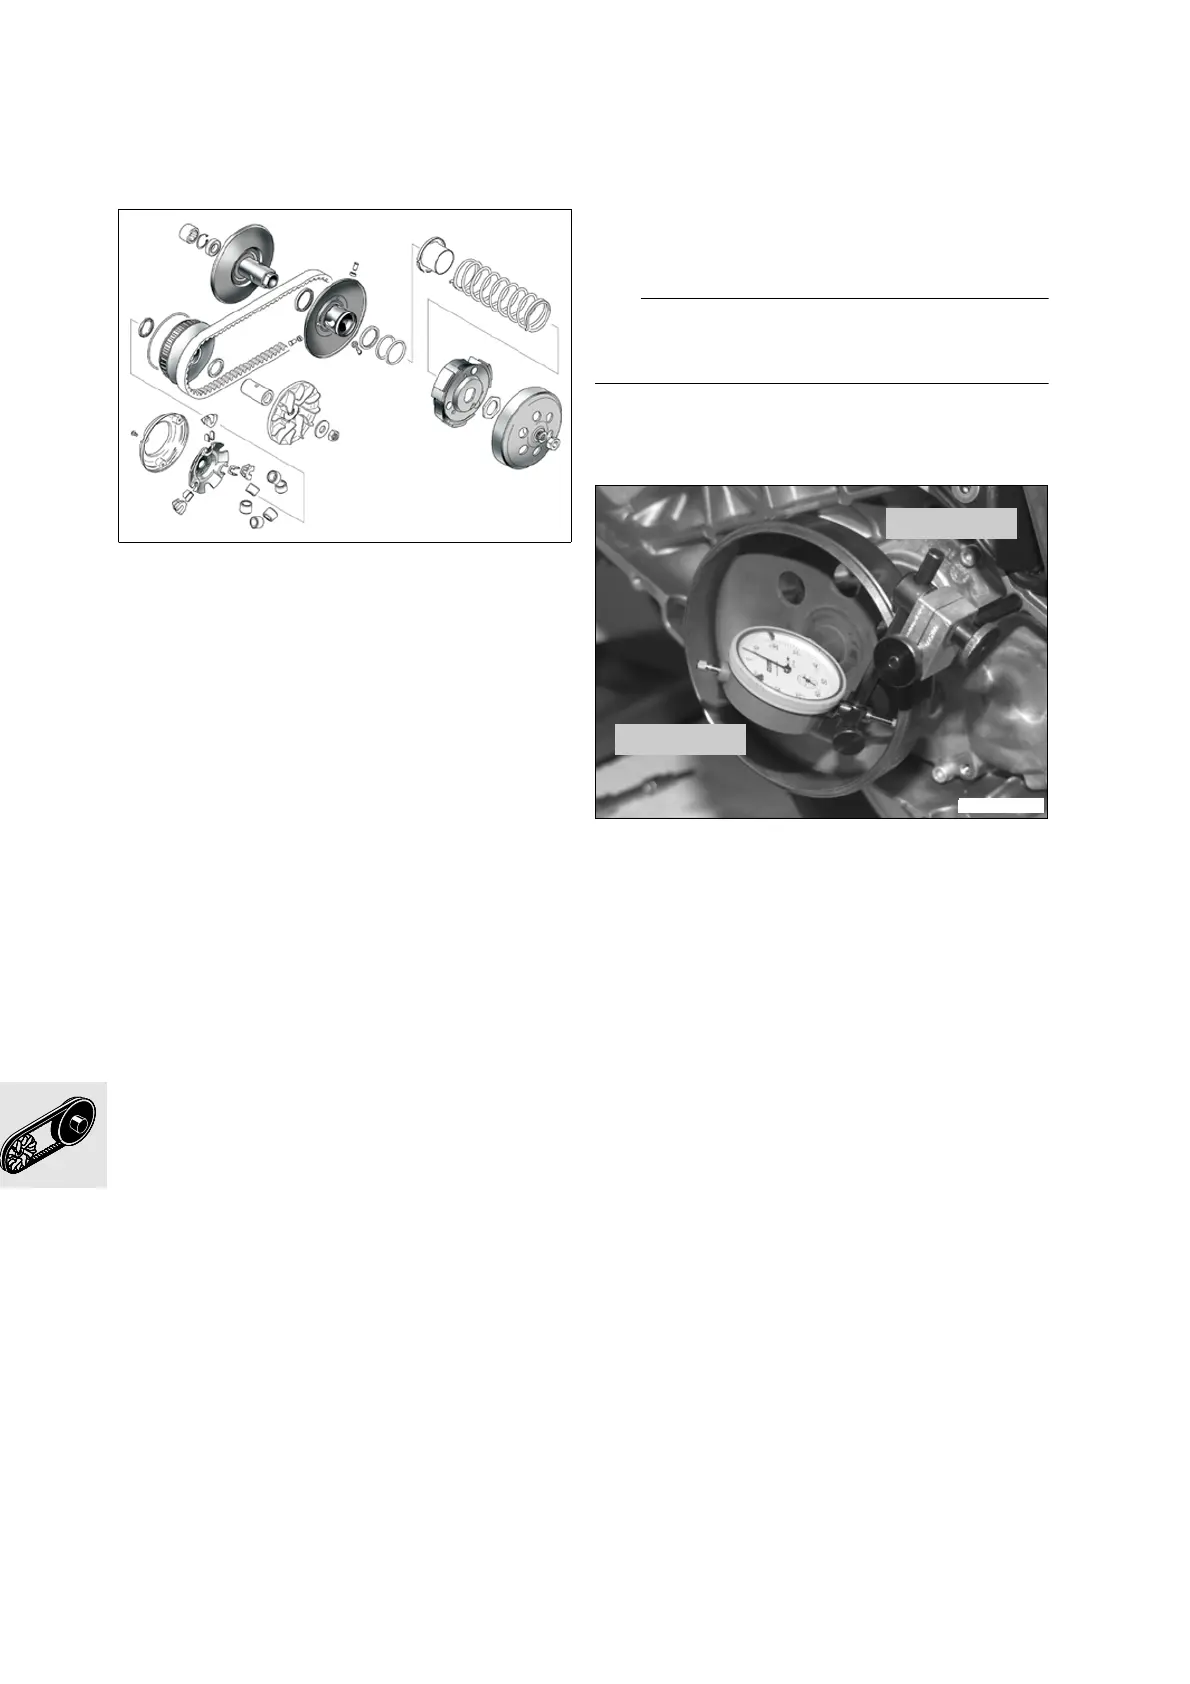
Check variator shaft
•
Check runout on variator shaft with dial gauge
and holder,
BMW No. 00 2 500
Wear data:
Runout .............................. max. 0.3 mm (0.0118 in)
C1111300
00 2 510
C1110530
00 2 500

 Loading...