860-00186-00 Rev J
Digital Ally Inc.| Support & Troubleshooting
Wireless Method
1. Your DVM must be configured for wireless file transfer operation and already be successfully
uploading videos to the VuVault back office. Consult the VuVault Wireless Server Setup Guide
for more information.
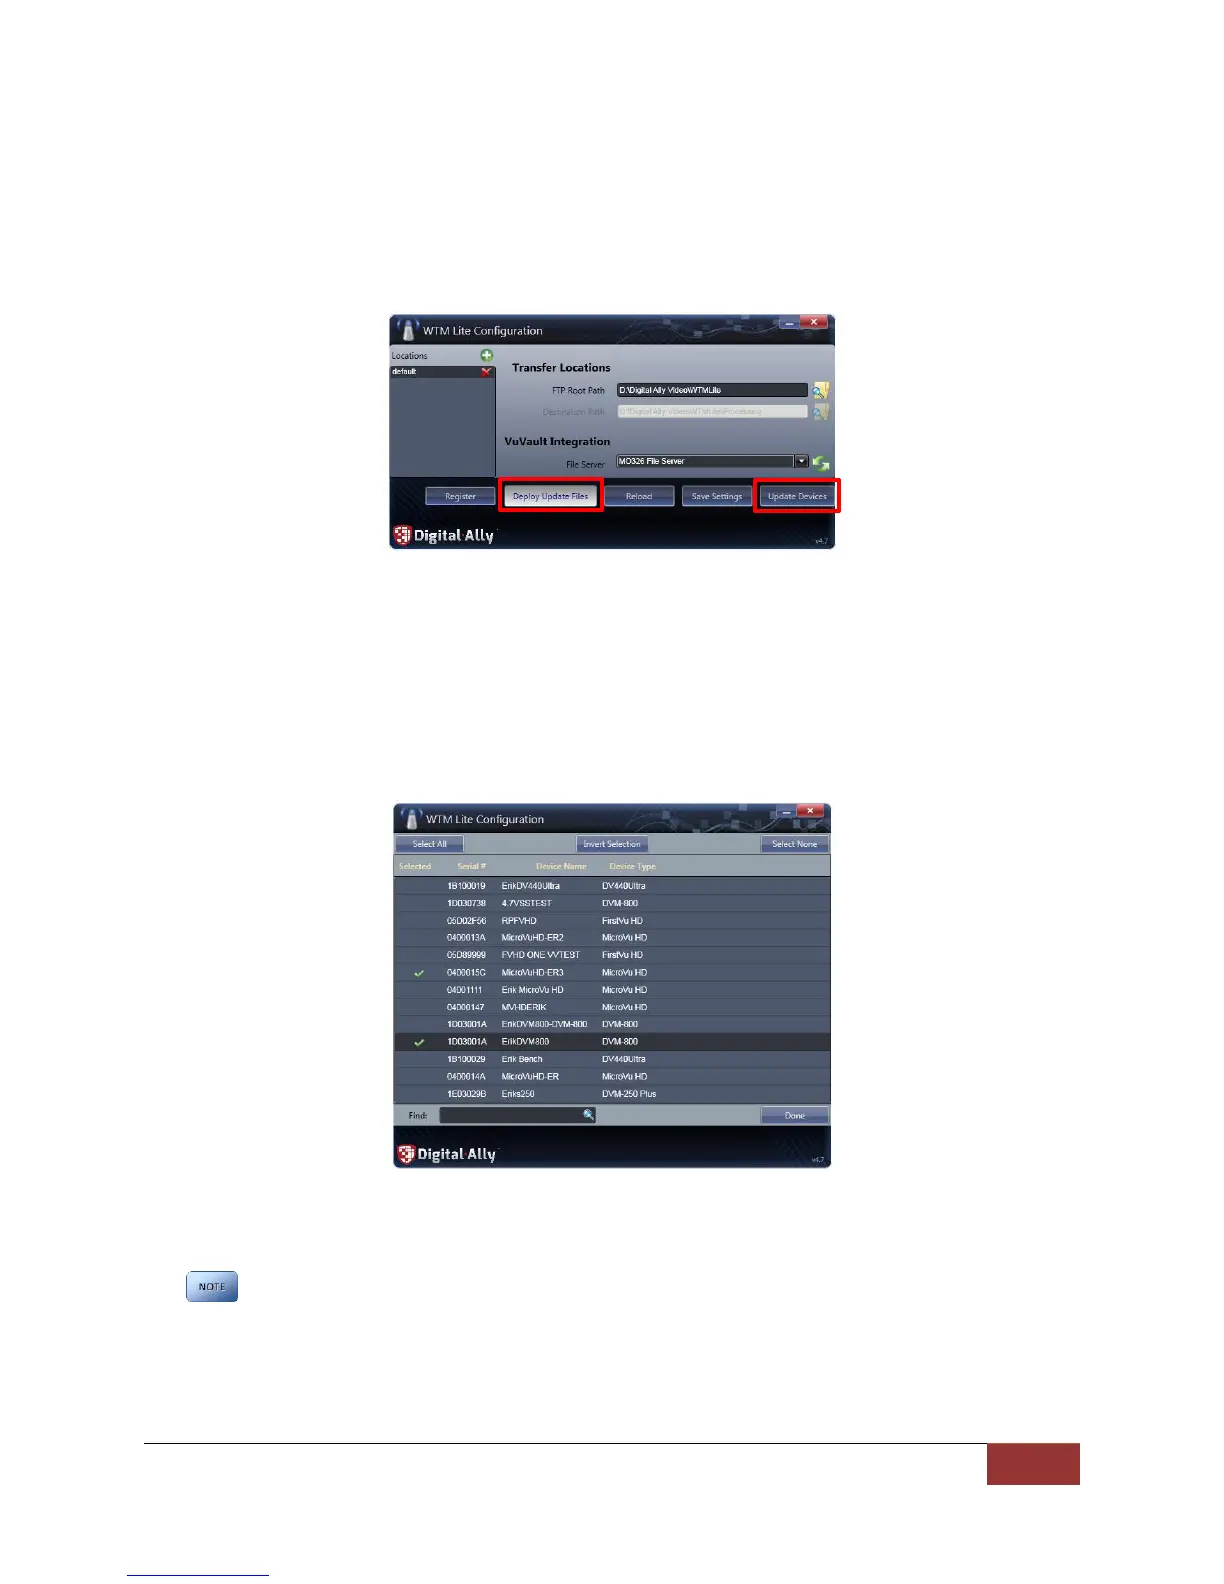
2. Open the WTMLite Configuration software (Start menu>Programs>Digital Ally>WTM Lite).
3. Click Update Devices.
4. Select the Deploy Update Files button.
5. Using the navigation window, point to the location where the “firmware.l” file is located. Select
Open.
6. Place a green checkmark next to the vehicle(s) you wish to update. By default, all vehicles are
selected. When finished, press Done.
7. The firmware file will be wirelessly transferred to the DVM the next time it connects to the
wireless access point. The DVM will first upload any video, then transfer the update files
automatically, and then reboot itself.
If the Recording Mode of the DVM is set to ECA (Evidence Capture Assurance), the DVM will
not make any attempts to wirelessly connect to the FTP server unless there is at least one
Event Recording present on the DVM to be uploaded. In this case, you may make a quick
recording on the DVM to enable WiFi to connect. This will allow a new configuration or
firmware file to transfer from the server to the DVM.
 Loading...