860-00186-00 Rev J
Digital Ally Inc.| Device Configuration
Section - 3: Device Configuration
The DVM-800 is shipped with a default configuration so it can be used immediately after installation.
However, many parameters can be configured and saved as an activation file. The activation file is saved
to a local hard drive or external SD card. The DVM-800 is activated and configured using Digital Ally’s
VuVault™ back-office software. Use the VuVault Installation Guide to install the VuVault software. Once
installed, follow the instructions in this section to configure and activate your DVM.
ONCE THE DESIRED SETTINGS HAVE BEEN ENTERED, CLICK AND PROCEED TO SECTION 3.11
TO ACTIVATE YOUR SD CARD.
3.1 Default Configuration
If the unit has never been activated, it will use the following default settings preset from the
factory.
User Name/Password login entry
English language
Central Standard Time
Date format: mm/dd/yy
Time format: 12 hour time
Daylight saving time (DST) enabled
STANDBY mode, 30 second pre-event recording turned on.
External triggers: emergency lights and wireless microphone
Audio is off for pre-event, audio is on during event
60 second entry timeout
Recording resolution is D1 (720x480) @ 30 frames per second
Single Channel Recording
Record Mode is ECA (Evidence Capture Assurance)
All profiling screens disabled
Accelerometer disabled
30 minute ignition timer
Record external front road facing camera and internal passenger facing camera at 30fps
resolution
3.2 Using VuVault to Configure your DVM-800
VuVault is used to manage DVM-800 settings as well as activate a
DVM device or an external memory card for use in a DVM-800.
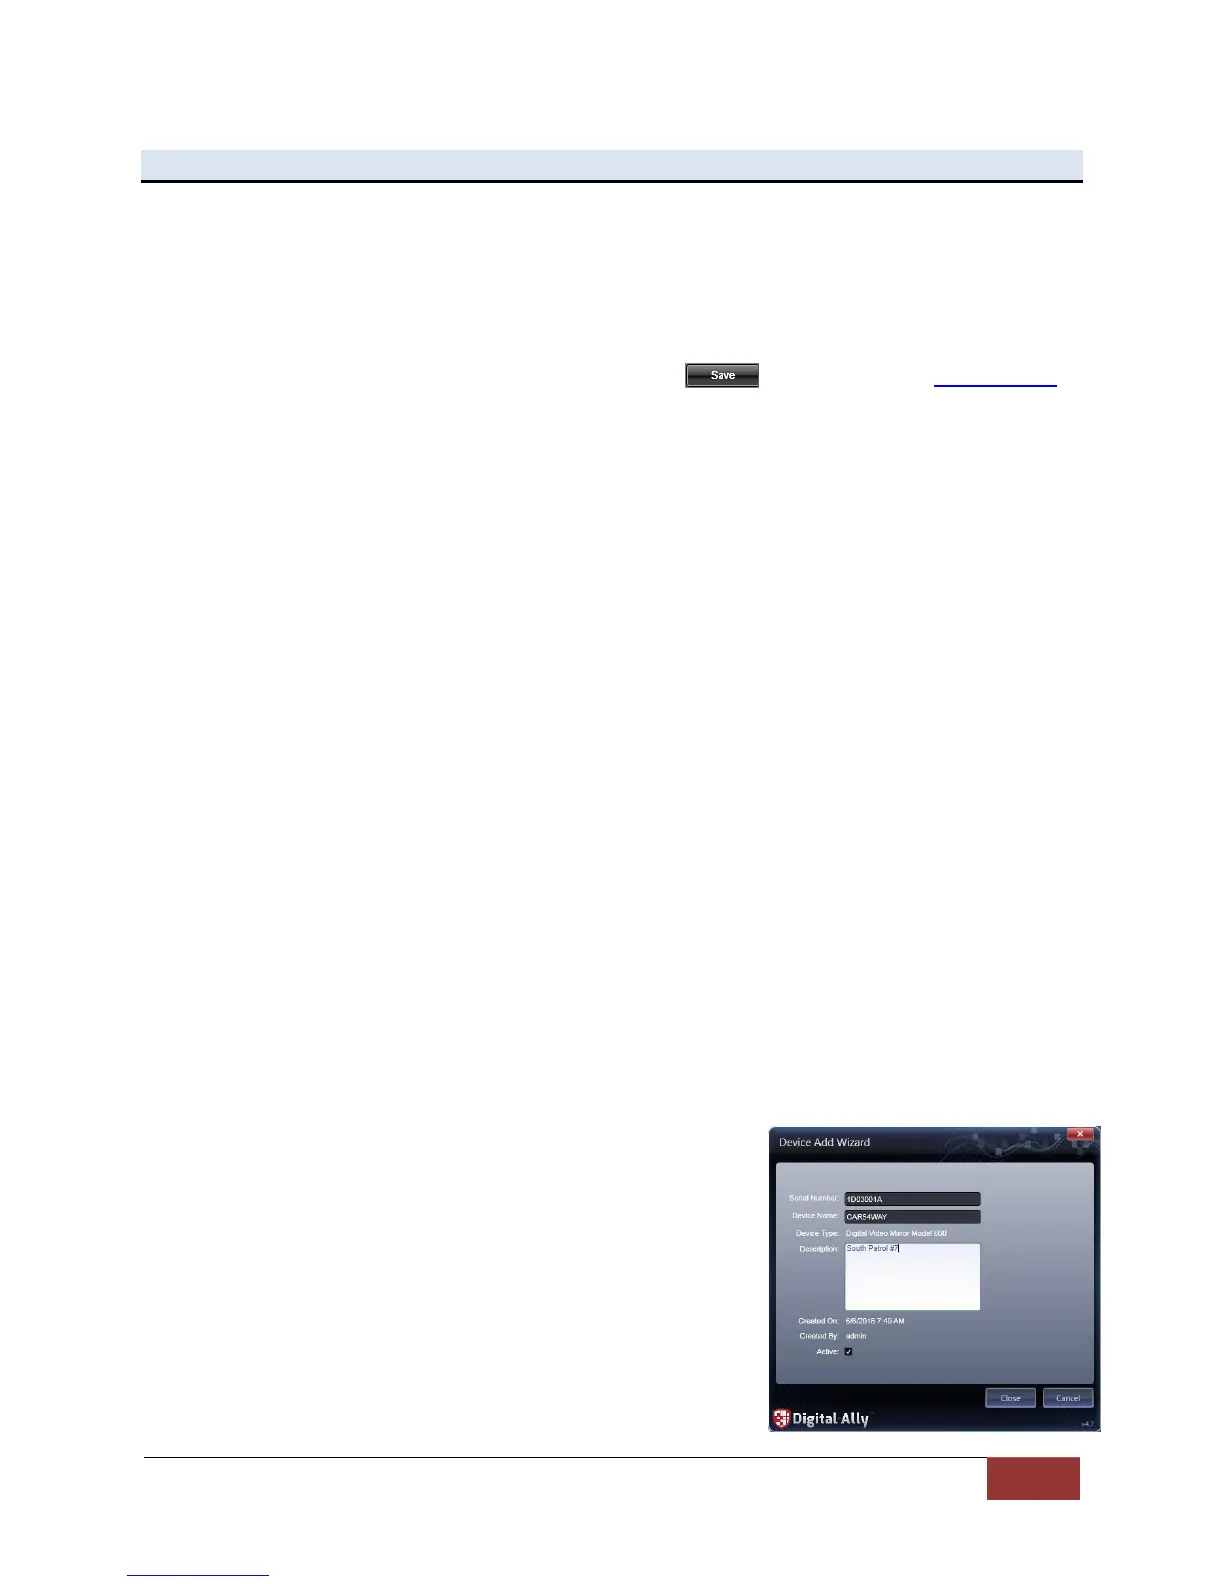
Before you can configure your device for use within VuVault, the
DVM serial number must be added into the system. Add your
device into VuVault by selecting Admin > Devices > Advanced >
Add Device. Type in your device serial number and assign it a name
within the system (the serial number is located on the back of the
DVM). When done, press Save (for more information consult the
VuVault Administrator Guide “Adding Devices” section).
 Loading...