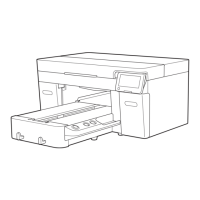
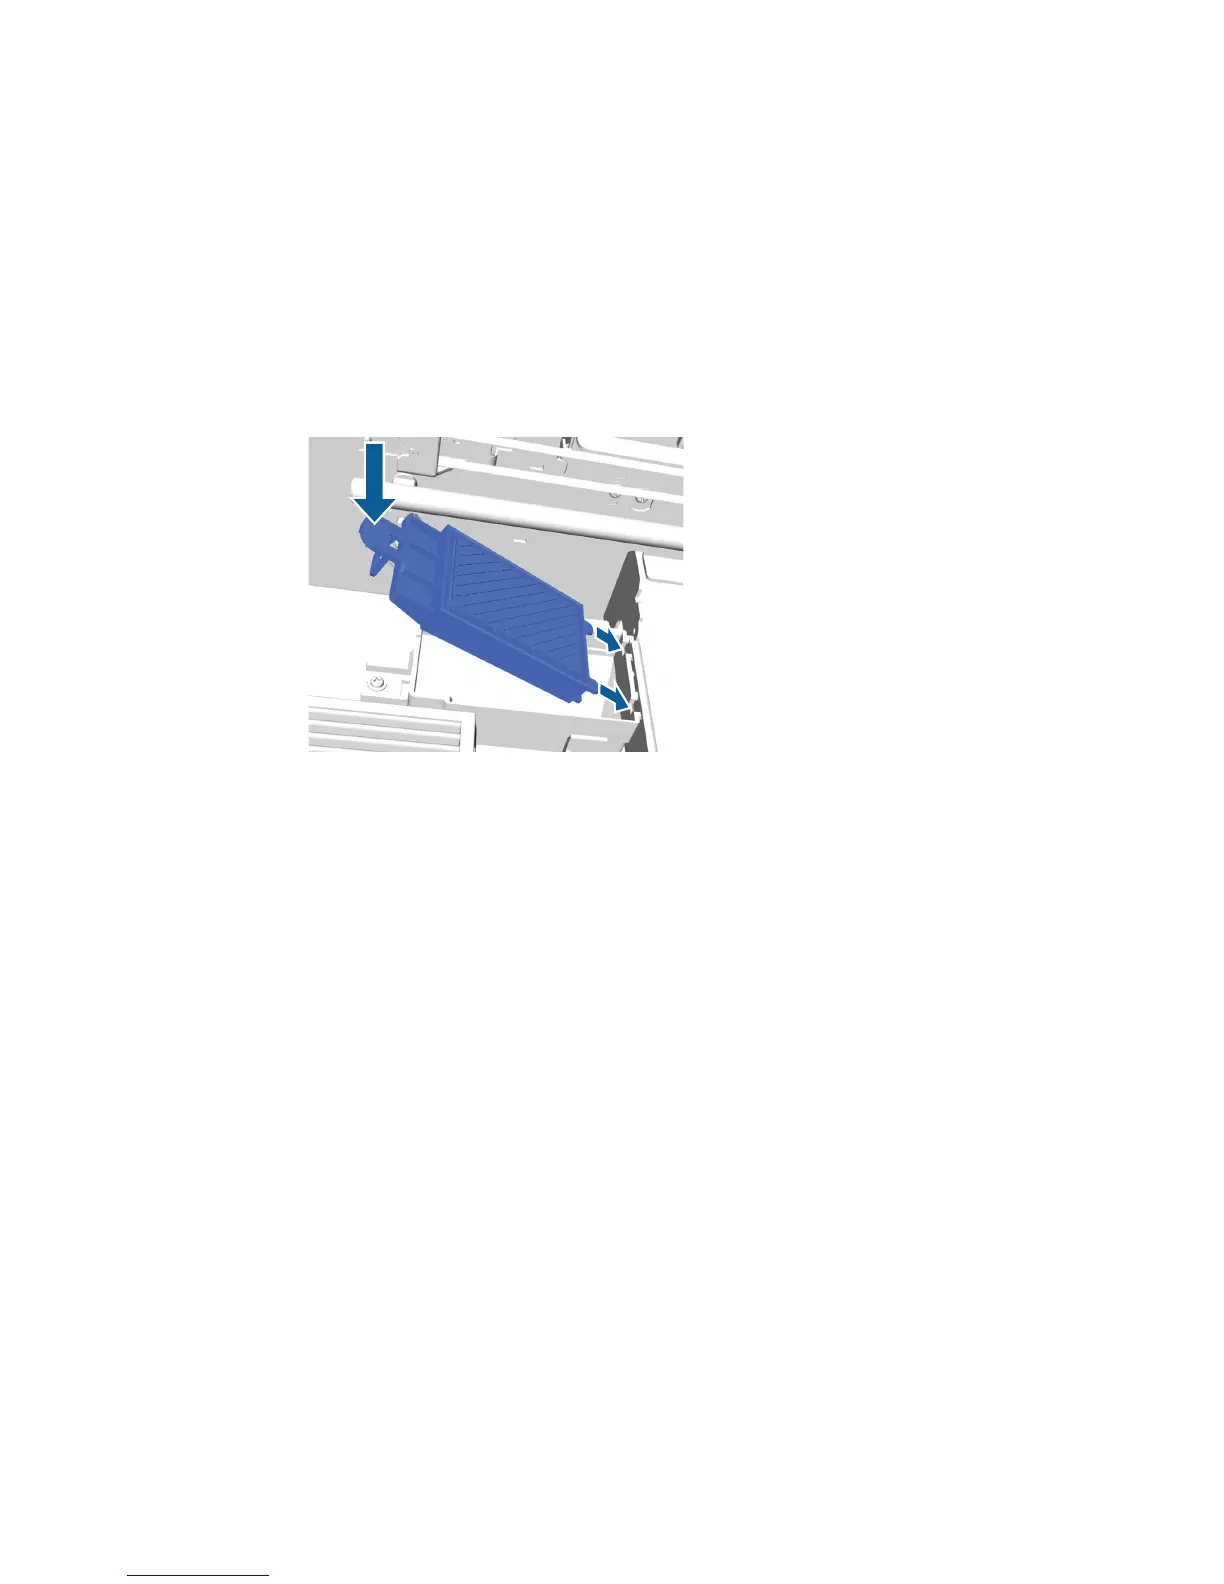
6. Insert the new flushing pad into the printer as shown. Press down until you hear it click into place.
Caution: Make sure you insert the new flushing pad correctly, or the print head could be damaged.
7. Close the printer cover.
8. Press the OK button.
When the print head returns to its normal position, the Settings menu closes.
Parent topic: Replacing the Head Cleaning Set
Related tasks
Replacing the Wiper Unit and Anti-drying Caps
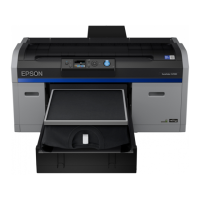
Washing the White Ink Tubes (White Edition)
The printer's White ink tubes can build up sediment, causing the whiteness to decline or become uneven
if you continue printing with white ink. For best results, wash the white ink tube periodically. A message
appears on the control panel when the White ink tube needs washing.
Note: Make sure to clean the suction cap before performing the tube washing process. You do not need
to perform tube washing for color ink. However, tube washing can help to clear clogged nozzles if they
96
 Loading...