1.
2.
3.
THREE FOCIMETER DOTS MICRO-ENGRAVINGS
To block the lens, refer to the section .Centering a lens > Blocking a lens (p.57)
4. Centering a progressive lens
Prerequisite: before carrying out lens centering, a shape must be displayed on the centering screen.
If necessary, we recommend that you first:
modify or retouch the traced shape (p.63)
prepare the drilling points (p.71) to be created (option)
place the stickers recommended by the manufacturer on hydrophobic lenses. (p.57)
Concerning the use of the stickers, be careful to change the centering tube with a larger diameter one to optimise the
effectiveness of the sticker.
This section describes the procedures for the centering of a progressive lens:
using re-marked micro-engravings mode (p.47)
using manufacturer markings mode (p.48)
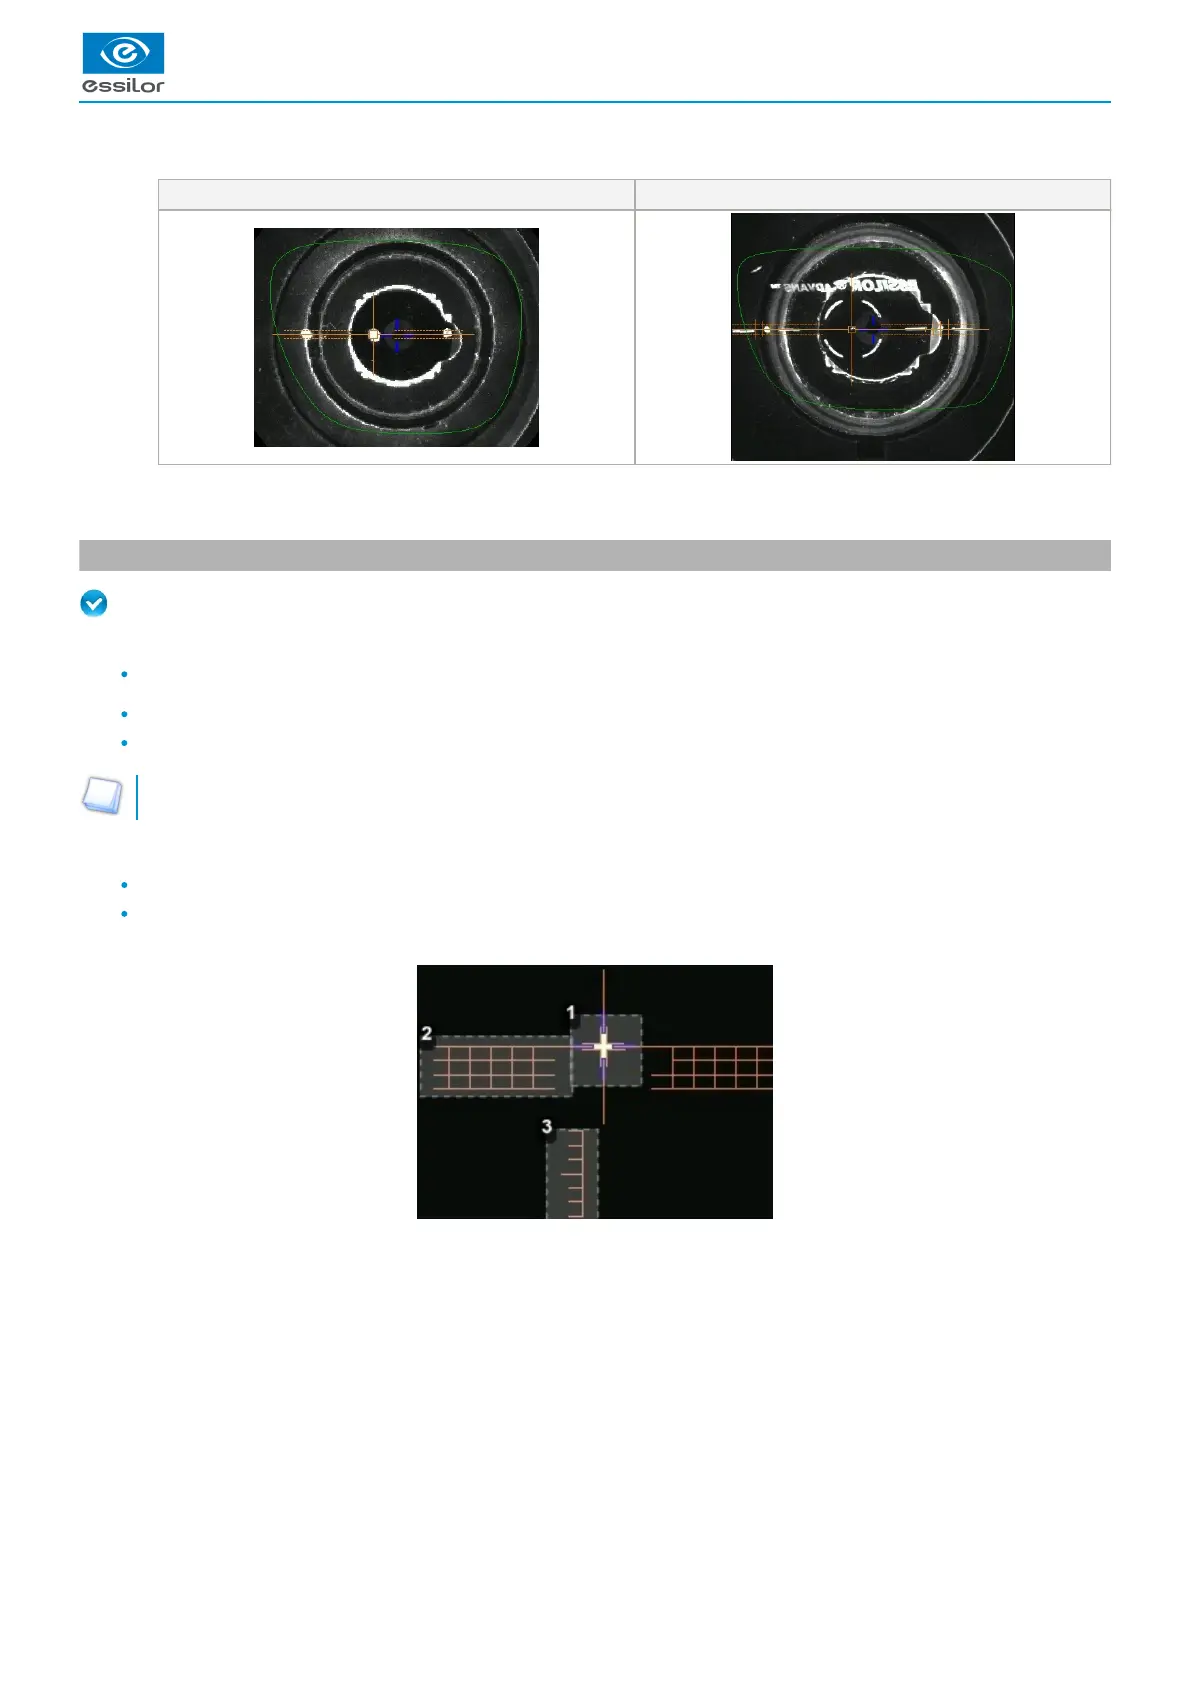
Description of the centering target
Centering cross (orange cross) and boxing center of the shape (blue cross)
Centering graduated marks
The horizontal lines are 2mm apart so you can measure the PRP distance.
Near vision mark
The lens is centered and ready to be blocked.
>
 Loading...

