L0...L1...L2
6 5 s
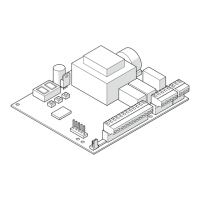
SW1
SETUP/RESET
L0
Translation of the original instructions
EN GL IS H
7. START-UP
RISKS PERSONAL PROTECTIVE EQUIPMENT
START-UP PROCEDURE
CARRY OUT THE FOLLOWING PRELIMINARY CHECKS. Disconnect the mains
power supply and disconnect the emergency battery (if present)
and the motor(s). Move the leaves manually to make sure that they
move smoothly and without friction. When finished, reconnect the
motor(s).
!
Make sure that the ENCODER connector has been inserted correctly.
Then, carry out the operations described in the following sections
in order.
1. Turn power on to the board.
2. Set the model of the automation and the DEFAULT.
3. Perform the SETUP.
4. Program the board for the required functions.
5. Make sure that the automation works correctly in the required
operating modes, with all the devices installed (control devices,
safety detectors, function selectors and devices connected to the
inputs and outputs).
- For doors in Low Energy mode, make sure that the forces gener-
ated by the leaf are within the limits permitted by legislation. Use
an impact force tester in accordance with standard EN 16005:2012.
For non-EU countries, if there are no specific local regulations, the
static force must be less than 67 N.
- For doors that are not in Low Energy mode, make sure that the
test object is detected in all areas affected by the door movement.
6. Once the start-up has been completed, we recommend that you
save the complete configuration for the automation by using the
DOWNLOAD option (§ Menu Upload/Download).
■ INTERCOM (if provided)
Complete the start-up procedure for each automation before setting
up an INTERCOM network. Only afterwards connect the boards to
the network, carry out the programming and enable INTERCOM (§
specific section).
7.1 TURN POWER ON TO THE BOARD
1. Turn the mains power back on.
2. Connect the emergency battery (if present).
When first switched on, the following appear on the display of the
main board and the SDK EVO (if used):
Board display SDK EVO display
bo
(Bootloader phase)
Bootloader 0.3 (example)
(SDK EVO Bootloader version)
4.5 (example)
(E1SL FW version)
4.2 version (example)
(SDK EVO FW version)
LO flashing light
(the board requires SETUP)
ERROR 39 flashing
(the board requires SETUP)
3. Check the input status LEDs on the board and for the presence of
ERRORS (§ Diagnostics Section).
7.2 SET THE MODEL OF THE AUTOMATION
AND THE DEFAULT
- from board Basic programming: CF Set the model of the automation
dF Set the DEFAULT
- from SDK EVO: /PROGRAMMING/DOOR TYPE…
For FHE SLIDING select the model RKE 1400
For SF1400 requires you to set the Leaf number and passage opening:
- from board Basic programming:
CF=4 Ln=1 o 2 e Lt=1 o 2 o 3
- from SDK EVO: /PROGRAMMING/DOOR TYPESF1400
…1LEAF or 2LEAVES
…SELECT PASSING SPACE
To load the DEFAULT:
/PROGRAMMING/MISCELLANEOUS/DEFAULT CONFIG
DO YOU WANT TO LOAD DEFAULT CONFIG 1? Press OK to confirm, or change option (
). DO YOU WANT TO LOAD DEFAULT CONFIG 2?
DOUBLE MOTOR for automations with a double motor, enable the Double Motor Kit:
- from board Advanced Programming:
dM=Y
- from SDK EVO: /PROGRAMMING/INSTALLATION/2ND ENGINE KIT Enabled
7.3 PERFORM THE SETUP
The SETUP procedure consists of a series of movements during which
the board acquires the travel of the leaves and other mechanical
parameters.
THE SYSTEM NEEDS TO BE SETUP
- when
L0 flashes on the display (e.g. when the automation is first
put into operation, or after the board has been replaced, or after
factory settings have been restored)
- if the number of leaves is changed
- when you wish to modify the length of travel of the leaves, or the
automation model, or the direction of rotation of the motor, or for
enabling/disabling the DM KIT
- when the number of leaves or the passage opening has been
modified on SF1400
!
The inputs configured as safeties are ignored during SETUP. To prevent
any hindrance to motion or injury to people, keep at a distance and
prevent anyone from going near the system.
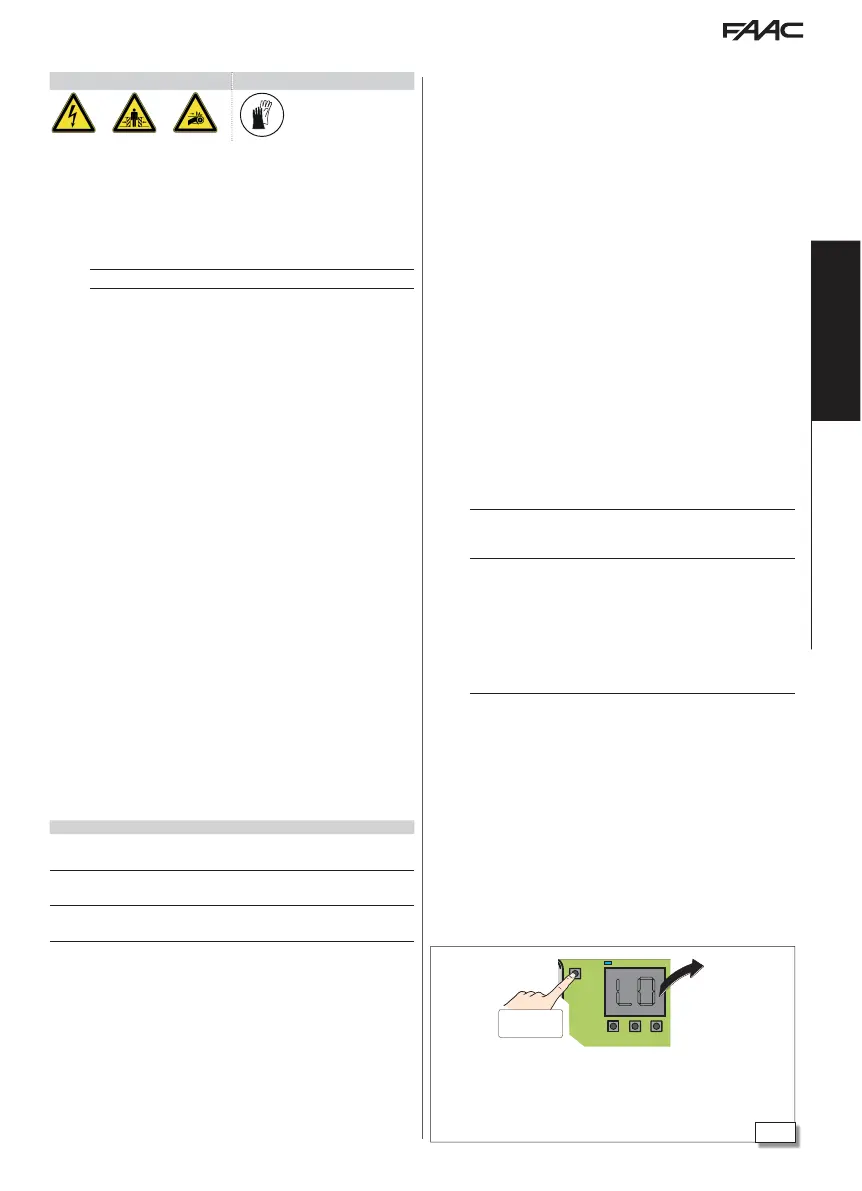
1. Run the SETUP (the position of the door is irrelevant):
- from board: press the button SW1 for approximately 5 s, release when move-
ment starts
- from SDK EVO: /PROGRAMMING/INSTALLATION/START SETUP OK
2. The SETUP is carried out automatically. Make sure that the move-
ment being carried out corresponds with the SETUP phase on
the display.
!
MOTOR ROTATION If the movement does not correspond with the phase
shown on the display, when the SETUP has been completed, invert the
direction of rotation of the motor and then repeat the SETUP.
- from board Basic programming:
rM
- from SDK EVO: /PROGRAMMING/INSTALLATION/MOTOR ROTA-
TION select STANDARD or NOT STANDARD
3. SETUP ends with OPENING, then the automation is ready to use.
If the SETUP procedure fails,
L0 flashes on the display. Resolve
any ERRORS there may be (see Section § Diagnostics), then run a
new SETUP.
The following are reasons for the SETUP procedure NOT being carried out or being
interrupted: NIGHT or MANUAL mode, operating on battery due to
lack of mains power, emergency Inputs active.
SETUP from board
SETUP phases on the display
LO flashing = the board requires you run the SETUP
L1 flashing = closing in SETUP
L2 flashing = opening in SETUP
02 or 03 automation ready for operation
 Loading...