00
F
Translation of the original instructions
EN GL IS H
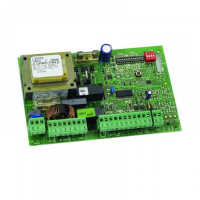
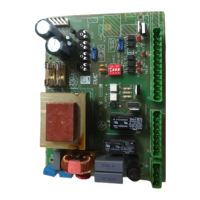
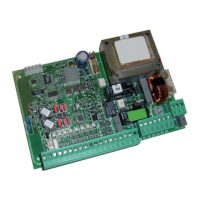
7.4 PROGRAMMING THE BOARD
Programming can be carried out from the BOARD, using the +,
-
, F but-
tons, from the SDK EVO or via Simply Connect. For programming via
Simply Connect see the specific manual.
- Programming from the SDK EVO/Simply Connect offers a wider number of options. If
values have been programmed that are not available on the board, the board display
indicates them all with the value
EP (External Program). Programming from the
board can anyway modify values indicated by
EP, but it is not able to restore them.
SDK EVO can disable programming from the board:
/PROGRAMMING/MISCELLANEUS/BOARD'S DISPLAY BLOCKED or NOT BLOCKED
PROGRAMMING FROM THE BOARD
The E1SL has two Programming Menus: Basic and Advanced (relative
Table).
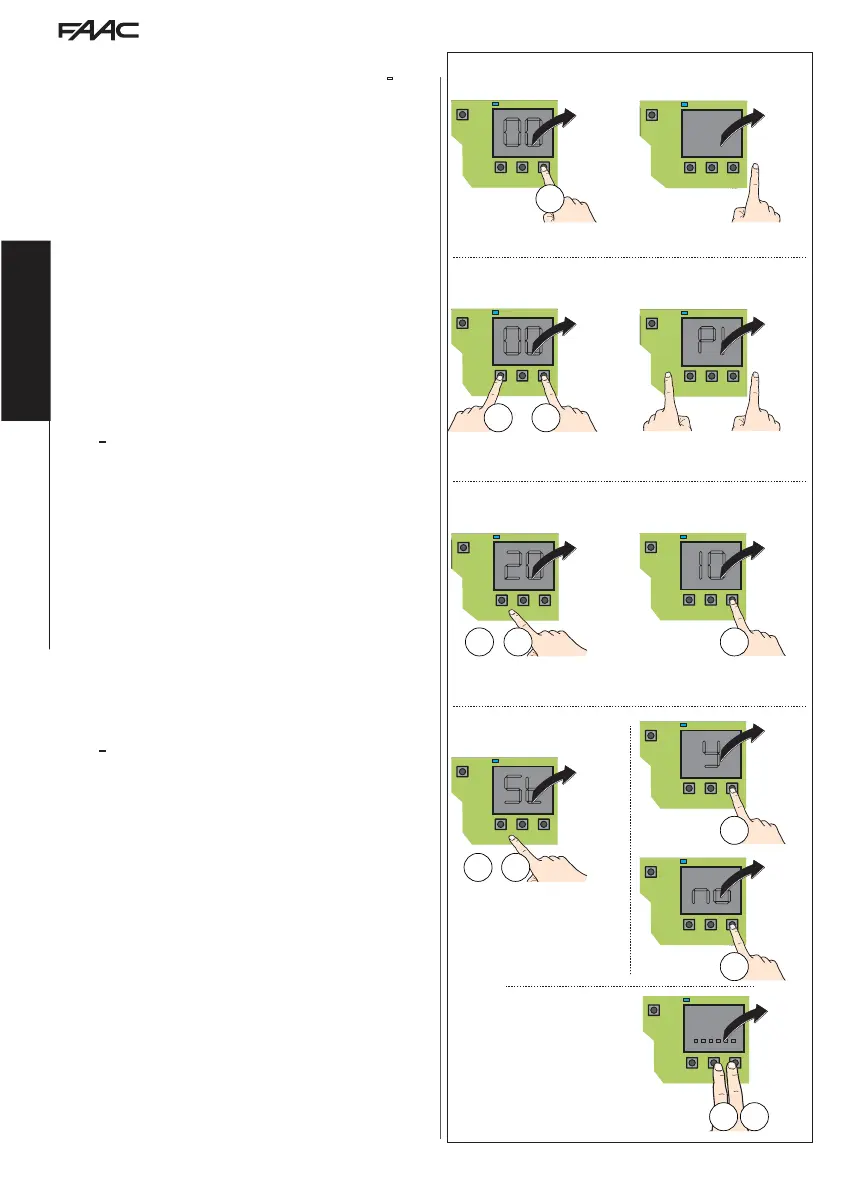
■ BASIC programming
1. When the display indicates the status of the automation, press
and hold down the F button: the display shows the first func-
tion (
][
).
Each function will be displayed for as long as button F remains
pressed.
2. Release button F: the display shows the value of the function.
3. When the display indicates the value of the function, press the +
or
-
button to modify it.
4. Press button F to confirm and go to the next function. The modi-
fied value becomes effective immediately.
Follow the same procedure for all functions until you reach the last
one (
St).
5. When
St appears on the display, release the button F and select:
Y = save the set-up
no = DO NOT save the set-up
6. Press the F button to confirm.
- The display reverts to the automation status view.
■ ADVANCED programming
1. When the display indicates the status of the automation, press and
hold down the F button, then press the + button as well: the
display shows the first function (
P1).
Each function will be displayed for as long as button F remains
pressed.
2. Release the buttons: the display shows the value of the function.
3. When the display indicates the value of the function, press the +
or
-
button to modify it.
4. Press button F to confirm and go to the next function. The modi-
fied value becomes effective immediately.
Follow the same procedure for all functions until you reach the last
one (
St).
5. When
St appears on the display, release the button F and select:
Y = save the set-up
no = DO NOT save the set-up
6. Press the F button to confirm.
- The display reverts to the automation status view.
NOTE Each modified value is effective immediately, but when you
exit from programming mode you must decide whether to save the
changes.
UNSAVED changes UNSAVED changes are saved if the power supply
is interrupted while programming is being carried out or after 10
minutes if no buttons are pressed.
Access BASIC programming
Access ADVANCED programming
Modify a setting
End of programming (
St)
Go immediately to St:
Save
D O N O T
save
 Loading...