7-7 ● Ink Replacement
Open the "Circulation control" screen, and sequentially
press the Ink replacement key and Start/Continue key.
1
The operating guidance on the ink replacement appears on
the display.
Follow the on-screen instructions.
2
7.5 Ink Replacement
(1) Overview
● This procedure is performed when replacing old ink with new one.
● The procedure cannot be performed during ink ejection.
Initiate the procedure while the printer is in the "Stop" state.
● Before charging new JP-K60, JP-K69, JP-K84, JP-Y91, JP-Y94 ink, shake the ink
bottle well until the precipitated pigment has been dispersed. Also make sure that
there is no sedimentation in ink reservoir or main ink tank
(see "Usage Precautions" on page 1-5, 1-6, 1-8).
* Replace note: For the ink replacement, filters replacements are not necessary as
filter replacement interval depends on the printer operating time. Therefore it is
only recommended to replace the ink filter and circulation filter at the same time
when replacing the ink so as not to waste the ink.
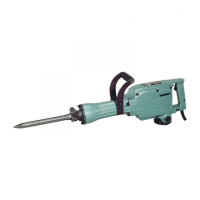
(2) Operating procedure
Shut
down
Manual
Start/
Continue
Eject ink
(Goes to Standby)
Next
menu
Circulation control Status: Stop
Prev.
menu
Cleaning stop No-cleaning stop
Ink replacement
Ink filter
replacement
Nozzle backwash
Process prior to
long-term shutdown
Process after
long-term shutdown
Gutter cleaning
Cancel
Com=1
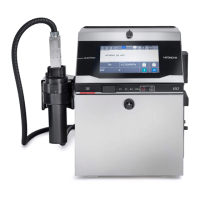
Circulation control Status: Stop
Start/
Continue
Process : Ink replacement
Com=0
Proc.time: Approx. 4 minutes
Proc. status: In progress
Abort
Disconnect the recovery tube
and put the end in a beaker.
Press [Start/Continue].
Operating guide
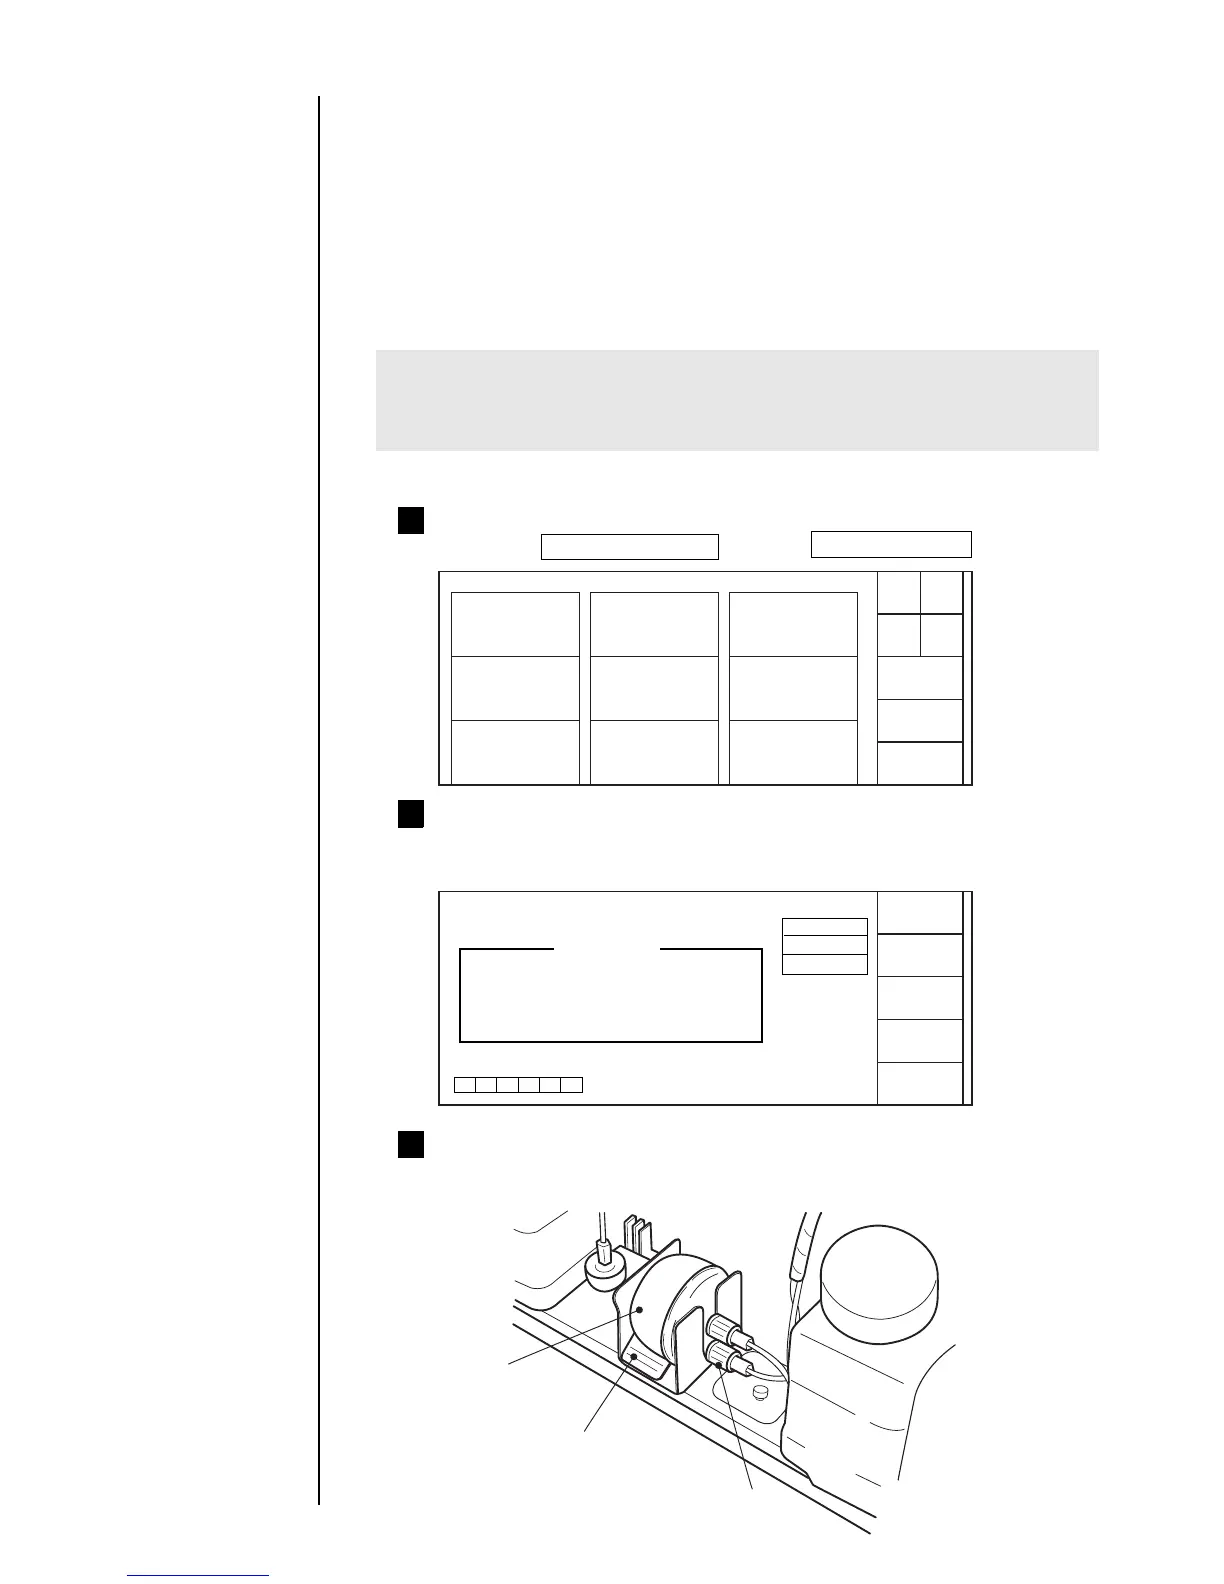
Open the maintenance cover, and check to see that the ink
filter is set in the state shown below (piping D is the
downside).
3
Ink filter
Handle
Piping (D)
Ink drainage
Ink rep.
Ink refill
 Loading...