7-31 ● Excitation Setting Adjustment
Set up the "Print trigger source".
Set up the timing for performing printing.
1: Button input → Print on "Start printing" on the control panel.
2: Sensor → Print on a sensor signal.
Print data can be set.
1: For test: Print will be performed automatically under the following conditions:
Number of lines :1 line
Character size : 12 X 16 dots
Inter-character space :1
Character height :99
Character width : 5
Ink drop use percentage :1/3
Print description : ■■nn123ABC
(nn shows excitation V-ref..)
2: Data to be displayed: Print will be performed in the print condition, and with
content, currently set.
3
Verify that the printer is in "Standby" state. Press Nozzle test .
The "Nozzle property test" screen then opens.
4
Decre-
ment
Incre-
ment
Abort
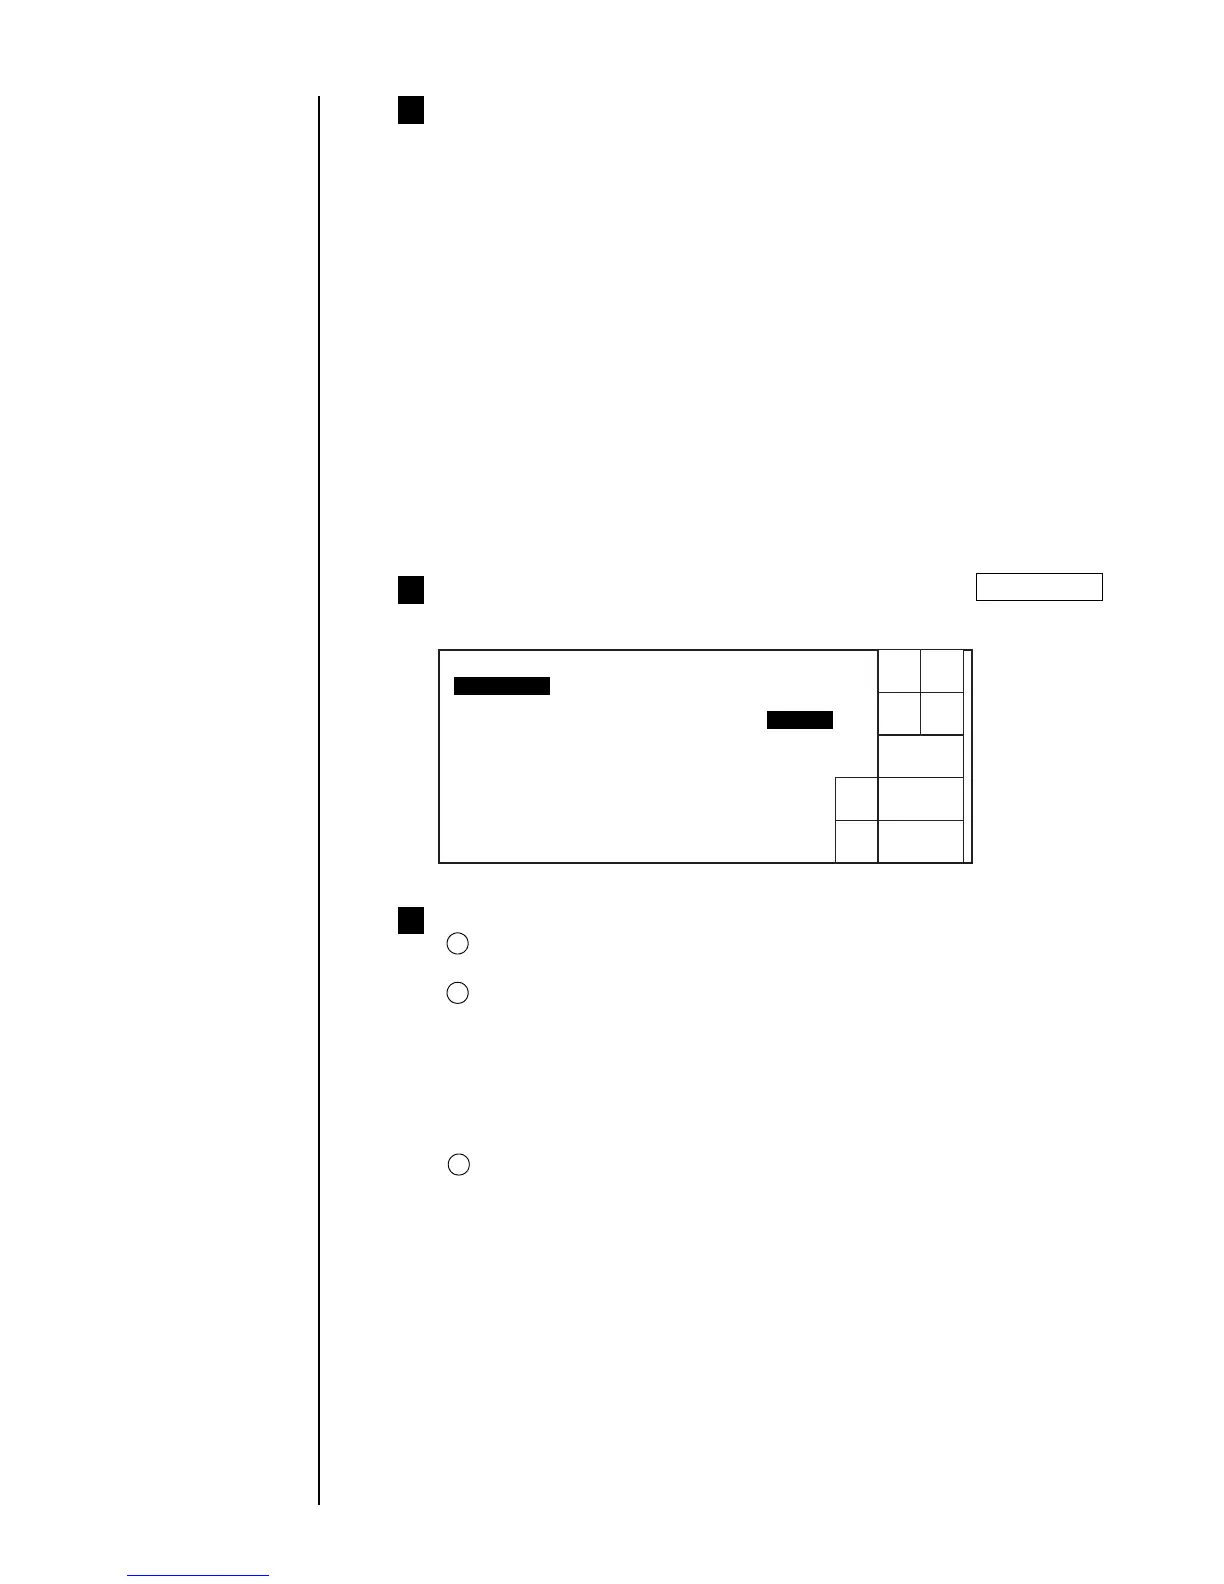
Nozzle property test Status: Ready
[ 1 1 ] (0~19)
Ref. ambient temperature 23 (
℃ )
Automatic update [ 2 ] (0:disable 1:Decrement 2: )
Incremental change [ 1 ] (1-9)
Excitation V-ref.
Excitation V-ref. is printed on the print target.
[■■nn・・・・・・]
Printing starts upon signal from sensor.
Increment
Set up test conditions of the "Nozzle property test."
Set up "Excitation V-ref."
Enter the excitation V-ref. for printing.
Set up "Automatic update"
Enter the condition for updating the excitation V-ref..
0 : Disable → The excitation V-ref. is manually updated.
1 : Decrement → The excitation V-ref. automatically counts down on
pnting each time.
2: Increment → The excitation V-ref. automatically counts up on printing
each time.
Set up "Incremental change"
Enter a range of change in the excitation V-ref. on auto updat
5
1
2
3

 Loading...