EasyManuals Logo
Home>HP>Switch>A5800 Series

HP A5800 Series Installation Guide

HP A5800 Series
146 pages
To Next Page IconTo Next Page
To Previous Page IconTo Previous Page
Page #22 background imageLoading...
Page #22 background image
16
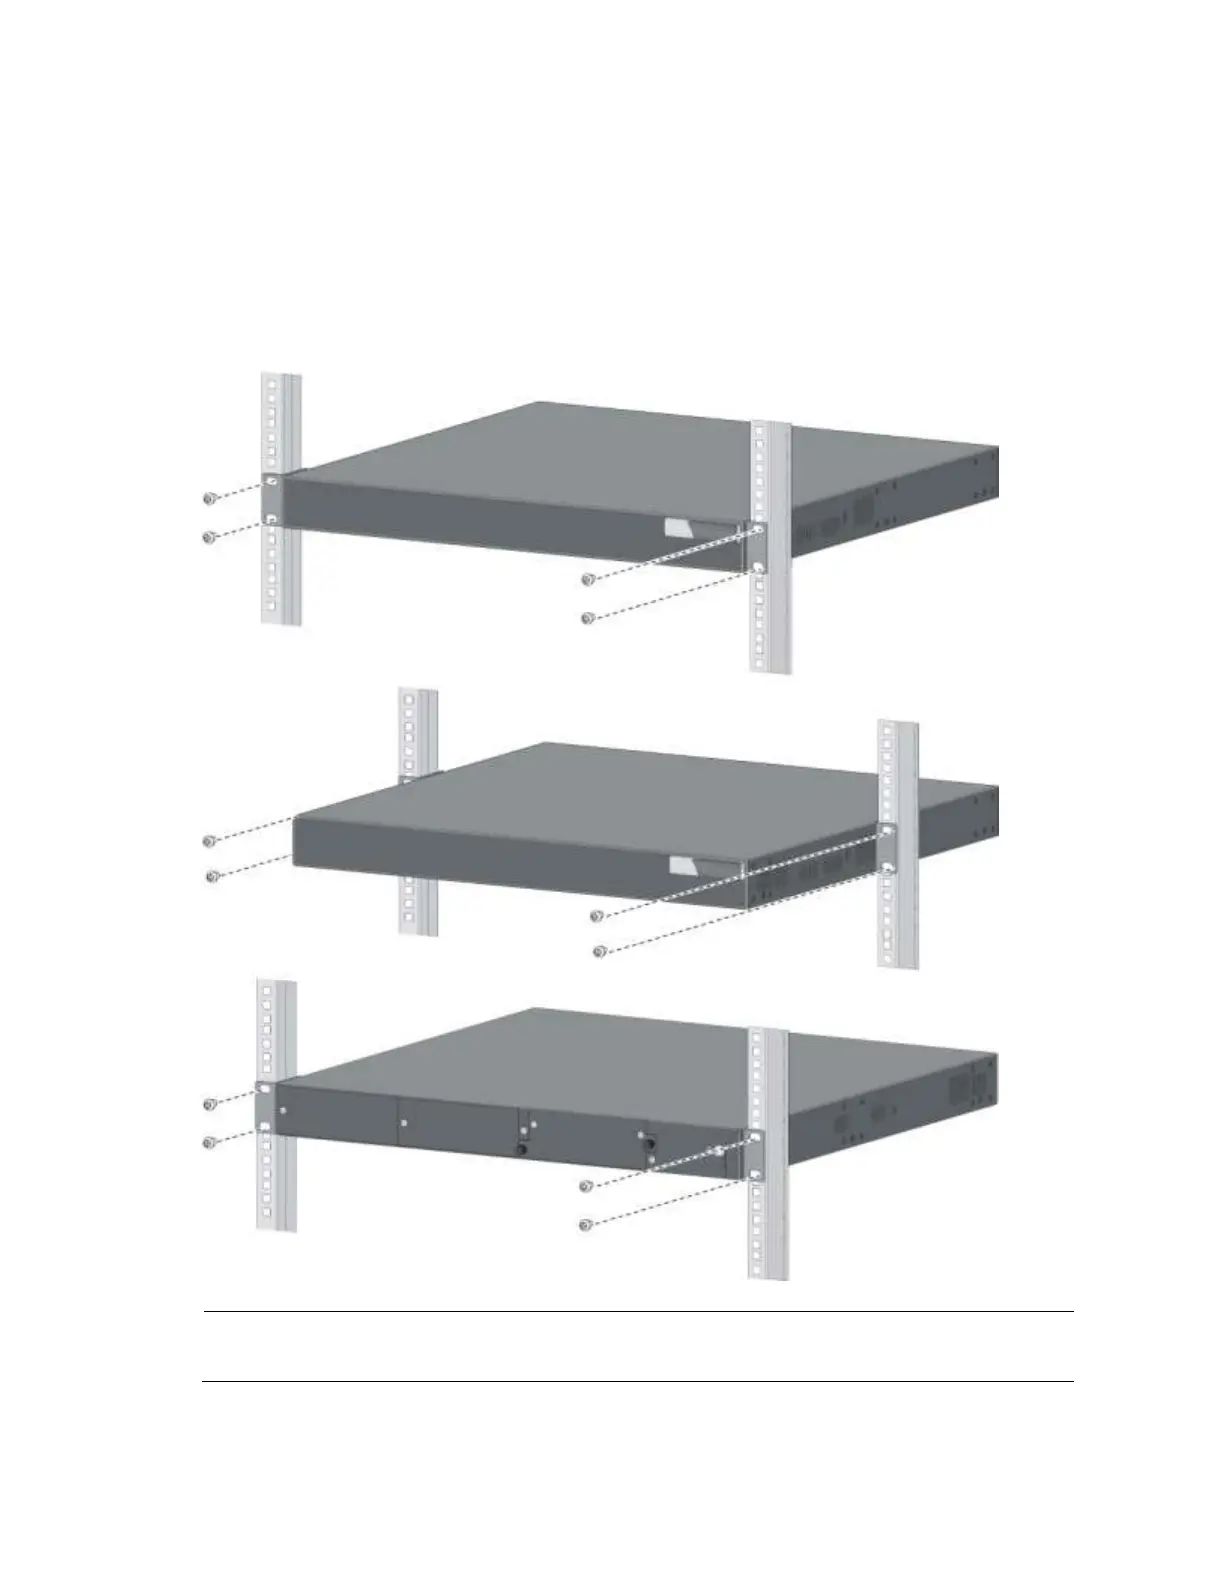
3. Install cage nuts (user-supplied) in the mounting holes in the rack posts.
4. One person holds the switch chassis and aligns the mounting brackets with the mounting holes in
the rack posts, and the other person attaches the mounting brackets with screws (user-supplied) to
the rack.
5. Check that the switch chassis is horizontal and tighten the screws.
Figure 19 Mounting a 1U A5800 switch in a rack
NOTE:
The procedure for rack-mounting a 2U switch is the same as rack-mounting a 1U switch.

Table of Contents

Other manuals for HP A5800 Series

Questions and Answers:

Question and Answer IconNeed help?

Do you have a question about the HP A5800 Series and is the answer not in the manual?

HP A5800 Series Specifications

General IconGeneral
BrandHP
ModelA5800 Series
CategorySwitch
LanguageEnglish

Related product manuals