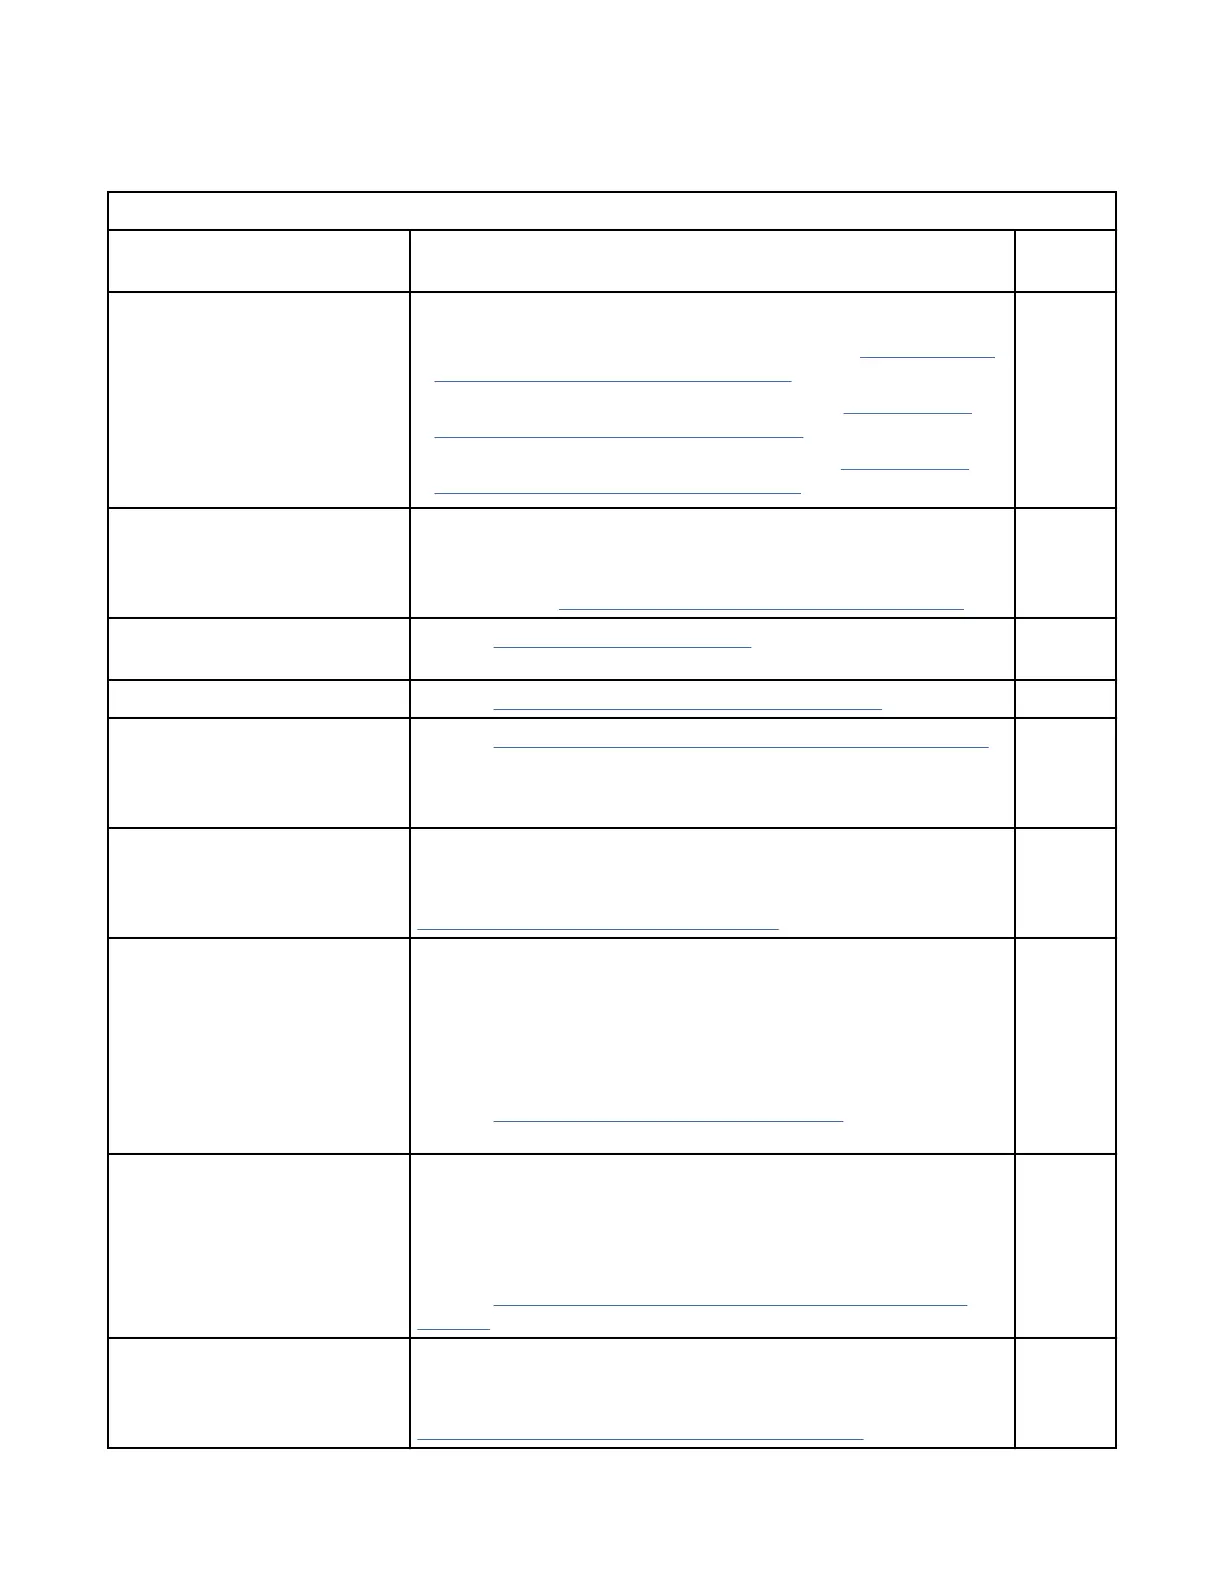
Installation and initial conguration
The initial setup includes mounting the device on a flat surface or in a rack and completing the
conguration tasks necessary to bring the device online and verify the operation.
Table 5. Installation and basic system conguration
Task Task details or additional information Complet
ed
Mount the device. Choose one of the following mounting options:
• Mount the device as a standalone unit. Refer to “Setting up the
switch as a standalone unit” on page 12.
• Mount the device in a four-post rack. Refer to “Installing the
Universal Four-Post Rack Kit” on page 12.
• Mount the device in a two-post rack. Refer to “Installing the
Universal Two-Post Rack Kit” on page 25.
Check the airflow of the power
supply and fan assembly
The airflow direction of the power supply and fan should match.
The power supplies and fan trays are clearly labeled with either a
green arrow with an "E", or an orange arrow with an "I." For more
details, refer to “Identifying the airflow direction” on page 63.
Gather all components required
for the initial setup.
Refer to “Items required” on page 37.
Provide power to the device. Refer to “Providing power to the switch” on page 37.
Attach a management station,
establish a serial connection,
and change the default
passwords (optional).
Refer to “Establishing a rst-time serial connection” on page 38.
After completing this task, log in to the serial port to congure the
device.
Set the IP address, subnet
mask, and the default gateway
IP address.
Use the ipaddrset command to congure a static device IP
address, subnet mask, and gateway IP address, or you can use a
DHCP server to obtain the information dynamically. Refer to
“Conguring the IP address” on page 39.
Set the date and time.
• Use the date command to display and set the date and time.
• Use the tstimezone command to display and set the time
zone.
• Use the tsclockserver command to synchronize the time
with an external NTP server.
Refer to “Setting the date and time” on page 40 for more
information.
Customize the switch name and
chassis name.
• Use the swicthname command to change the default switch
name.
• Use the chassisname command to change the default chassis
name.
Refer to “Customizing the chassis name and switch name” on
page 41 for more information.
Establish an Ethernet
connection.
By establishing an Ethernet connection, you can complete the
device conguration using a serial session, Telnet, or
management application, such as IBM Network Advisor. Refer to
“Establishing an Ethernet connection” on page 42.
Chapter 2. Preparing for the installation 9
 Loading...