Setting up the switch as a standalone unit
About this task
Attention: Refer to “Safety notices and labels” on page xiii before starting
any installation procedure.
Complete the following steps to install the device as a standalone unit on a table.
Procedure
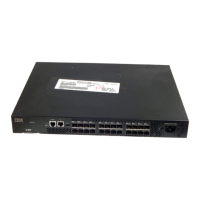
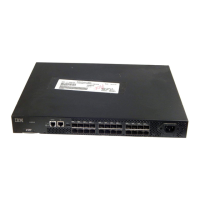
1. Unpack the device and verify the items listed under “Items included with the switch” on page 10 are
present and undamaged.
2. Apply the adhesive rubber feet to the underside of the device. The rubber feet help prevent the device
from sliding off the supporting surface.
a) Clean the indentations at each corner of the bottom of the device to ensure that they are free of
dust or other debris that might lessen the adhesion of the feet.
b) With the adhesive side against the chassis, place one rubber foot in each indentation and press into
place.
3. Place the device on a sturdy flat surface.
4. Provide power to the device as described in “Providing power to the switch” on page 37
.
Note: Do not connect the device to the network until the IP address is set correctly. For instructions on
how to set the IP address, refer to“Conguring the IP address” on page 39.
Installing the Universal Four-Post Rack Kit
Use the following instructions to install 1U and 2U devices in EIA racks that are from L-12.7 cm to 81.28
cm (L-5.0 in. to 32.0 in.) deep, where L is the chassis depth, using the Universal Four-Post Rack Kit.
You can mount the device in a four-post rack in two ways:
• With the port side flush with the front posts.
• With the nonport side flush with the rear posts in a recessed position. A recessed position allows a more
gradual bend in the ber-optic cables connected to the switch and less interference in the aisle at the
front of the rack.
Table 6. Space Requirements
Chassis with
Port-Side Side
Vents
Notes Chassis Depth Minimum Rack
Depth
Maximum Rack
Depth
No Applicable to port-side and
nonport-side flush mounts.
L L-12.7 cm (L-5
in.)
81.28 cm (32
in.)
Yes Applicable to port-side flush
mounts.
L L-12.7 cm (L-5
in.)
81.28 cm (32
in.)
Yes Applicable to nonport-side flush
mounts.
L L 81.28 cm (32
in.)
If the chassis depth (L) is less than 40.64 cm (16 in.), the chassis will not t into a rack with a maximum
depth of 81.28 cm (32 in.) using the Universal Four-Post Rack Kit. The maximum rack depth for a chassis
less than 40.64 cm (16 in.) is 81.28 cm (32 in.) minus the difference between the chassis depth and
40.64 cm (16 in.). For example, a chassis with a depth (L) of 35.56 cm (14 in.) is 5.08 cm (2 in.) smaller
12
IBM Storage Networking SAN64B-6: SAN64B-6 Installation, Service, and User Guide
 Loading...