– 20 –
3. PREPARATION BEFORE SEWING
3-1.
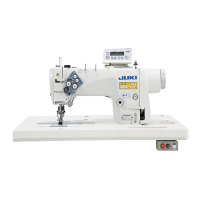
Attaching the needle
LH-4588C
LH-4578C
❶
❶
❷
❷
❸
❸
❶
❶
❷
❷
Use DP×5(134) needles.
1) Turn the handwheel until the needle bar has
come up to the highest point of its stroke.
2) Loosen needle clamp screws
❷
and pick up
two needles
❶
in the way that their grooves
❸
are facing outwards.
3) Insert the needles into the needle clamp as
far as they will go.
4) Tighten needle clamp screws
❷
When replacing the needle, check the
clearance provided between the nee-
dle and the blade point of hook. (Refer
to "8-1. Needle-to-hook relation"
p.105 and "8-3. Adjusting the hook
needle guard" p.110 .)
If there is no clearance, the needle
and the hook will be damaged.
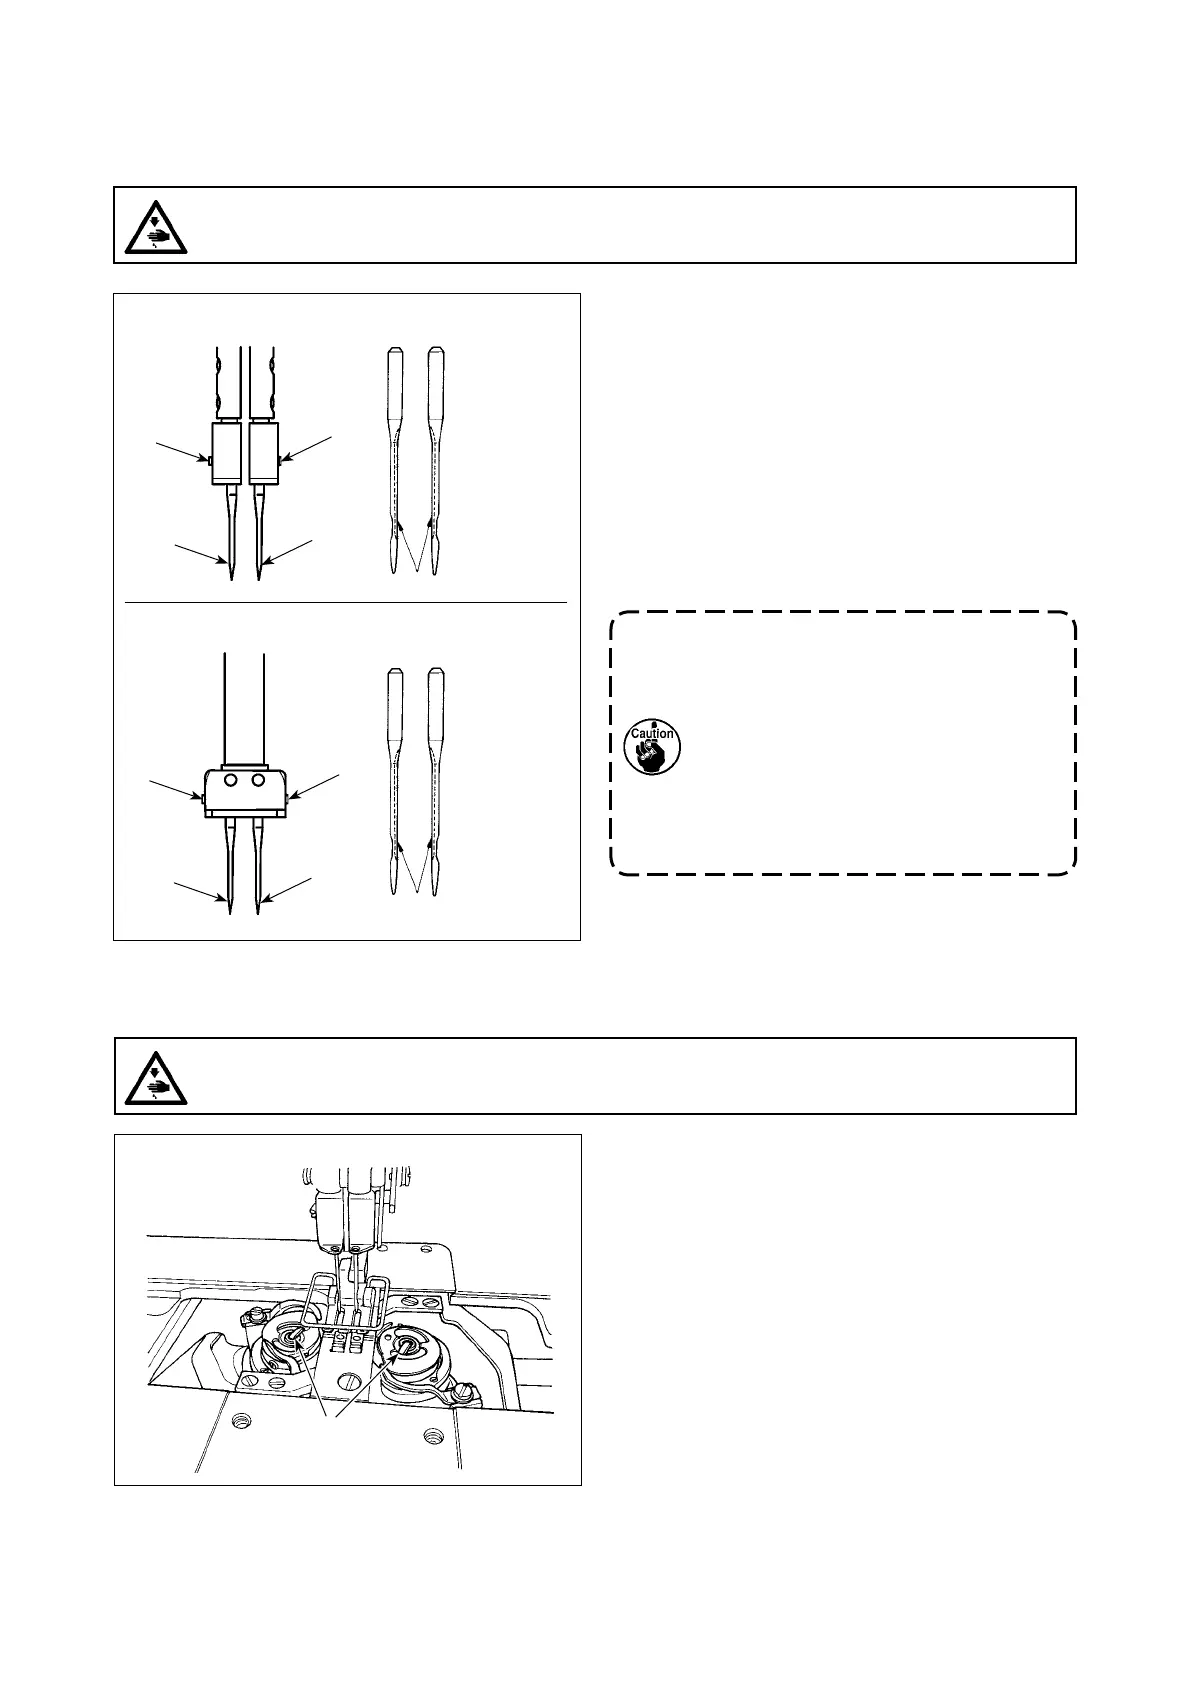
3-2.
Attaching and removing the bobbin
1) Lift latch
❶
and take out the bobbin case and
the bobbin together.
2) Hold the bobbin case by latch raised, put it
into the shaft in the hook correctly and re-
lease the latch.
❶
WARNING :
To protect against possible personal injury due to abrupt start of the machine, be sure to start the
following work after turning the power o and ascertaining that the motor is at rest.
WARNING :
To protect against possible personal injury due to abrupt start of the machine, be sure to start the
following work after turning the power o and ascertaining that the motor is at rest.
 Loading...