- 227 -
5
1
2
4
3
Convenient print
functions
Appendix Index
Checking and
Changing Printer
Settings Using
the Control Panel
Network
Setup
Matching
Colors
Using Utility
Software
Using DHCP
Setting the printer
To use the device on a DHCP environment, set
the IP address setup method to automatic.
Further, the default factory setting is to set the
IP address automatically, so implementing this
procedure is unnecessary.
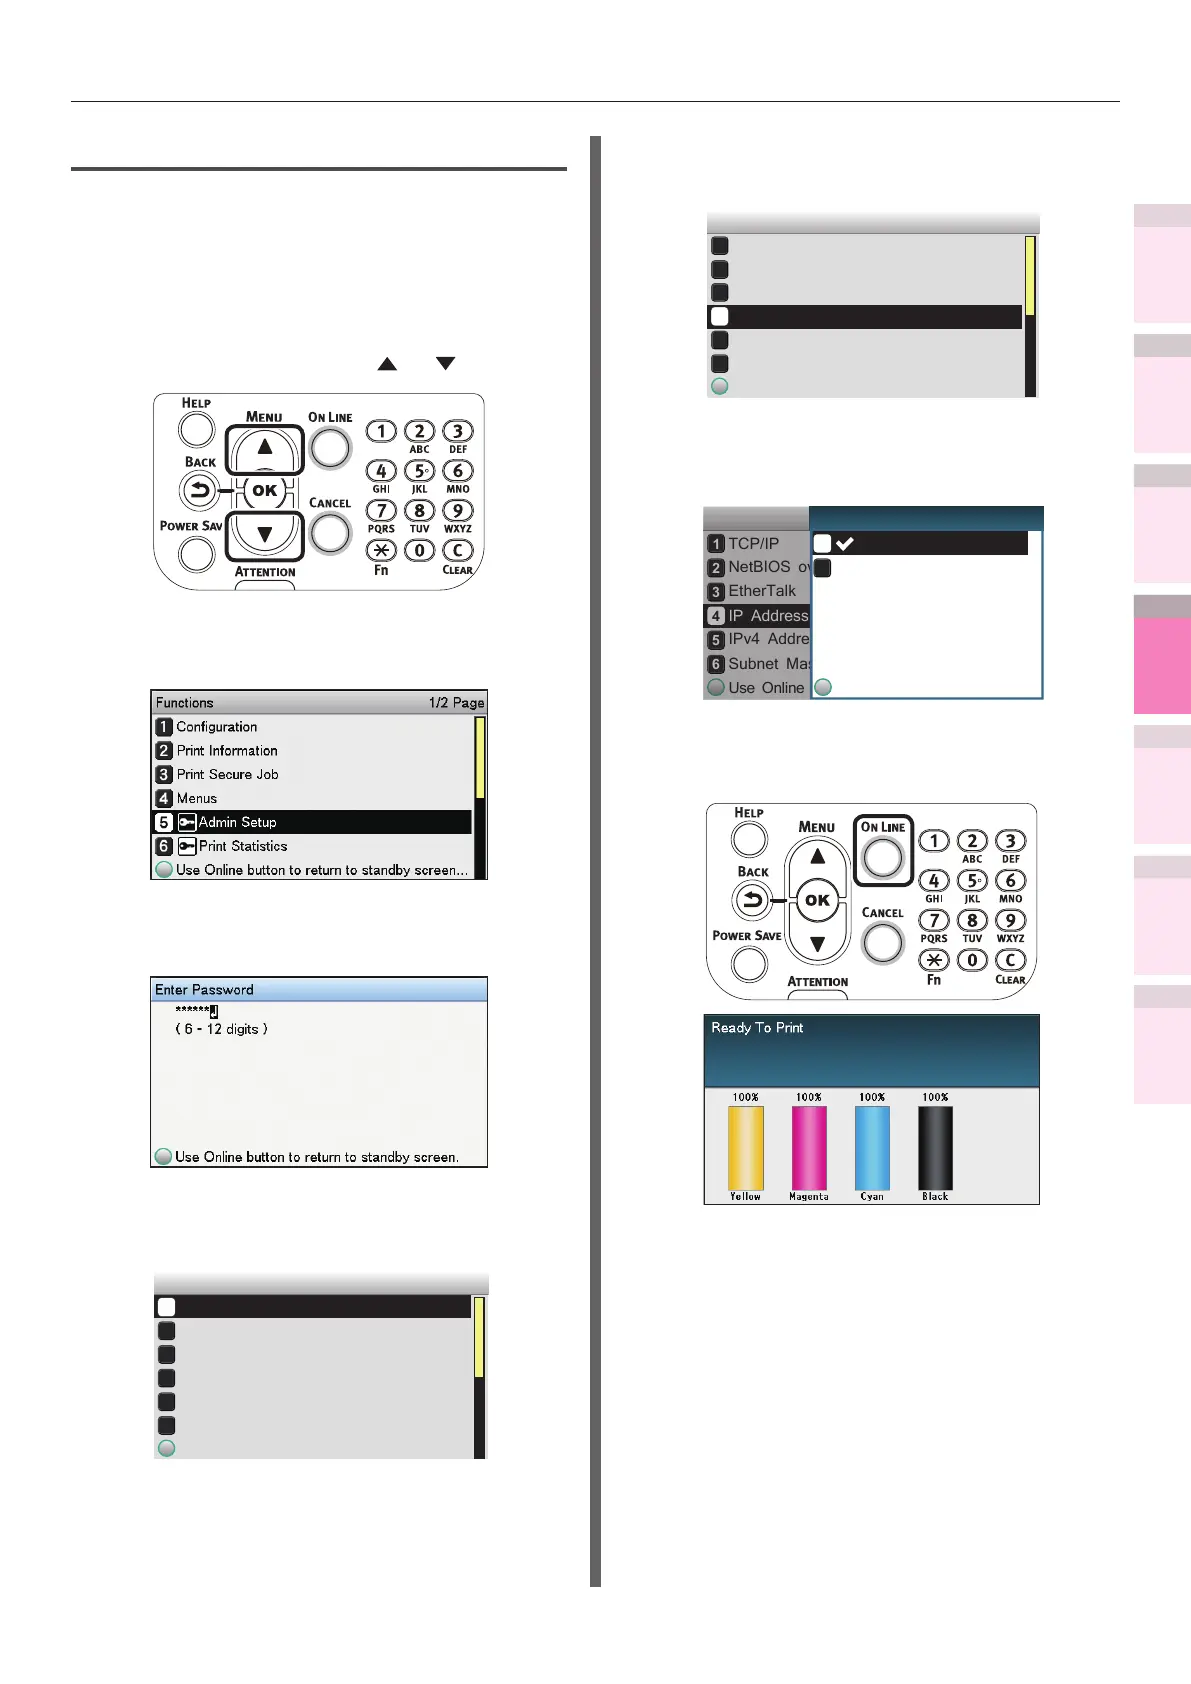
1
Press the scroll button or .
2
Select [Admin Setup], and press the
[OK] button.
3
Enter the administrator password, and
press the [OK] button.
4
Select [Network Setup], and press the
[OK] button.
Admin Setup 1/3 Page
Network Setup
Print Setup
PS Setup
PCL Setup
XPS Setup
USB Setup
5
Select [IP Address Set], and press the
[OK] button.
Network Setup 1/3 Page
TCP/IP
EtherTalk
IP Address Set
IPv4 Address
Subnet Mask
Use Online button to return to standby screen
NetBIOS over TCP
6
Select [Auto], and press the [OK]
button.
TCP/IP
NetBIOS over TCP
EtherTalk
IP Address Set
IPv4 Address
Subnet Mask
Use Online button to return to standby scr
Network Setup
Use Online button to return
Manual
Auto
1/1 PageIP Address Set
7
Press the [ON LINE] button to return to
the standby screen.
 Loading...