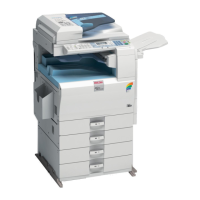
5. Release the holder [D] at the left side of the transfer roller unit (hook).
6.
Transfer roller [E]
After installing a new transfer roller
The counter for the transfer unit must be reset after installing a new transfer roller. For details, see p.50
"After installing a new transfer unit or transfer roller".
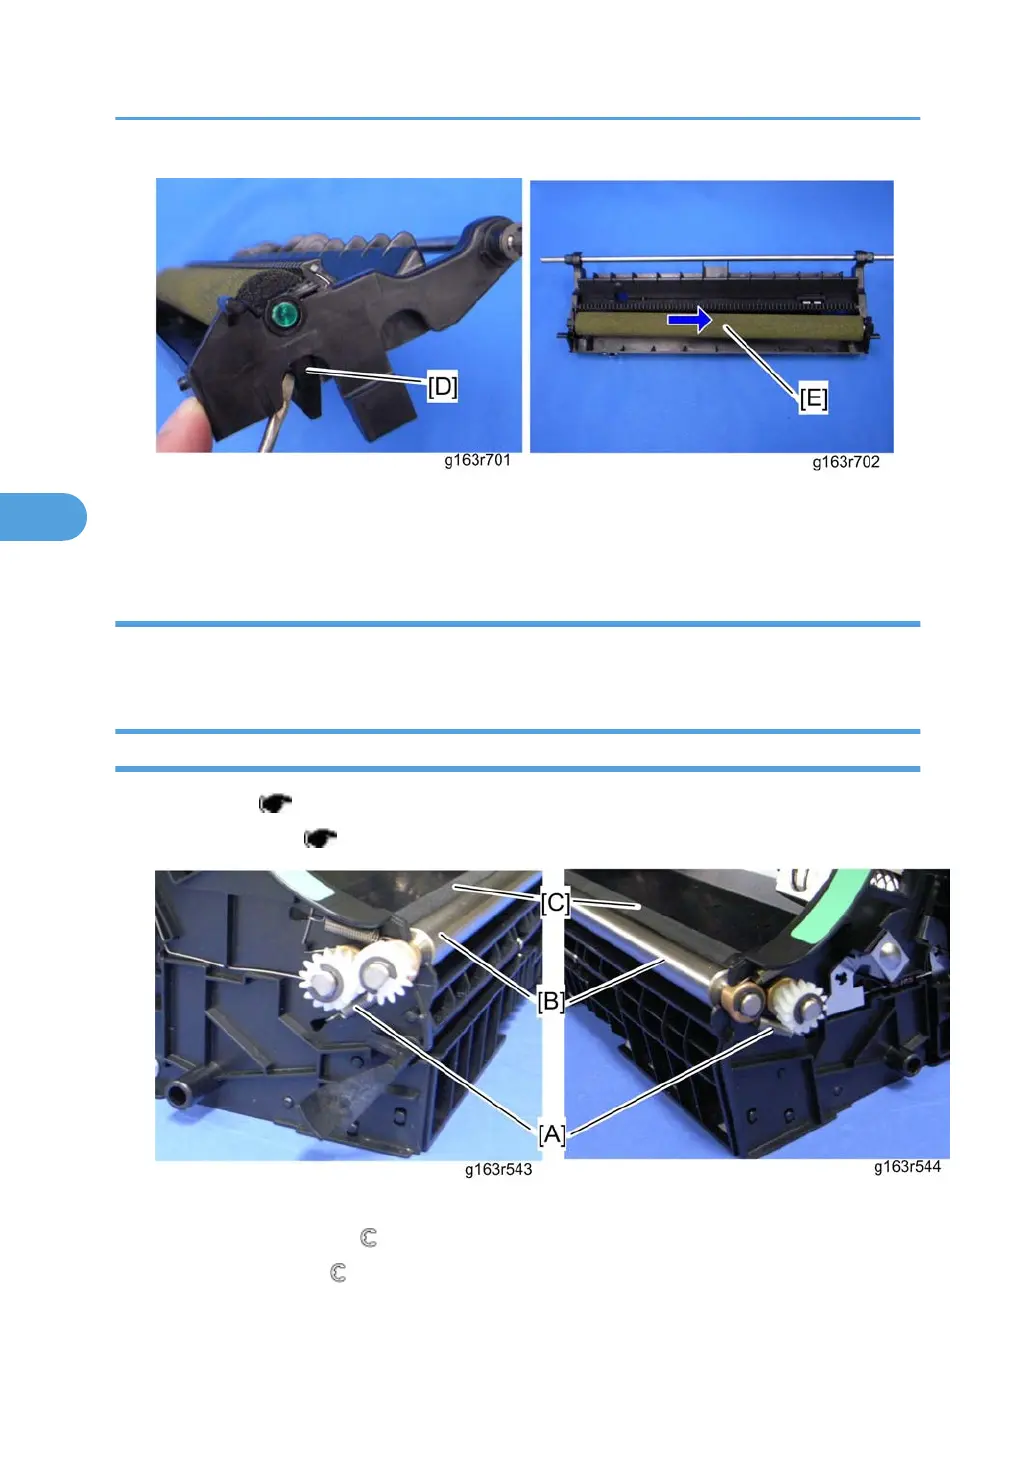
Registration Roller
1. Transfer unit ( p.50)
2.
Transfer roller unit (
p.50)
3. Tension springs [A] (both sides)
4.
Registration idle roller [B] (
x 2, gear x 1, bushing x 2)
5.
Registration roller [C] (
x 2, gear x 2, bushing x 2)
4. Replacement and Adjustment
52
 Loading...