2-14. Power Switch Harness
Preparation
1. Remove the top cover. (Refer to “2-2. Top Cover”.)
2. Remove the front panel assembly. (Refer to “2-3-1. Front Panel Assembly”.)
Procedure
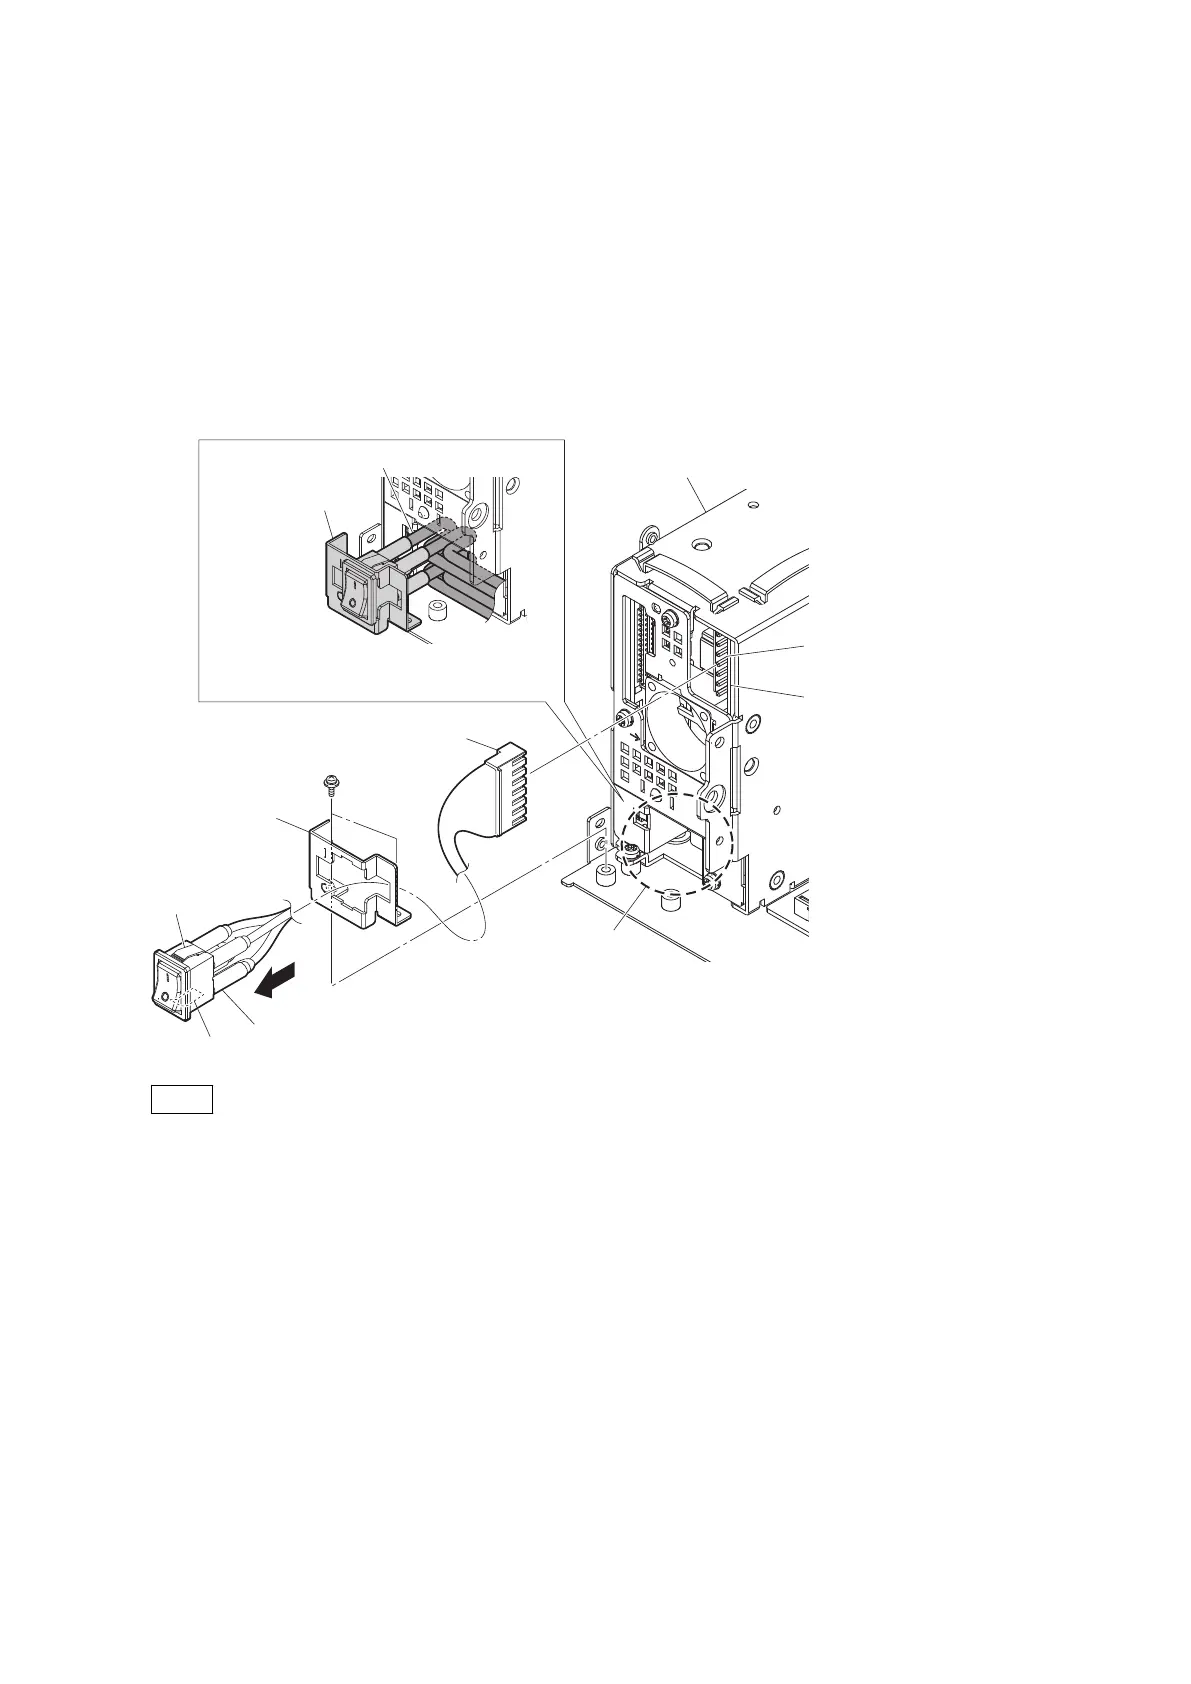
1. Disconnect the harness from the connector (CN1006) on the PS-939 board.
2. Remove the two screws, and then remove the SW bracket.
3. Release the two hooks, and then pull the power switch harness from the hole of the SW bracket.
PSW
3 x 8
Harness
Power assembly
SW bracket
Power switch harness
Hook
(A)
(a)
(b)
Hook
CN1006
PS-939 board
SW bracket
Power switch harness
After fitting the power switch harness in the
portion (A), tighten the screws of the SW bracket.
Note
• Carefully attach the switch part to the hole of the SW bracket in the correct top and bottom orientation of the
switch part as shown in the figure.
• After fitting the excess portion of the power switch harness in the portion (A), tighten the screws of the SW
bracket.
• When attaching the SW bracket, tighten the screws in the following sequence: (a), (b).
4. Install the removed parts by reversing the steps of removal.
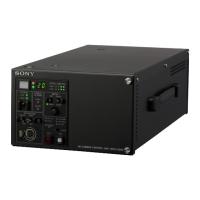
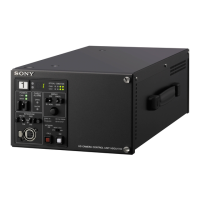
HDCU3500/HDCU5500
2-34
 Loading...