Edition
2018
Workshop Manual
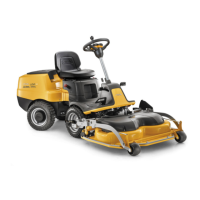
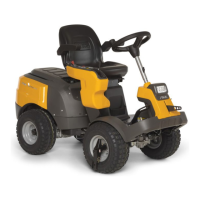
PARK PRO 340 IX
Chapter
4 Hydraulic system
Page
55
4.9 Hydraulic pump replacement
4.9.1 Disassembly
To simplify this operation, use a platform or harness lifter.
1. Apply the parking Brake
1. Remove the engine
2.3.1 and tank casings 2.3.2
1. Remove the articulated joint guards
2.3.3
1. Remove the belts C an D
5.3.3 5.3.4
NOTE
The belts must be removed to eliminate any risk of them getting wet with
uid.
B
A
1. Remove the safety cotter pin (A) and using a
screwdriver detach the spherical head (B) to
disconnect the traction command cable.
E
F
E
C
D
D
M10 17 mm 35÷50 Nm
(work from under the machine)
2. Block the pulley (C) of the pump with a safe
hold, unscrew the nut (D) and extract the
pulley, the two spacers (E) and the fan (F).
Caution!!!
During the removal operation, take care
not to damage the pulley and the plastic
fan.
3. Place a suitable vessel under the pump.
4. Mark the position of the pipes on the pump
hook up points.
5. Disconnect all the piping from the pump with
the aid of two wrenches (see gure). Position
one wrench on the pump connector and
unscrew the relative union using the second
wrench.
Caution!!!
Plug the ends of all the pipes to stop
any impurities getting in them and to
limit uid loss.
 Loading...