Edition
2018
Workshop Manual
PARK PRO 340 IX
Chapter
6 Control cables
Page
67
GH
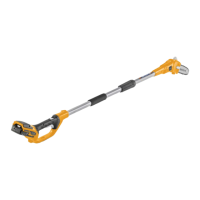
5. Withdraw the front bushing (G) from the sup-
port. Use a screwdriver.
6. Feed the wire forward and release it from ac-
celerator lever (H) .
7. Withdraw the wire from the machine front side.
6.3.2 Assembly
Note!
For cable reassembly, perform the disassembling operations in reverse
order, taking care to observe the following points.
• Pour some oil drops on the two cable terminals and move the wire a few times inside its
sheath.
• Route the cable through the same previous cable path.
• The front bushing can be pushed into its seat by means of polygrip pliers.
• Mount the new xing clamps in the exact point of the previous ones.
6.3.3 Adjustment
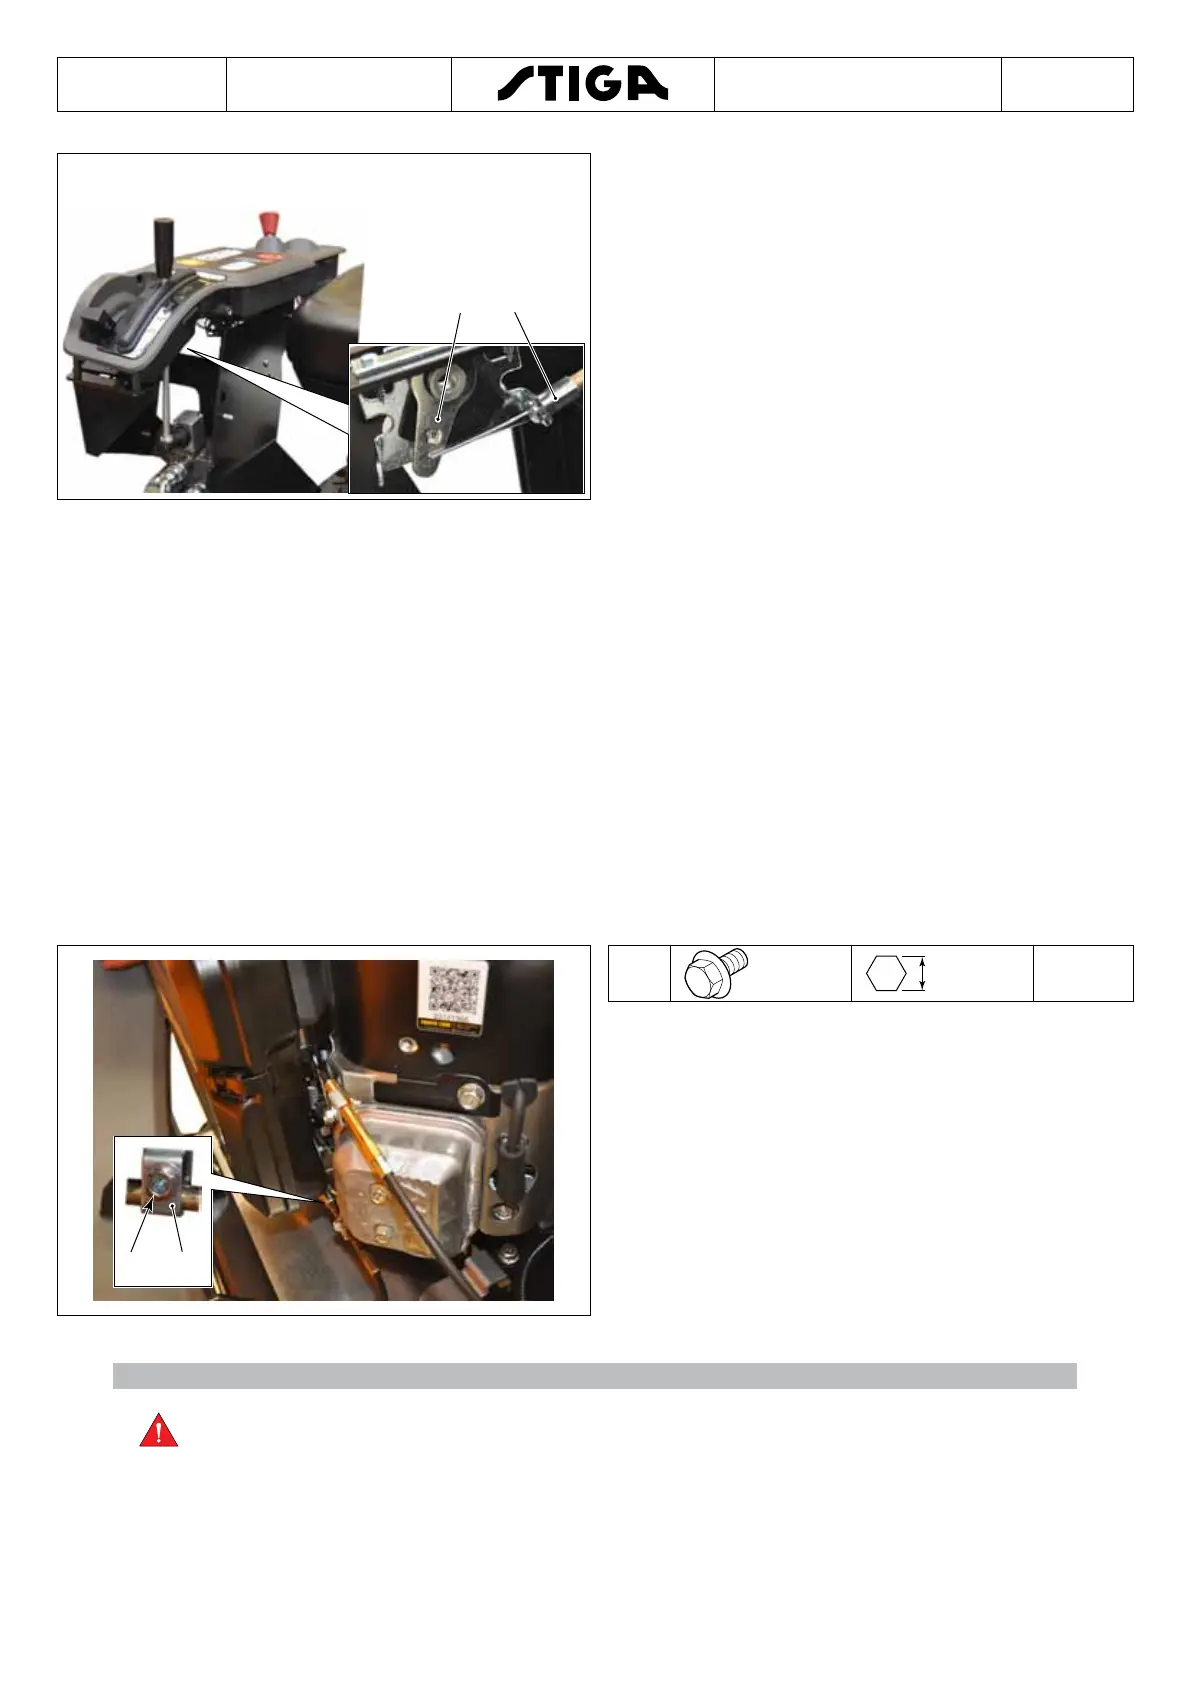
A
B
A
M5 8 mm 4 Nm
1. Slightly tighten screw (A) of terminal (B) to
stop the sheath end.
2. Set the accelerator lever in idling position.
3. Start the engine and adjust the position of the
end of the sheath on the clamp until engine
speed starts to increase.
4. Move the terminal (B) forward/backward till
reaching the position in which the engine is
idling and the wire is fully tensioned.
5. Tighten the screw (A) and lock the terminal (B)
in place.
Danger!
Personnel could be exposed to exhaust fumes poisoning. Before starting the
engine, position the machine outside or set up an exhaust fumes extraction
device.

 Loading...