Rev. 000
HYDRAULIC SYSTEM
6-18
TX 413 Service Manual
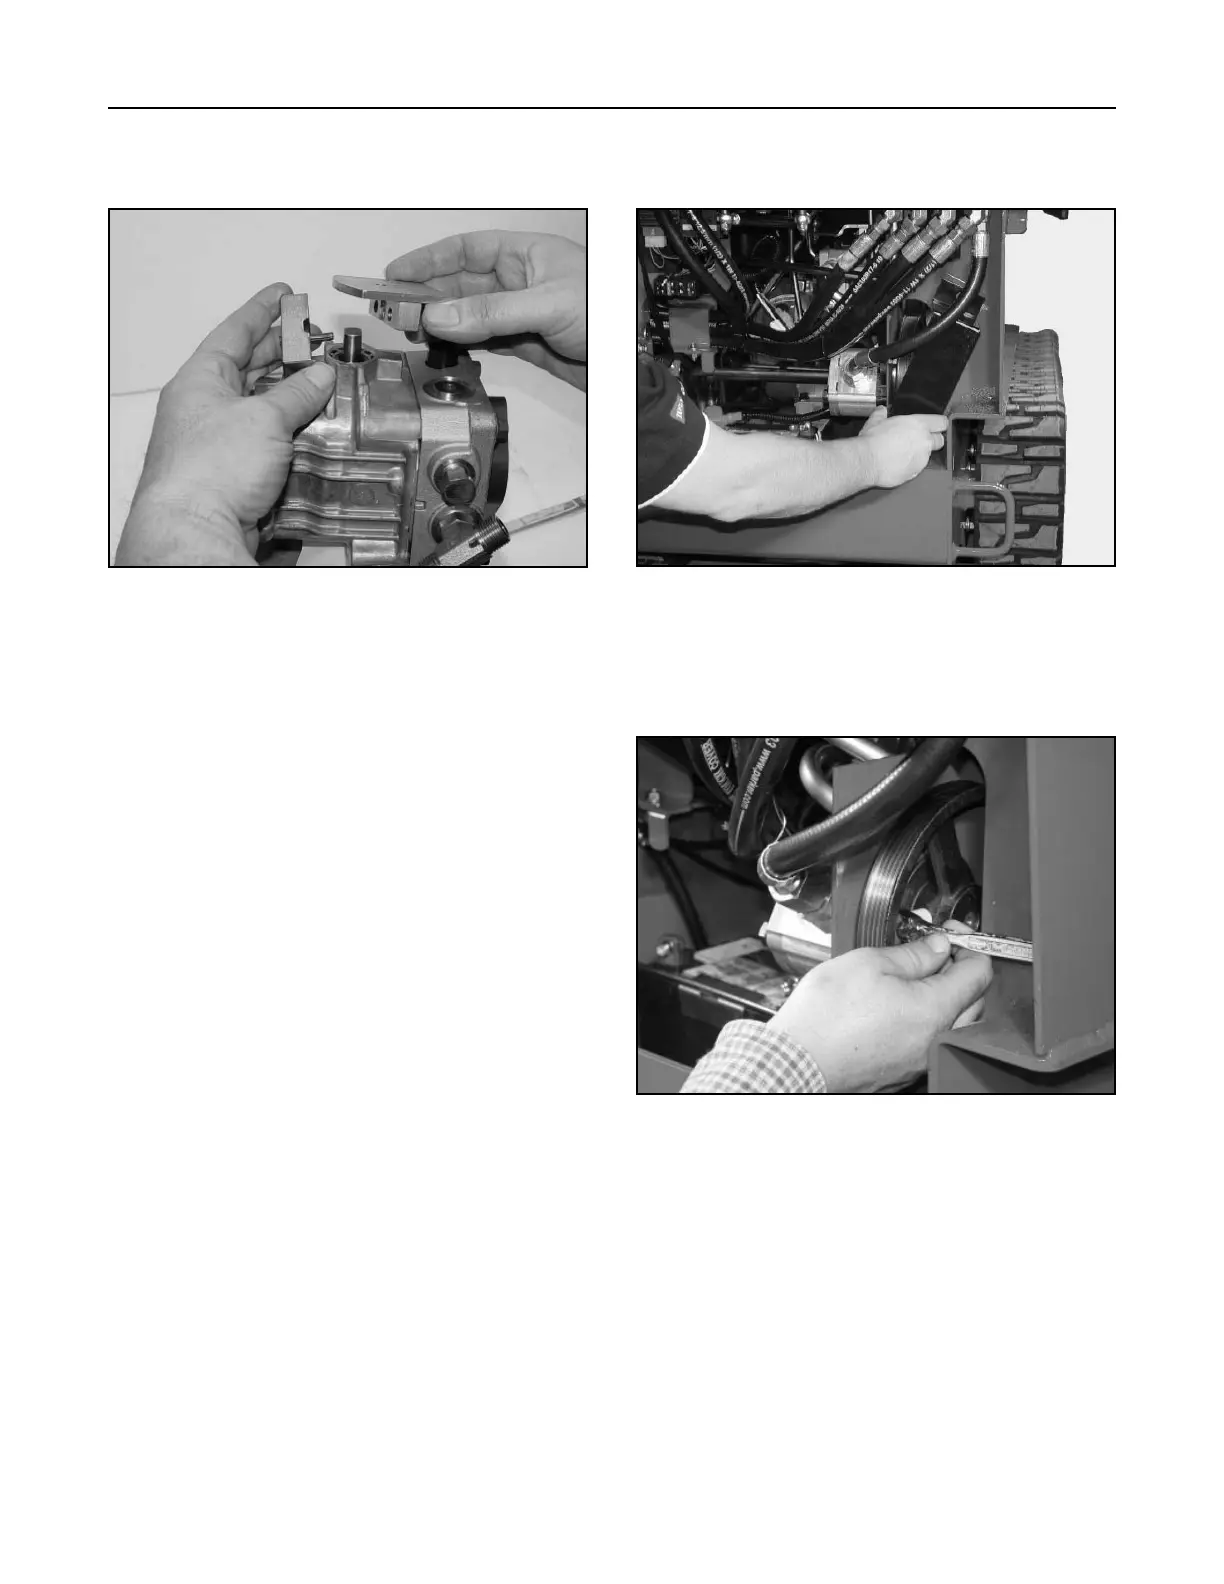
2. Remove the pump lever assembly and traction
clamp (Fig. 147).
Figure 147 DSC-0882
For installation, reverse the order of removal (refer to
F igures 146 and 147 shown above).
Note: Do not interchange pump lever assemblies
between hydrostatic pumps.
Figure 149 DSC-0910
3. Loosen the two set screws on the gear pump
pulley (Fig. 149).
Figure 148 DSC-0779
2. Remove the drive belt; refer to the Drive Belt
Removal section on page 8-2, step 4 (Fig. 148).
Hydraulic Gear Pump Removal
Note: Cleanliness is a key factor in a successful
repair of any hydrostatic system.
Thoroughly clean all exposed surfaces
prior to any type of maintenance. Cleaning
all parts by using a solvent wash and air
drying is usually adequate. As with any
precision equipment, all parts must be kept
free of foreign material and chemicals.
Protect all exposed sealing areas and open
cavities from damage and foreign material.
Upon removal, all seals, O-rings, and
gaskets should be replaced. During
installation, lightly lubricate all seals, O-
rings and gaskets with clean petroleum
jelly prior to assembly.
1. Remove the rear cover, belt cover, and pulley
cover. Disconnect the battery cables. Place an oil
drain pan under the hydraulic gear pump.

 Loading...


