Rev. 000
ENGINE
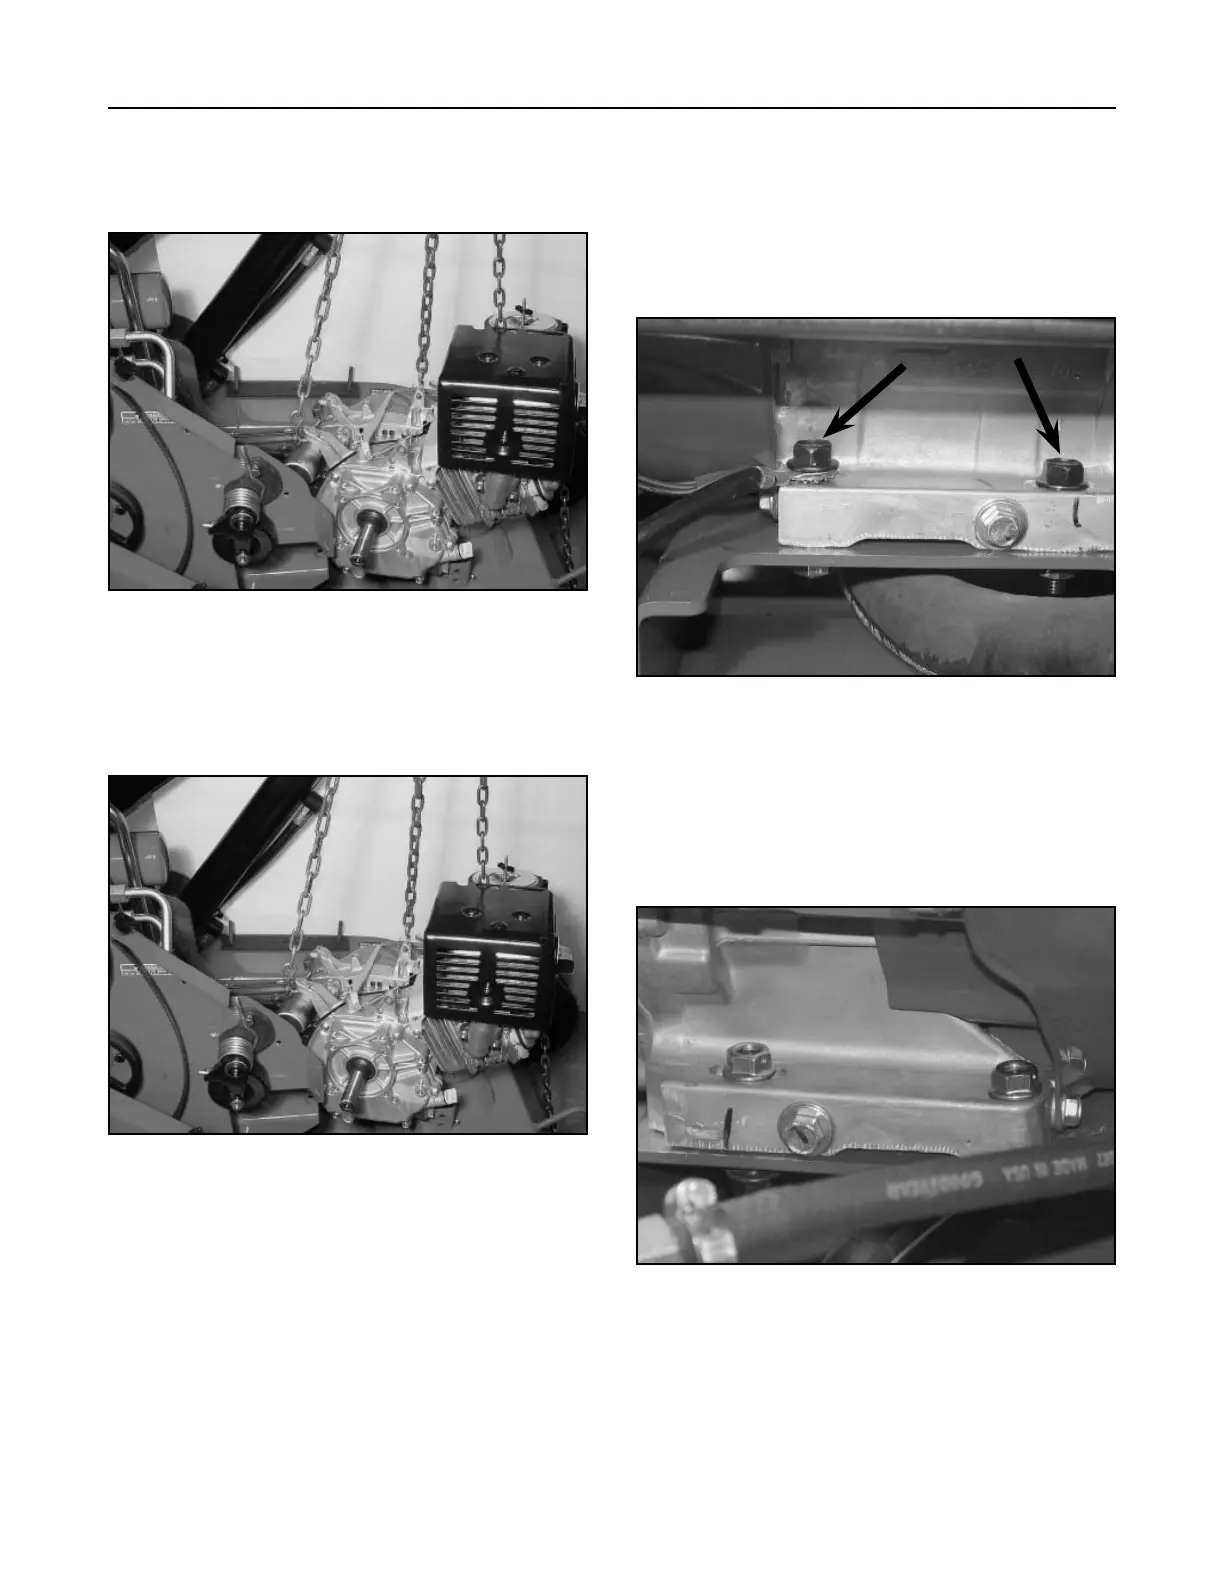
2. Install the two rear engine mounting bolts and
nuts.
Note: Make sure the two ground wires are
installed on the left rear bolt, with the star
washer installed first. DO NOT TIGHTEN
THE BOLTS AND NUTS. (Fig. 043)
Figure 043 DSC-1115
3. Install the two front engine mounting bolts and
nuts.
Note: DO NOT TIGHTEN THE BOLTS AND NUTS
(Fig. 044).
Figure 044 DSC-1120
4-8
TX 413 Service Manual
27. With an overhead hoist, raise the engine slightly
and slide the engine forward and then up and off
the frame of the unit (Fig. 041).
Figure 041 DSC-1118
Engine Installation
1. Lower engine to the frame (Fig. 042).
Figure 042 DSC-1118

 Loading...


