<7. Startup>
7-14
IM 11M12A01-04E
7.10 Checking Contact I/O
Conduct a contact input and output check as well as an operation check of the solenoid valves
for the optional automatic calibration unit.
Table 7.10 Parameter Codes for Checking Contact I/O
Check item Parameter code Set value and contact action
Contact output 1 G11 0 Open
1 Closed
Contact output 2 G12 0 Open
1 Closed
Automatic calibration
solenoid valve (zero gas)
G15 0 Off
1 On
Automatic calibration
solenoid valve (span gas)
G16 0 Off
1 On
Contact input 1 G21 0 Open
1 Closed
Contact input 2 G22 0 Open
1 Closed
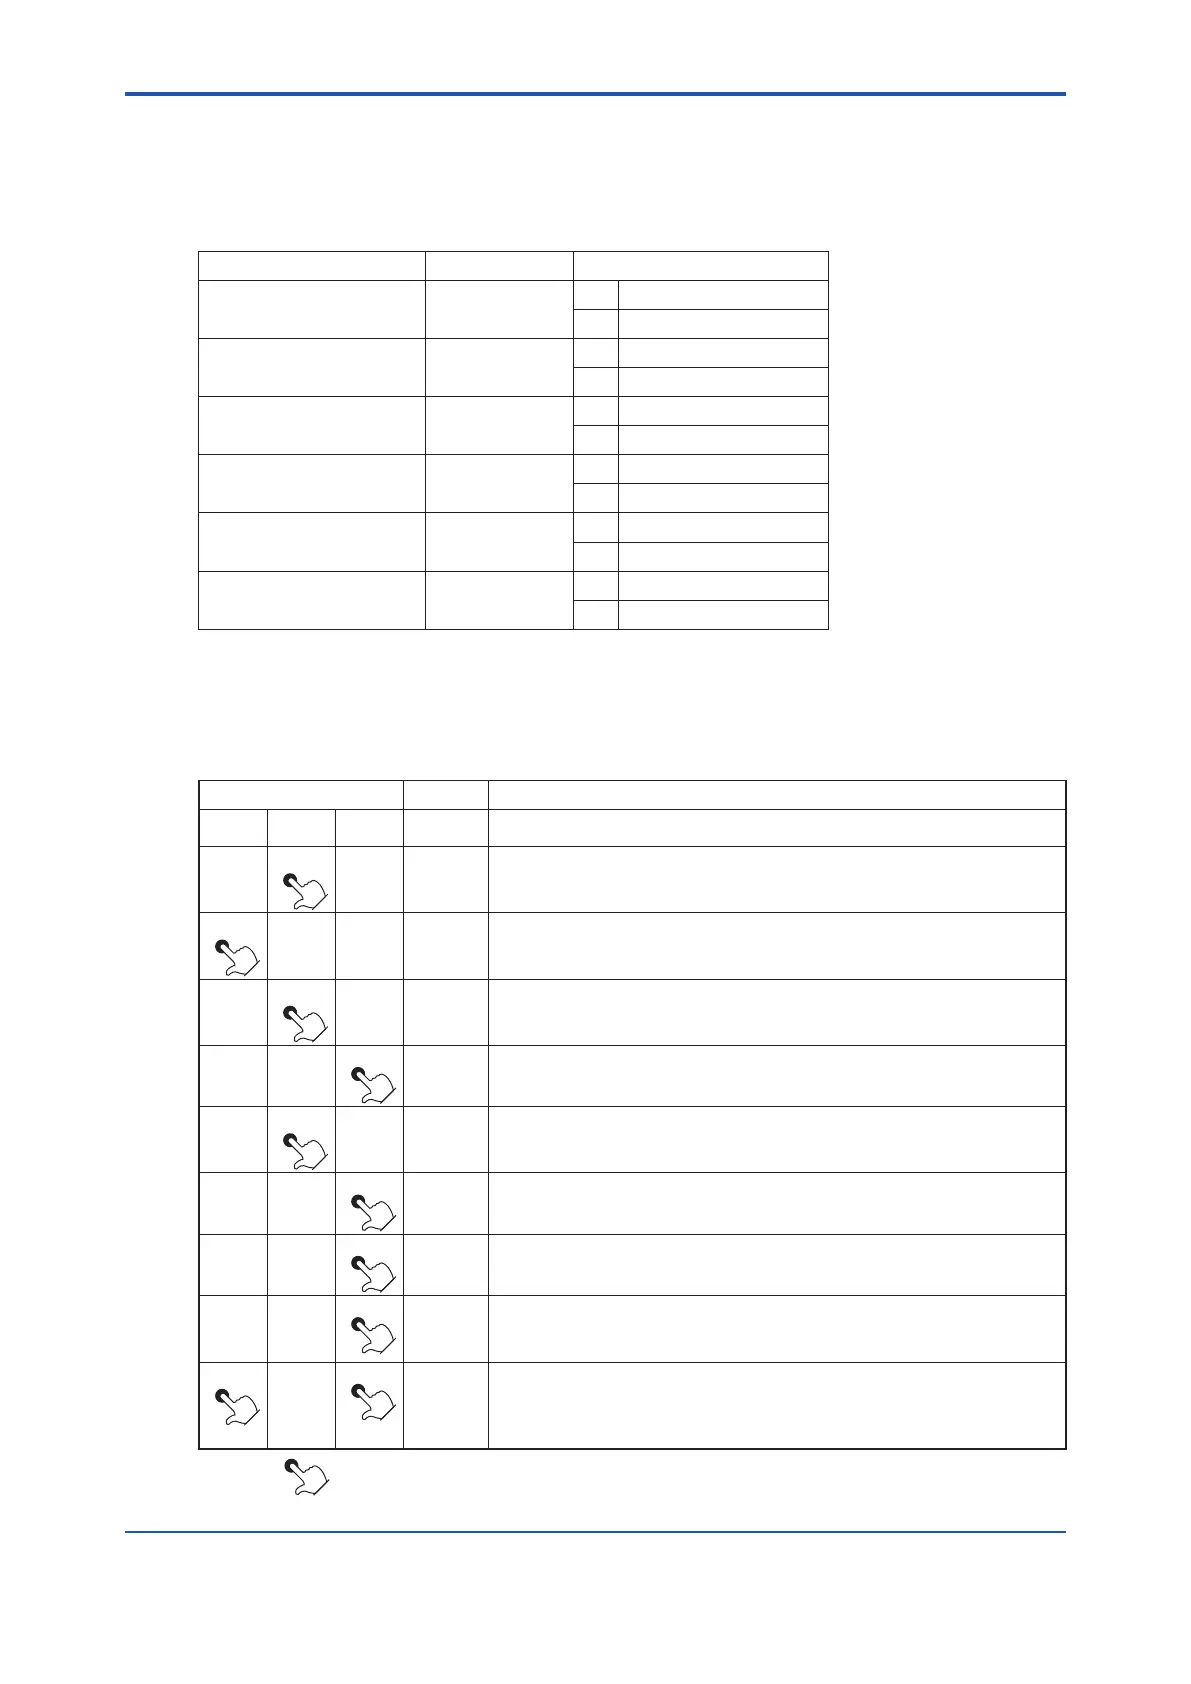
7.10.1 Contact Output Check
Follow Table 7.11 to check the contact output. The table uses an example with contact output 1.
Table 7.11 Checking Contact Output
Switch operation Display Description
> ∧
ENT
A01
Display after the password has been entered.
> ∧
ENT
G01
Touch the [∧] key to switch to Group G.
> ∧
ENT
G01
Touch the [>] key to move the position of the digit that is ashing to the
right one digit.
> ∧
ENT
G11
Touch the [∧] key to enter 1.
> ∧
ENT
0
Touch the [ENT] key to have 0 (zero) ash. The contact is then open.
> ∧
ENT
1
Touch the [∧] key to set 1 (one).
> ∧
ENT
1
Touch the [ENT] key. The ashing continues.
> ∧
ENT
1
Touch the [ENT] key again to stop the ashing, and the contact will be
closed.
> ∧
ENT
G11
Touch the [ENT] key once again to switch to the parameter code selection
display.
The contact then returns to the original state.
> ∧
ENT Basic
panel
display
Touch the [>] key together with the [ENT] key to return to the basic panel
display. (This is not required if you proceed to make another setting.)
(The displayed numeric characters indicate the measurement gas
concentration.)
The symbol [ ] indicates that the key is being touched. Light characters indicates that the digits are ashing.
11th Edition : Jul. 19, 2017-00
 Loading...