2
Press the OK button.
The Paper Menu is displayed.
3
Press ▲ or ▼ to select Chg. Paper Size, and then press the OK button.
4
Press ▲ or ▼ to select Roll Length, and then press the OK button.
5
Press ▲ or ▼ to select the length of paper loaded in the printer, and then press the OK button.
Specify the roll length as follows.
1.
Press the ◀ or ▶ button to move to the next field for input.
2.
Press the ▲ or ▼ button to enter the value.
3.
Repeat steps 1 and 2 to finish entering the value, and then press the OK button.
Removing the Roll from the Printer
Removing the Roll from the Printer
Remove rolls from the printer as follows.
Note
•
If you need to cut the roll, see "Specifying the Cutting Method for Rolls." ➔P.333
1
On the Tab Selection screen of the Control Panel, press ◀ or ▶ to
select the Paper tab ( ).
Note
•
If the Tab Selection screen is not displayed, press the Menu button.
2
Press the OK button.
The Paper Menu is displayed.
3
Press ▲ or ▼ to select Eject Paper, and then press the OK button.
4
Press ▲ or ▼ to select Yes, and then press the OK button.
The roll is now rewound and ejected.
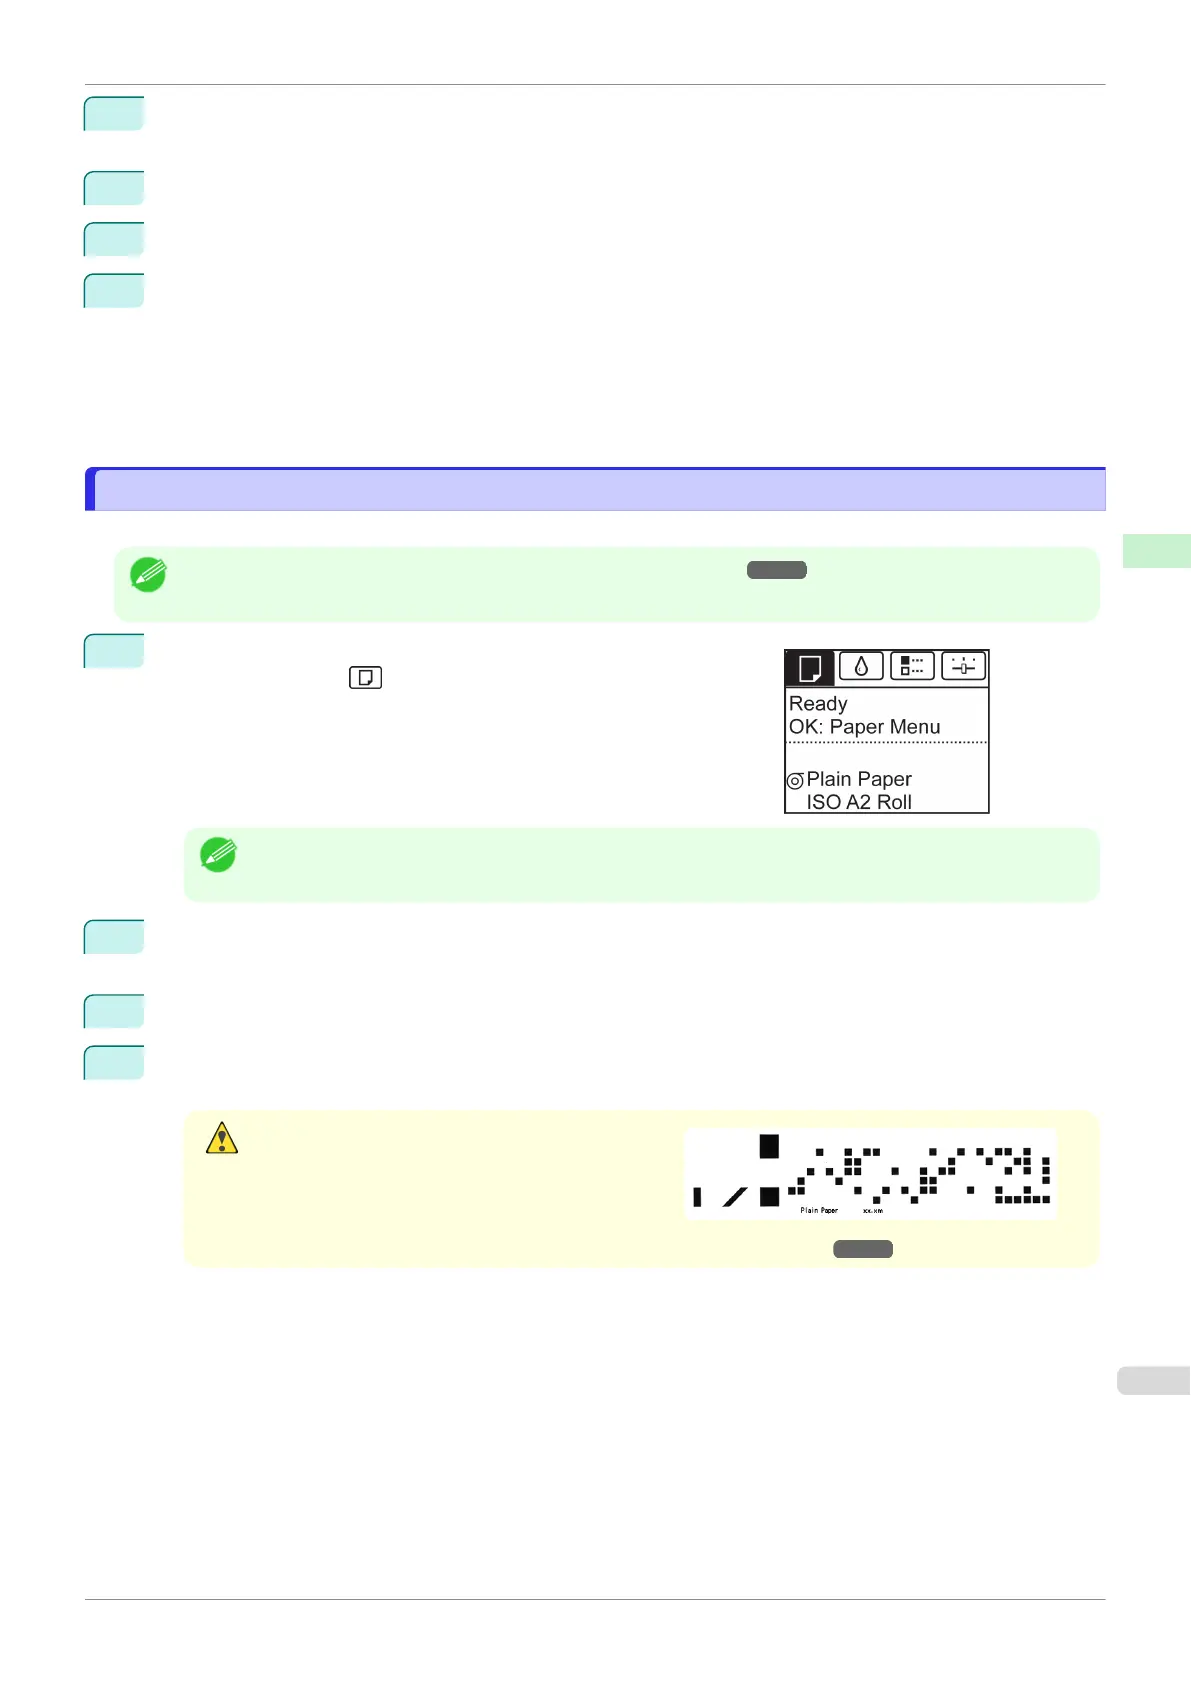
Caution
•
If you have selected ManageRemainRoll > On in
the Control Panel menu, a barcode is printed on
the leading edge of the roll.
Do not remove the roll before the barcode is prin-
ted. You will be unable to keep track of the amount
of roll paper left. (See "Keeping Track of the Amount of Roll Paper Left.") ➔ P.331
iPF770
Removing the Roll from the Printer
User's Guide
Handling and Use of Paper Handling rolls
327
 Loading...