4 Web-based Switch Configuration D-Link Smart Managed Switch User Manual
2
2
5
5
Tick the Ignore the wizard next time option to skip the Smart Wizard on the next login.
NOTE: The Smart Wizard supports quick settings for IPv4 network.
NOTE: The switch will probe IP-Cameras every 30 seconds. If and
IP-Camera is not in the same subnet as the switch, the IP-Camera
will not be automatically discovered. Place the switch management
IP in the same subnet as the IP-
Cameras for the cameras to be
automatically added to the Surveillance Mode Web UI.
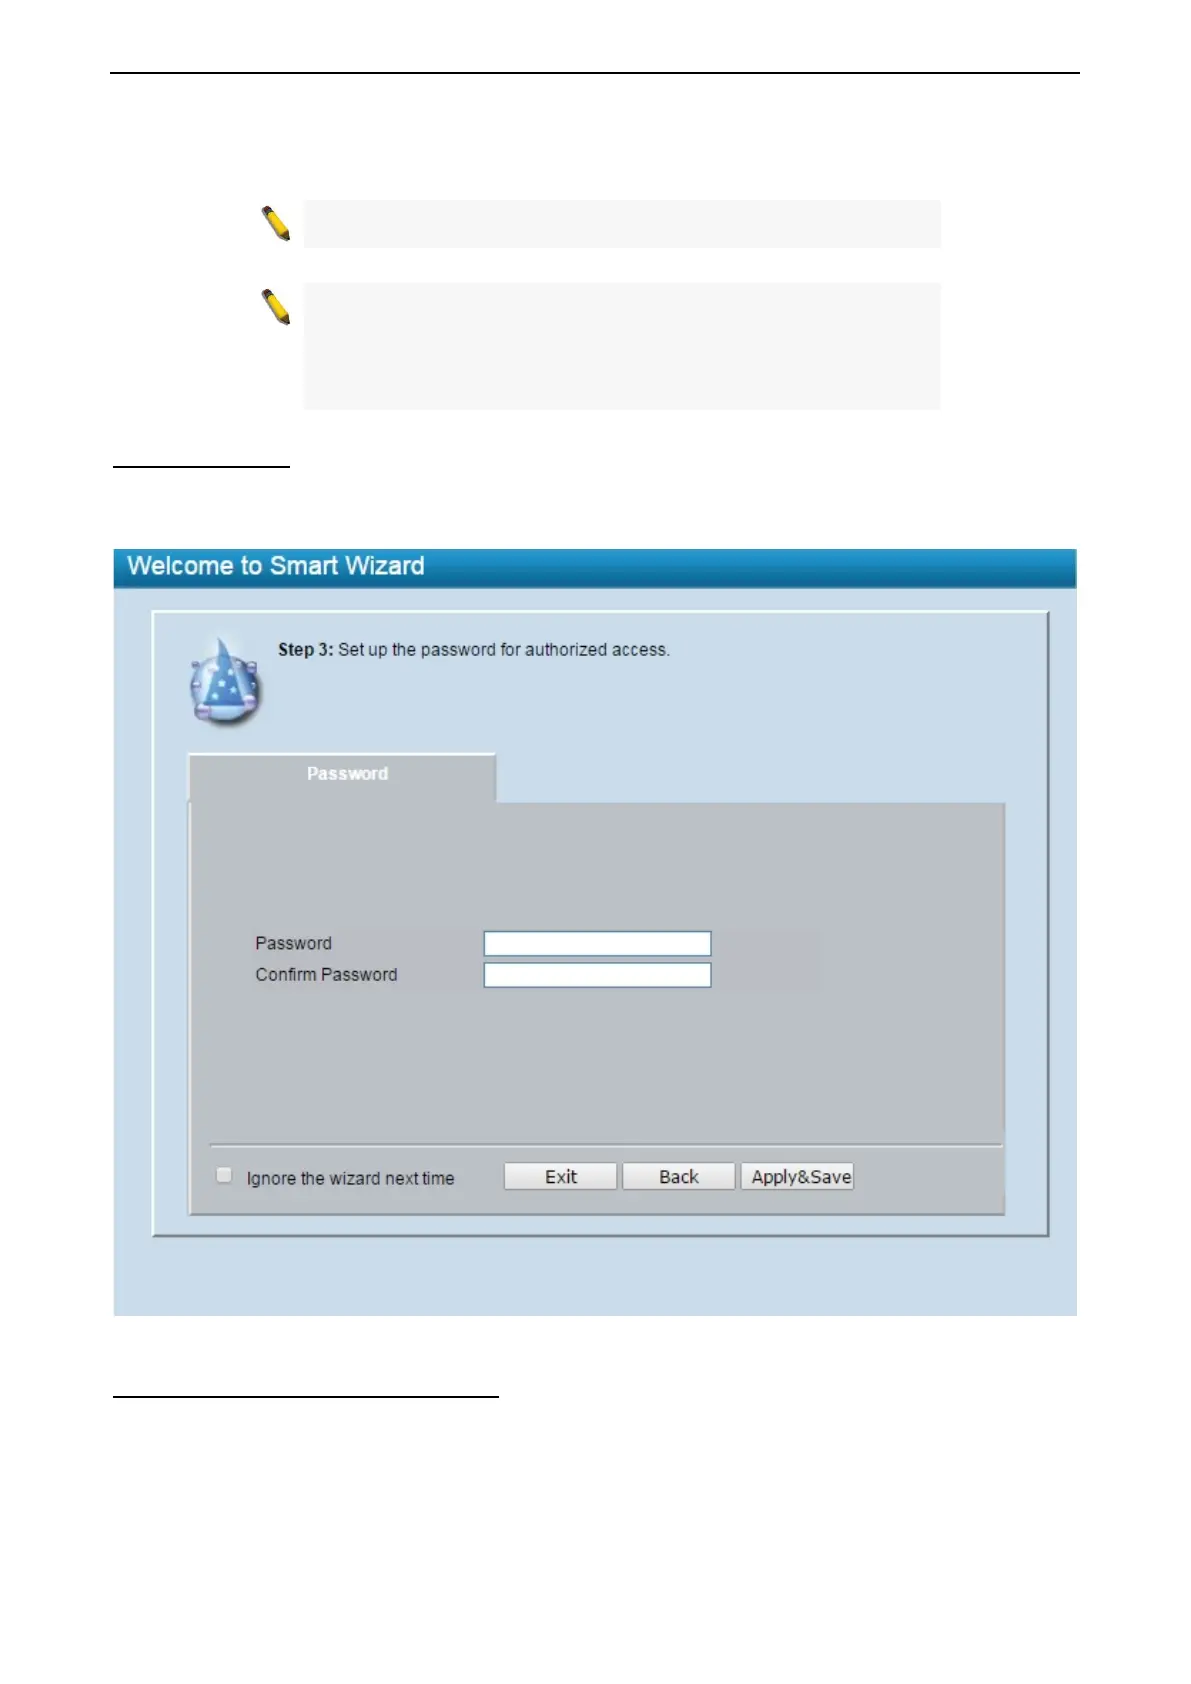
Step 3 – Password
Type the desired new password in the Password box and again in the Confirm Password, then click the
Apply&Save button to accept the changes made and enter the next SNMP setting page. Tick the Ignore the
wizard next time option to skip the Smart Wizard on the next login.
Figure 4.3 – Password in Smart Wizard
Step 4 – SNMP (Only for Standard Mode)
The SNMP Setting allows you to quickly enable/disable the SNMP function. The default SNMP Setting is
Disabled. Click Enabled and then click Apply to make it effective.
 Loading...