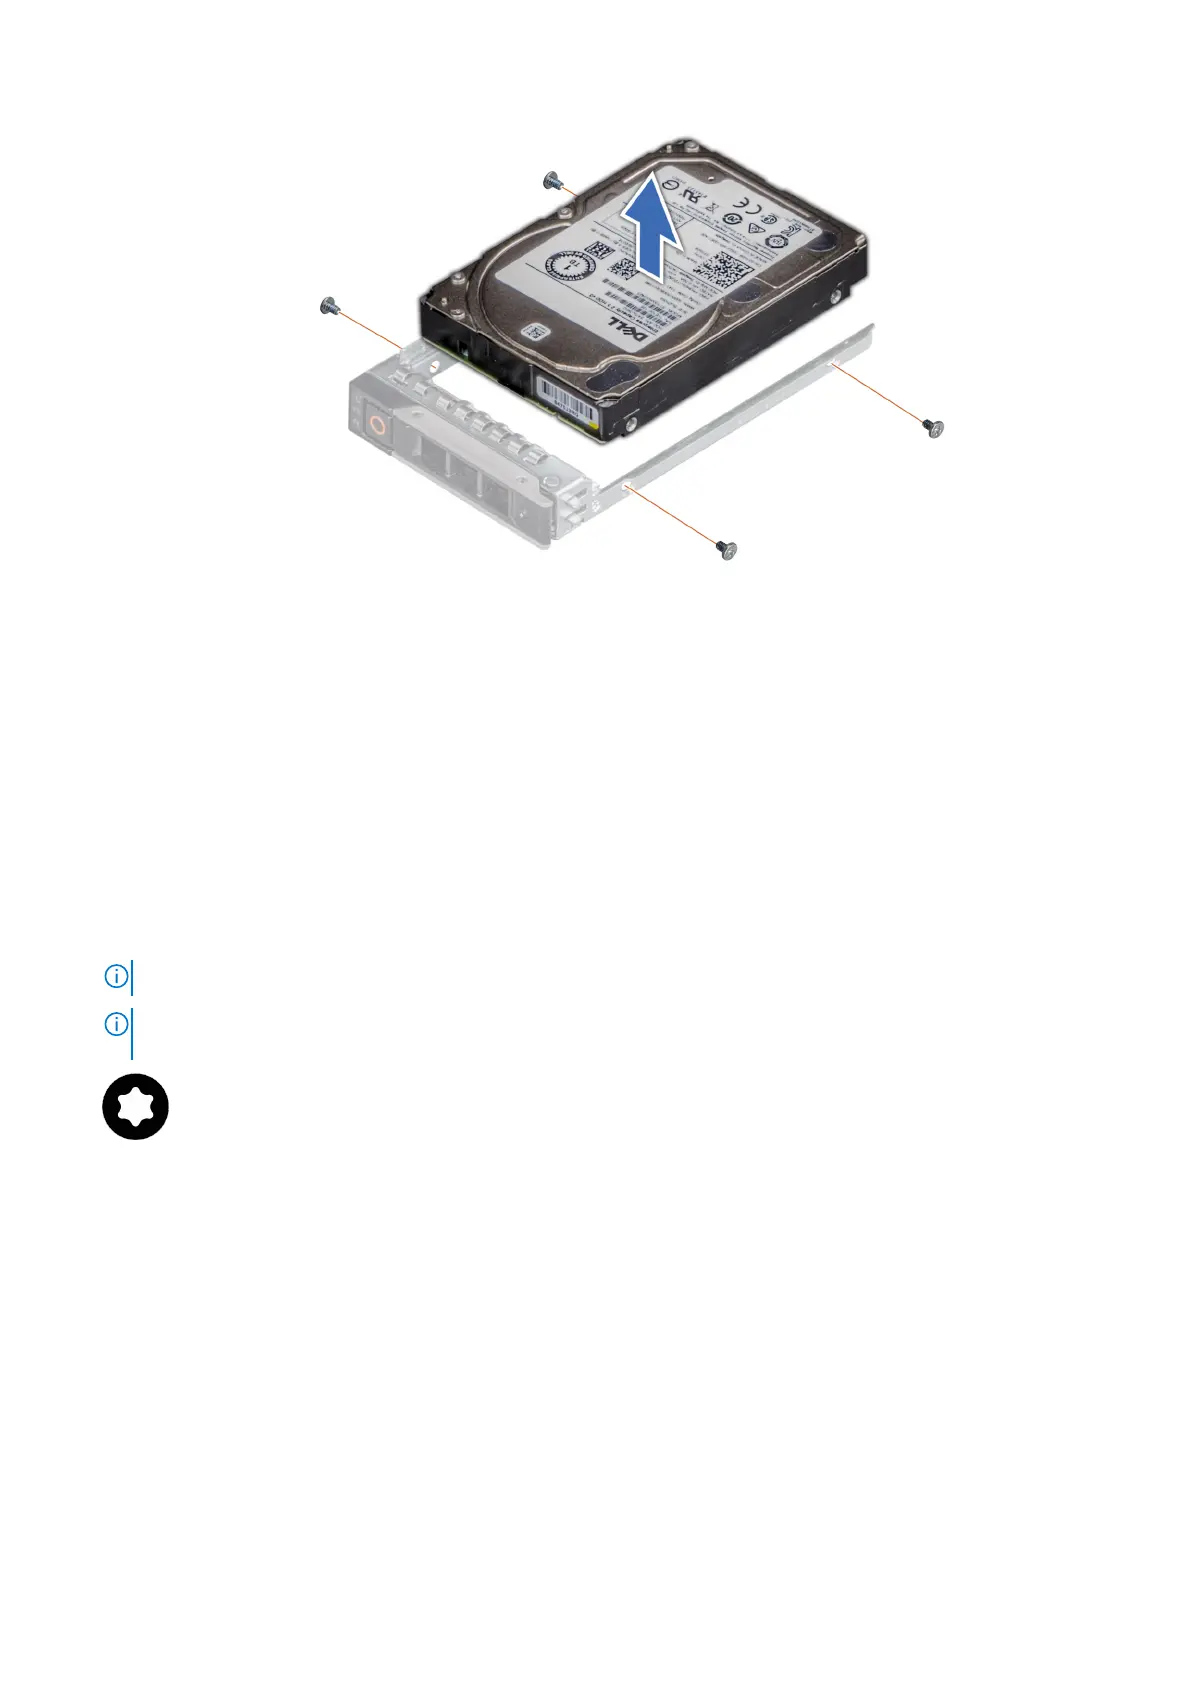
Figure 45. Removing the drive from the drive carrier
Installing the drive into the drive carrier
Prerequisites
1. Follow the safety guidelines listed in the Safety instructions.
2. Remove the drive blank or Remove the drive carrier.
Steps
1. Insert the drive into the drive carrier with the drive connector facing towards the rear of the carrier.
2. Align the screw holes on the drive with the screws holes on the drive carrier.
3. Using a Phillips #1 screwdriver, secure the drive to the drive carrier with the screws.
NOTE: When installing a drive into the drive carrier, ensure that the screws are torqued to 4 lbf-in.
NOTE: If the drive carrier has Torx screw, use Torx 6 (for 2.5-inch drive) or Torx 8 (for 3.5-inch drive) screwdriver to
install the drive.
Installing and removing system components 73
 Loading...