22Installation and Service Guide: Color Controller E-46A
Installing Hardware
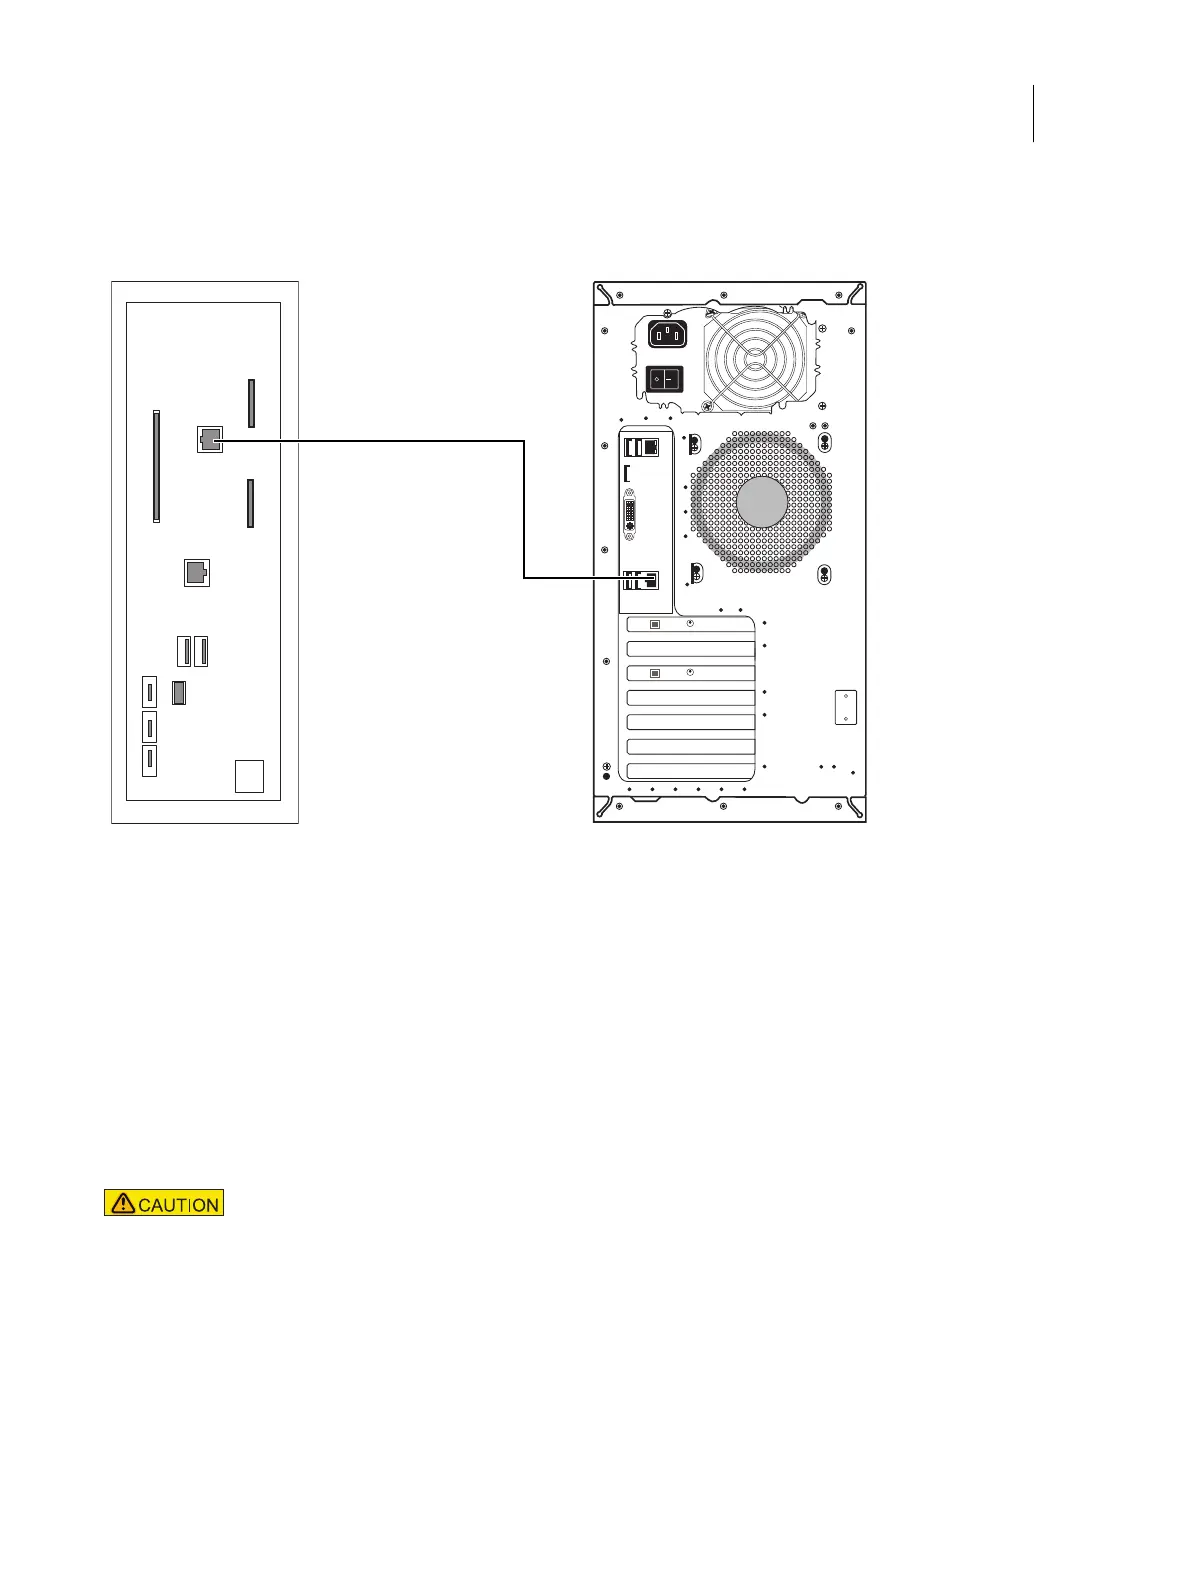
3 Connect one end of the printer interface (crossover Ethernet) cable to the printer interface (crossover Ethernet)
port (lower RJ-45) on the E-46A connector panel.
Figure 6: Printer and E-46A cable connections
4 Connect the other end of the printer interface (crossover Ethernet) cable to the printer.
To connect to the network
1 Make sure that the E-46A is powered off.
2 Obtain the appropriate straight-through Ethernet cable for the customer network connection:
• For 10BaseT link speed, use a cable that is Category 3 or higher.
• For 100BaseTX, use Category 5 or higher (4-pair/8-wire, short-length).
• For 1000BaseT, use Category 5e or higher (4-pair/8-wire, short-length).
Note: To verify the cable type, align the connectors on each end of the cable, as shown in Figure 7. On a straight-
through cable, the wire arrangements are identical on both ends; on a crossover cable, the wire arrangements are
different.
The straight-through Ethernet cable at the customer site and the crossover Ethernet cable
shipped with the E-46A look similar, but are not interchangeable. Make sure that you connect
the straight-through Ethernet cable for the network connection.

 Loading...