69Installation and Service Guide Color Controller E-46A
Replacing parts
DIMMs
When installing DIMMs, note the following:
• Different capacity DIMMs look alike. Make sure that you know the capacity of each DIMM before you install it in a
slot.
• Install only approved DIMMs available from your service representative.
• DIMMs must be installed in matched pairs. A matched pair is comprised of two alternate slots. DIMMs within a
pair must be identical (same capacity and same number of chips on each side). For example, in a two-DIMM
configuration, populate DIMM 1 and DIMM 2 with DIMMs of identical capacity, with the same number of chips
on each side.
To replace a DIMM
1 Shut down, and then open the E-46A (see page 51).
To access the DIMMs, you must remove the left panel.
2 Remove the printer interface board from the motherboard (see page 58).
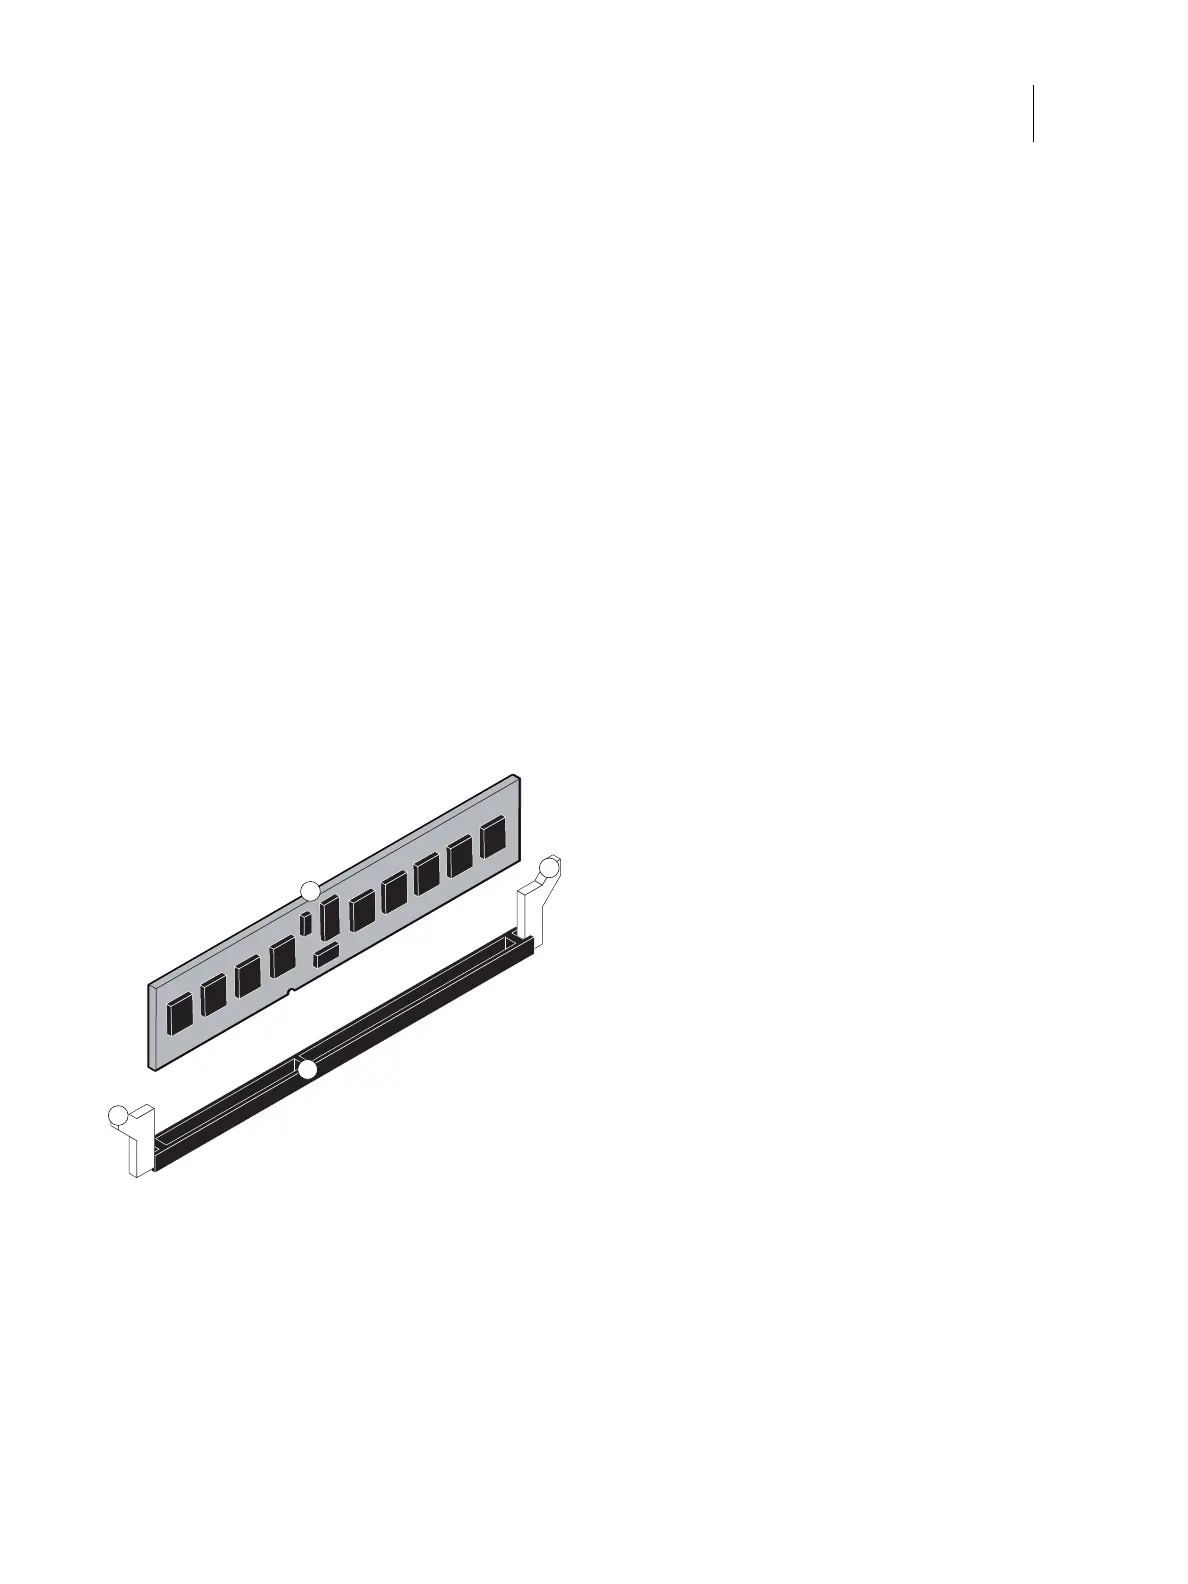
3 To release a DIMM, push the clips outward on each side of the DIMM.
Figure 34: Releasing a DIMM
4 Pull the DIMM straight out of the Slot.
1 Clips
2 DIMM
3 Slot notch
1
2
3
1

 Loading...