QX5
QXFXO4/QXISDN4/QXE1T1/QXFXS24; (SW Version 6.0.x) 29
QXFXO4/QXISDN4/QXE1T1/QXFXS24 Manual II: Administrator’s Guide
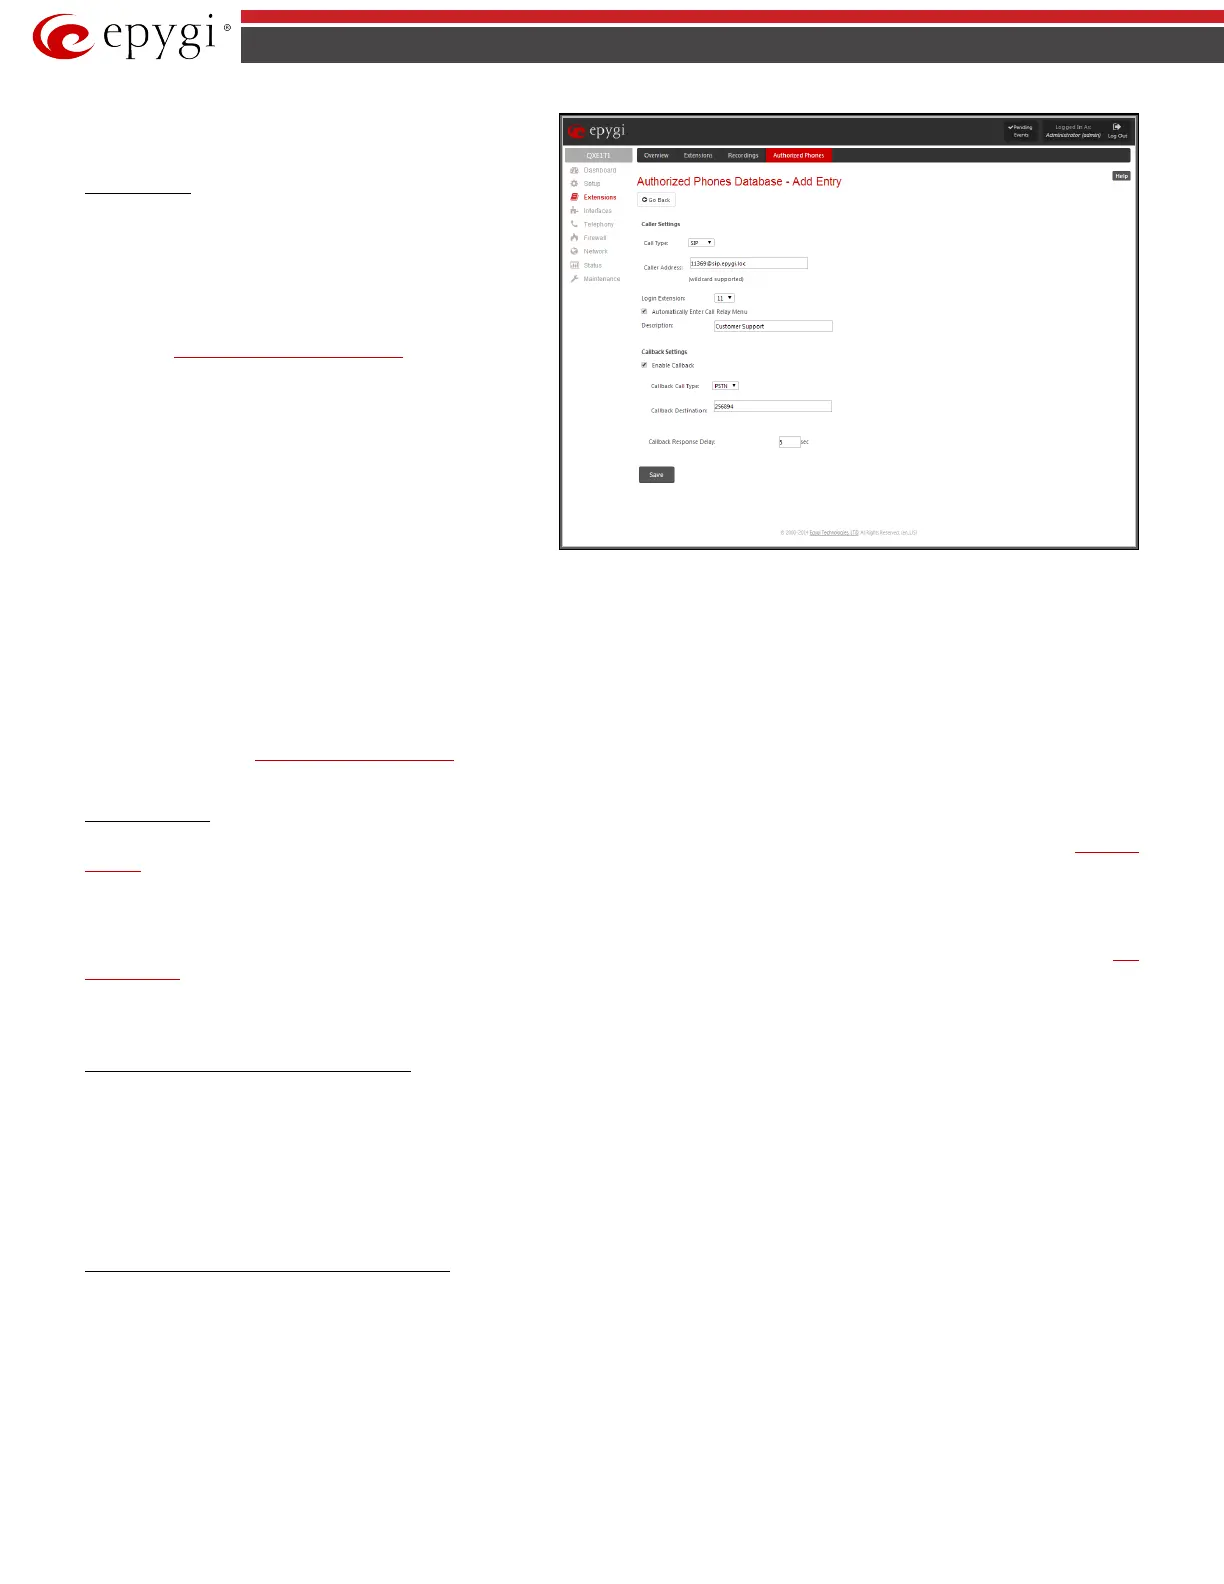
Authorized Phones Database - Add Entry
page offers two
groups of input options:
Caller Settings
The Call Type drop down list includes possible incoming call
types (PSTN, SIP or Auto). In SIP, the caller connects QX through
a SIP server and PSTN means the caller is a PSTN user. Auto is
used for undefined call types and the destination (independent
on whether it is a PBX number, SIP address or PSTN number)
will be reached through Routing.
The Caller Address text field requires the caller’s SIP address
(see chapter
Entering SIP Addresses Correctly) or PSTN number
to be added to the trusted phones list. The PSTN number length
depends on the area code and phone number. The wildcard is
supported in this field. If the caller address already exists in the
Authorized Phones Database, the error message “The record
already exists” appears when selecting the Save button.
Fig.II- 31: Authorized Phones Database - Add Entry page
The Login Extension drop down list provides all existing extensions on the QX. When calling the QX Auto Attendant, a trusted user will automatically be
logged in as the selected extension, i.e., the extension number and its password will be automatically submitted by the QX system. The trusted user will
directly access the QX Auto Attendant services. The SIP settings of the login extension will be used when making IP calls.
The Automatically Enter Call Relay Menu checkbox enables direct access for the trusted user to the QX Auto Attendant Call Relay menu. If the checkbox
is not selected, a trusted caller will be directed to the Auto Attendant's main menu, but will still be able to reach Remote Access and Call Relay services
with no authentication.
Please Note: Login Extension drop down list and Automatically Enter Call Relay Menu checkbox have no sense for Auto Attendant with custom
scenario configured (see
Attendant Extension Settings).
The Description text field allows entering an optional comment.
Callback Settings
The Enable Callback checkbox selection gives the possibility for a specified trusted caller to use the Instant Call Back service (see chapter Call Back
Services).
The Callback Call Type drop down list includes possible callback call types (PBX, PSTN, SIP and Auto).
The Callback Destination text field requires the destination number where QX should instantly call back to. The value inserted in this field is dependent
on the selected callback call type: for PBX, extension number is required, for SIP, the SIP address is requires and for PSTN, a PSTN number is required.
Auto is used for undefined call types: destination (independent on whether it is a PBX number, SIP address or PSTN number) will be reached through
Call
Routing Table. If this field is left empty, the callers address will be implied as a callback destination.
The Callback Response Delay text field requires the delay (in seconds) after which the call back will be performed.
To Add an Authorized phone to the database
1. Enter the desired Auto Attendant Settings page.
2. Select Edit Authorized Phones Database to enter the Authorized Phones Database page.
3. Press the Add button on the Authorized Phones Database page. The Add Entry page will appear in the browser window.
4. Choose the call type and enter a caller address in the corresponding text field.
5. Select a Login Extension and the Automatically Enter Call Relay Menu checkbox (if required).
6. Enable Call Back service if required and define a Call Back Destination in the same named field.
7. Fill in an optional Description in the appropriate field, if required.
8. Press Save to submit the settings.
To Delete an Authorized phone from the database
1. Enter the desired Auto Attendant Settings page.
2. Select Edit Authorized Phones Database to enter the Authorized Phones Database page.
3. To remove an authorized phone(s), select one or more checkboxes of the corresponding records that should be deleted from the Authorized Phones
Database table.
4. Press the Delete button on the Authorized Phones Database page.
5. Confirm the deletion by clicking on Yes or cancel the action by clicking on No.
 Loading...