QX5
QXFXO4/QXISDN4/QXE1T1/QXFXS24; (SW Version 6.0.x) 94
QXFXO4/QXISDN4/QXE1T1/QXFXS24 Manual II: Administrator’s Guide
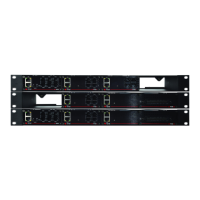
SNMP Trap Settings
SNMP Trap Settings
page is used to define the traphosts that
should be informed when certain events occur on the QX gateway.
For the listed traphosts to be informed about the events on the QX
gateway, Send SNMP Trap action should be configured for the
corresponding event(s) from the
Event Settings page.
SNMP Trap Settings page contains a list of all configured
traphosts with the referring information.
Fig.II- 141: SNMP Trap Settings page
Add
functional button is used to add a new traphost to the table
and opens
Add SNMP Traphost
page where the new traphost
might be defined. Page consists of the following components:
Traphost text field requires an IP address or the host name of the
traphost. Administrating application’s host address should be
inserted here.
Community text field requires community description (public,
private, etc.) for the administrating application to accept the
notifications about the certain events on the QX gateway. Field
may contain some kind of password which should be the same
both on QX gateway and on the administrating application for
successful SNMP management.
A group of radio buttons is used to select the SNMP protocol
version used for events notifications delivered by the QX gateway
to the administrating application.
Fig.II- 142:Add SNMP Traphost page
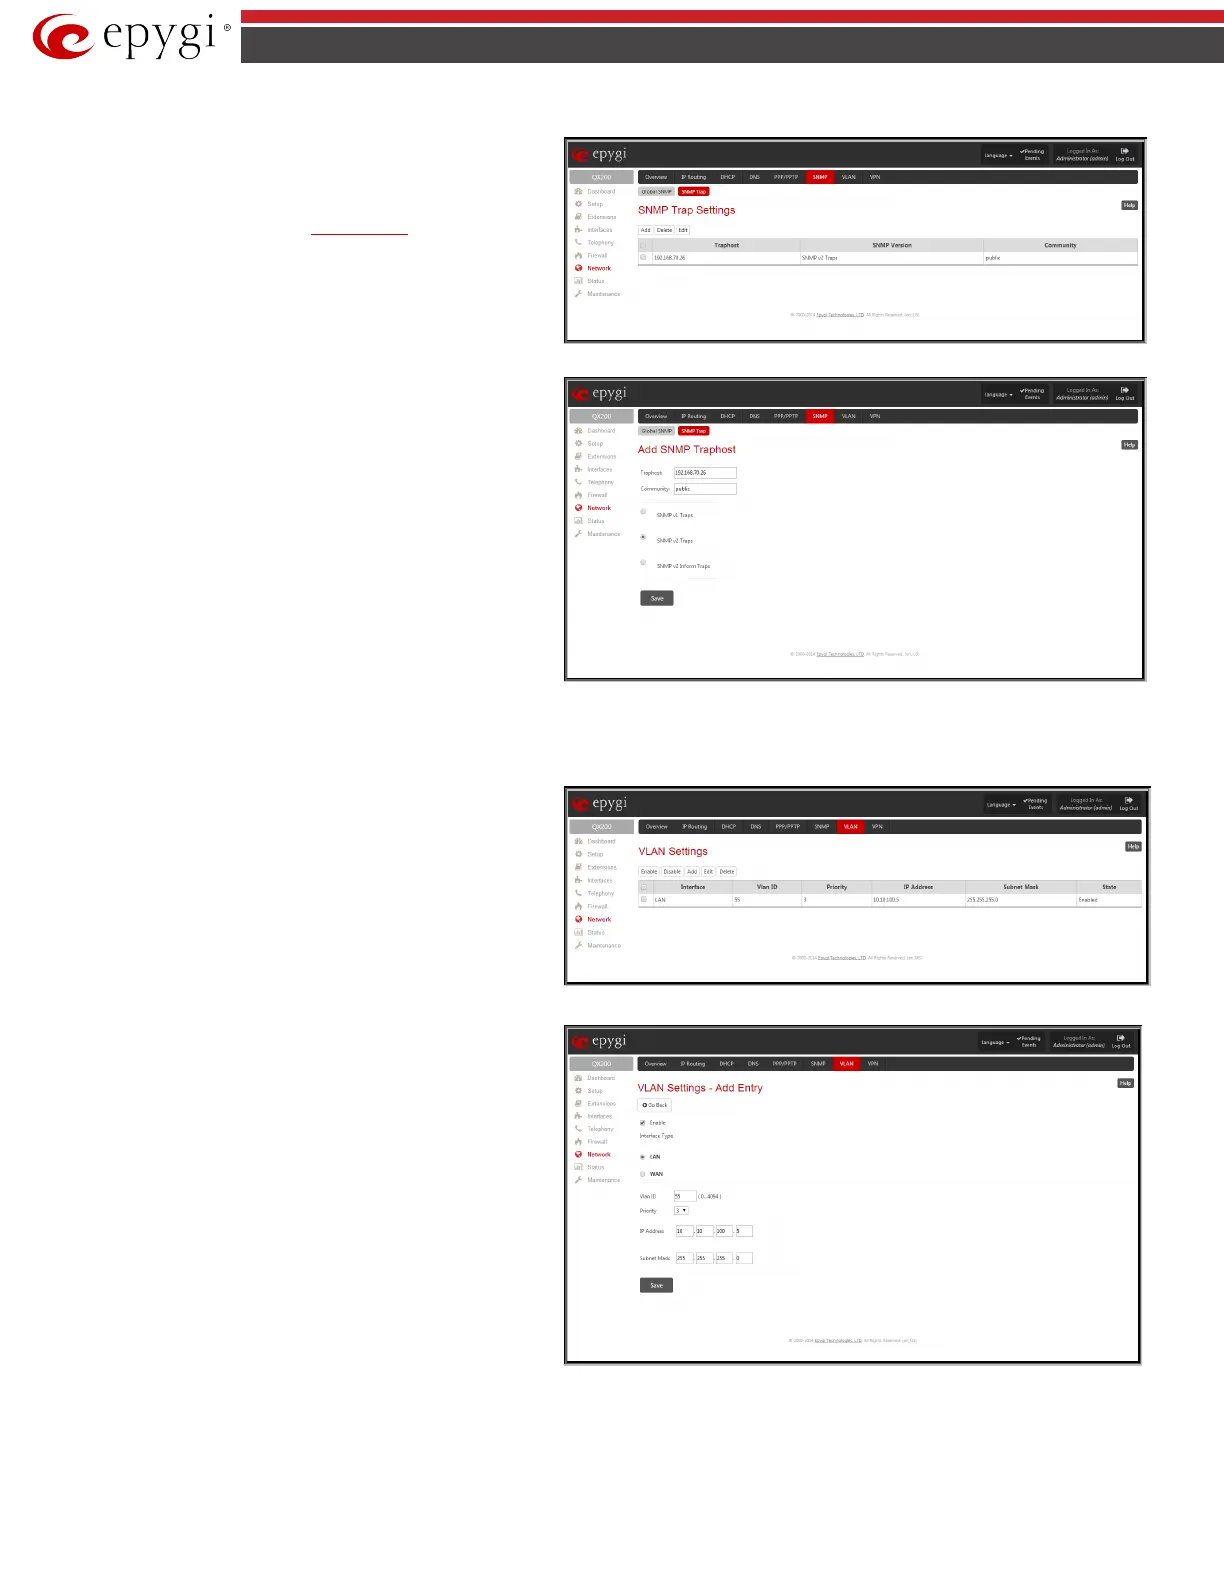
VLAN Configuration
VLAN Settings
page lists all existing virtual interfaces created on
the QX gateway and allows you to create new interfaces.
Enable and Disable
functional buttons are used to
correspondingly enable and disable the selected virtual
interface(s).
Fig.II- 143: VLAN Settings page
Add
functional button opens an
Add Entry
page where a new
virtual network can be defined. The page consists of the following
components:
Enable checkbox is used to select whether the corresponding
virtual interface will be enabled or disabled after it is created.
Interface Type manipulation radio buttons selection allows to
choose whether the virtual interface will be LAN or WAN.
VLAN ID text field requires the virtual network ID. Numeric value
in a range from 0 to 4094 is allowed in this field.
Priority drop down list is used to select the priority of packets in
the corresponding interface. Packets with the lower priority (0)
will be delivered first.
IP Address text field requires the IP address of the virtual
interface.
Subnet Mask text field requires the subnet of the virtual interface.
Fig.II- 144: VLAN Settings – Add Entry page
 Loading...