QX5
QXFXO4/QXISDN4/QXE1T1/QXFXS24; (SW Version 6.0.x) 28
QXFXO4/QXISDN4/QXE1T1/QXFXS24 Manual II: Administrator’s Guide
Secure RTP Settings are used to configure secure voice over IP communication on the QX. The SRTP Policy drop down list is used to select the secure IP
connection policy. For IP phones, the following options are available:
• Make and accept only secure calls - only the secure calls will be generated and accepted.
• Make and accept only unsecure calls - only the unsecure calls will be generated and accepted.
• Try to establish secure calls, accept anything - system will try first to establish secure call, but will fallback to unsecure call if party doesn't
accept secure calls; both secure and unsecure incoming calls will be accepted, as requested by remote party, with the preference given to
establishing secure call.
• Make unsecure calls, accept anything - system will establish unsecure outgoing calls, but both secure and unsecure incoming calls will be
accepted as requested by remote party.
For bandwidth used by secure calls, see
Needed Bandwidth for IP Calls.
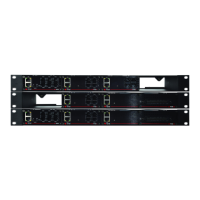
Upload Universal Extension Recordings
The Upload Universal Extension Recordings (available only for QXISDN4, QXFXO4 and QXE1T1 Gateways) are to be defined by the QX administrator
and will be present instead of the default voice messages for all extensions on the QX. They will be used when no custom messages have been uploaded or
recorded.
The following system messages can be uploaded from this page:
• Incoming call blocking - played when a blocked user calls the extension
• Outgoing call blocking – played when extension dials a blocked destination
The Upload Universal Extension Recordings page consists of a table where the universal voice messages are listed.
Upload
functional link is present for each voice message
recording that is not uploaded in the table and it is used to upload
the custom system message. When a message is uploaded, the
Upload functional link is replaced by Download and Remove
functional links respectively. These are used to download to the PC
and to remove the uploaded system message.
The Memory Allocation group includes a drop down list used to
specify the Percentage of System Memory for the universal
extension recordings. The maximum value in the drop down list is
equal to the maximum available space for voice messages on QX.
Fig.II- 29: Upload Universal Extension Recordings page
Please Note: Changing the Percentage of System Memory on this page will stop any recordings of universal extension voice messages from the handset.
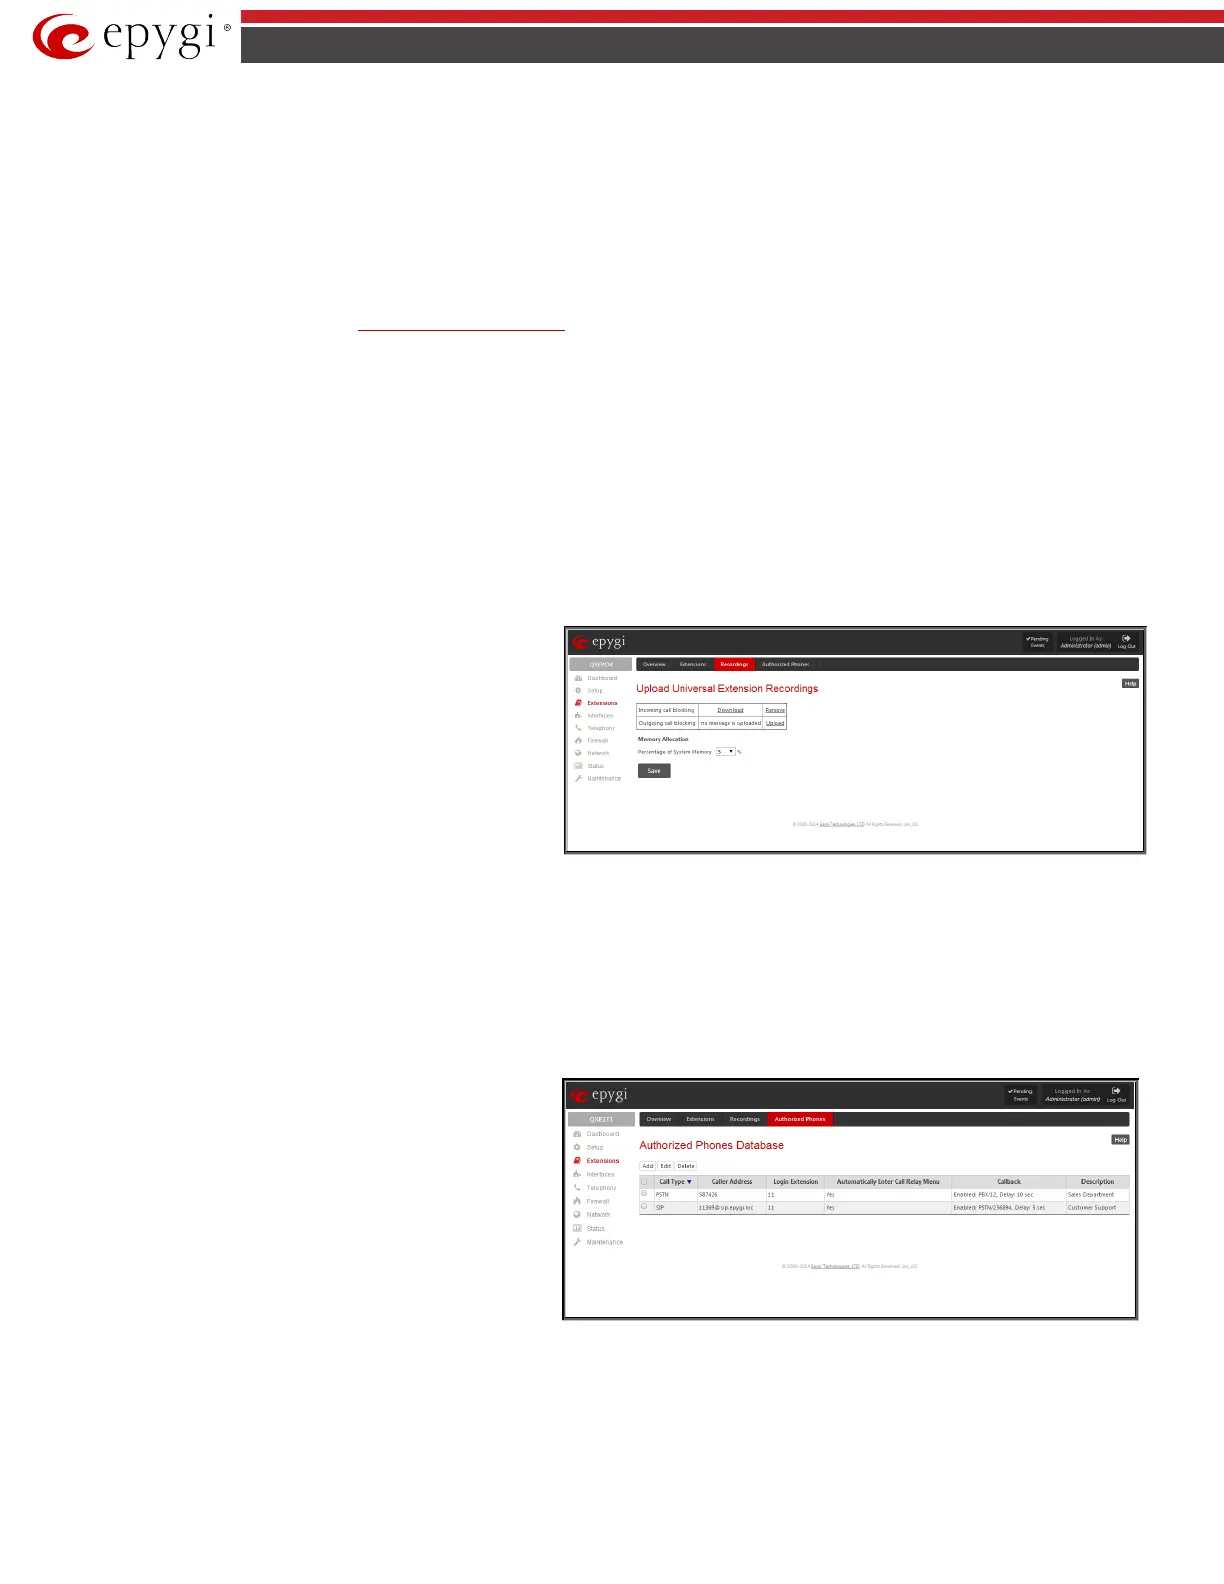
Authorized Phones Database
The Authorized Phones Database page (available only for QXISDN4, QXFXO4 and QXE1T1 gateways) is used to create a list of trusted external phones. If
they are part of the QX Authorized Phones database, external SIP or PSTN, then users are free to access the QX Auto Attendant services without requiring
authentication. When adding a trusted phone to the list, an existing extension has to be chosen. The parameters (extension number and password, as well
as SIP and Speed Calling Settings) will be used automatically for the trusted caller access of the QX Auto Attendant. A direct connection to the Call Relay
menu can be optionally provided.
Authorized Phones Database
Authorized
Phones Database table where the trusted phones are listed. Only
SIP and PSTN users can be added to the Authorized Phones
Database.
The Authorized Phones Database table displays all trusted
callers with their settings. For example, the call type, caller
address, extension they automatically login with, information if
they have automatic access to Call Relay Menu of the Auto
Attendant, etc.
Fig.II- 30: Authorized Phones Database
Each record in the table has an assigned checkbox. The checkbox is used to edit or delete the corresponding record. The “No records selected” error
message occurs if the user activates the edit or delete button with no records being selected. The error message “One record should be selected” appears if
the user tries to edit more than one record. The heading of each column in the table has a link. By clicking on the column heading, the table will be sorted
by the selected column. When sorting (ascending or descending), arrows will be displayed next to the column heading.
The Add functional button refers to the Authorized Phones Database - Add Entry page where new trusted users may be entered.
 Loading...