GERAFT LOGIQ P9/P7
D
IRECTION 5604324, REVISION 11 DRAFT (JANUARY 24, 2019) SERVICE MANUAL
8-8 Section 8-3 - System Software - Installation/Upgrade Procedure
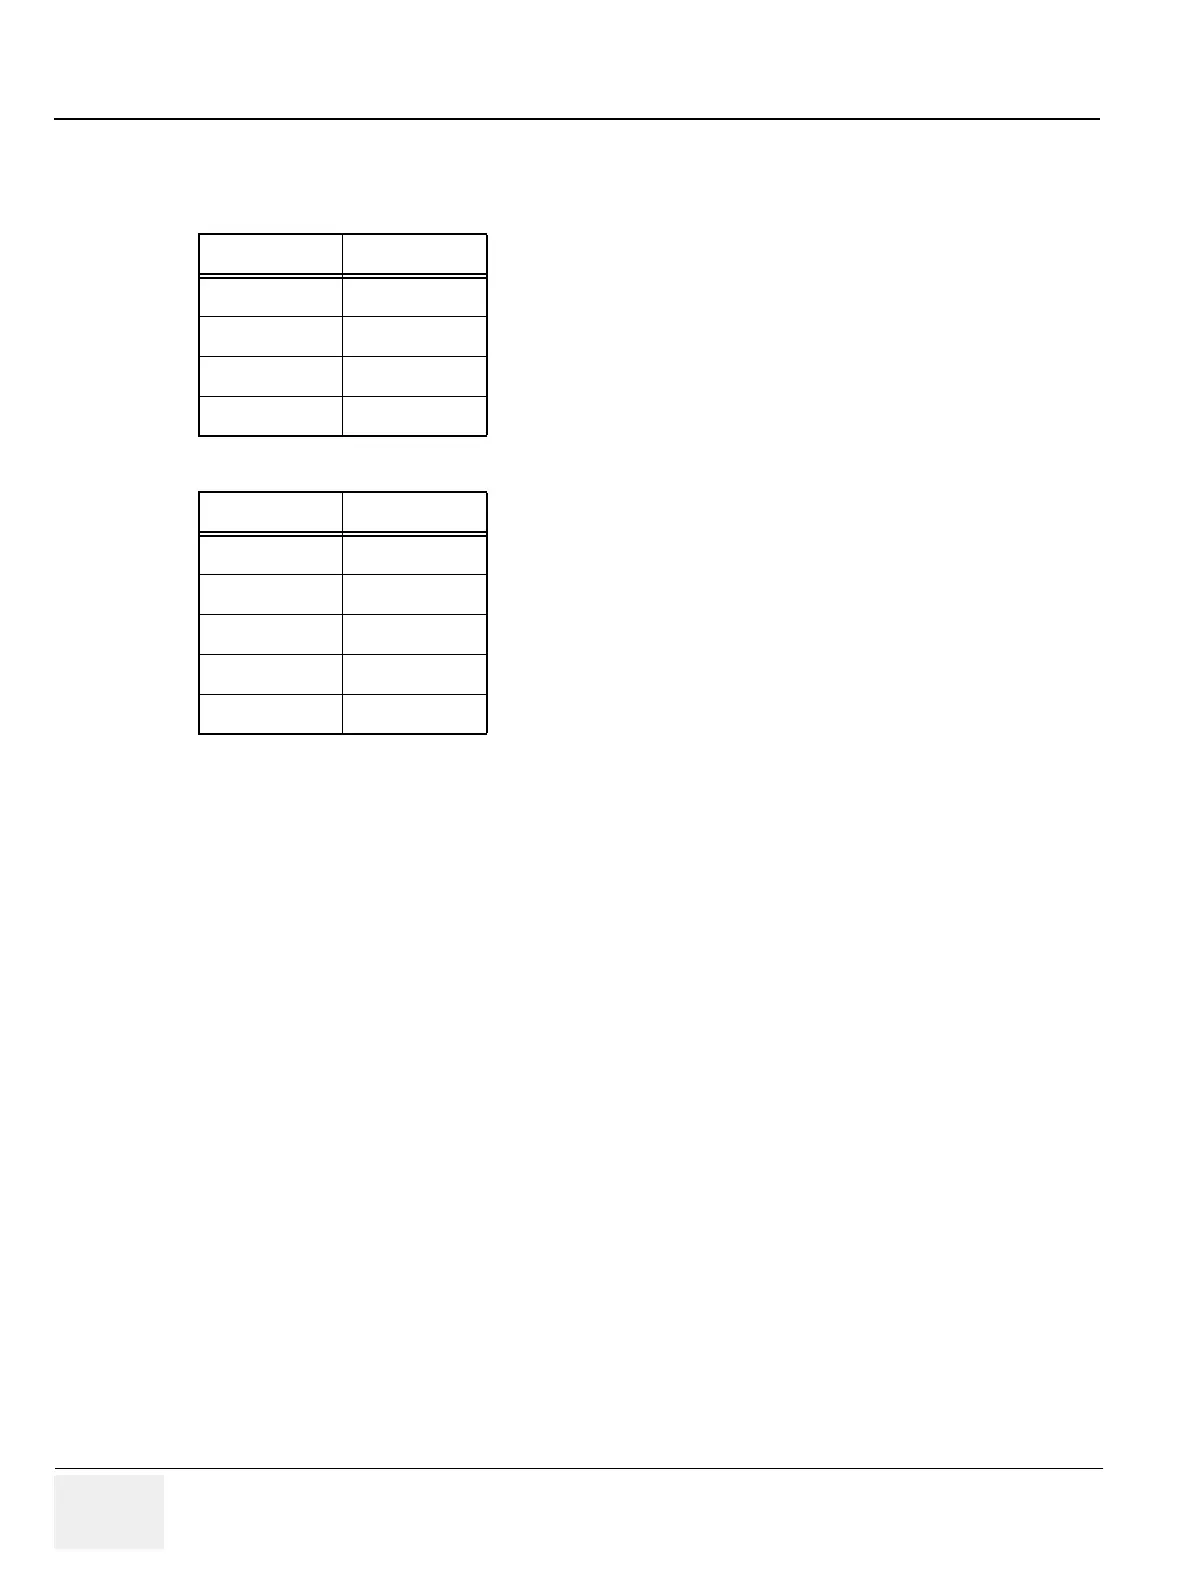
• The Hard Disk Drive (HDD) on LOGIQ P7/P9 is divided into four visible (R1.x.x.) or
five (R2.x.x or later) visible partitions.
NOTE: Before loading the Base System Software, you must perform the following steps:
• Contact the customer to allow enough lead time to back up the system.
• Be sure no images are in the clipboard or opened exams.
• Review troubleshooting section to collect information for future analysis if you are troubleshooting
loss of image or patient data.
• Disconnect the system from the network and remove all transducers from the system.
• Be sure all USB devices (printers only) are connected and turned on (except for USB Flash
devices). If a printer is plugged in at this time, it is automatically installed.
• Save all Service Presets if you are connected to InSite to restore remote connectivity after
something is completed.
• Save all User Presets.
NOTE: After a full or partial system software load, be sure to check the system date, time and time zone are
set correctly.
Table 8-2 Use of the Partitions (R1.x.x)
Drive Letter Label
C: SYSTEM
D: USER
E: ARCHIVE
Z: REPOSIT
Table 8-3 Use of the Partitions (R2.x.x or later)
Drive Letter Label
C: SYSTEM
D: USER
E: ARCHIVE
V: DVR
Z: REPOSIT

 Loading...


