GERAFT LOGIQ P9/P7
D
IRECTION 5604324, REVISION 11 DRAFT (JANUARY 24, 2019) SERVICE MANUAL
3-30 Section 3-7 - Completing the Set Up
3-7-4 Transducer Connection
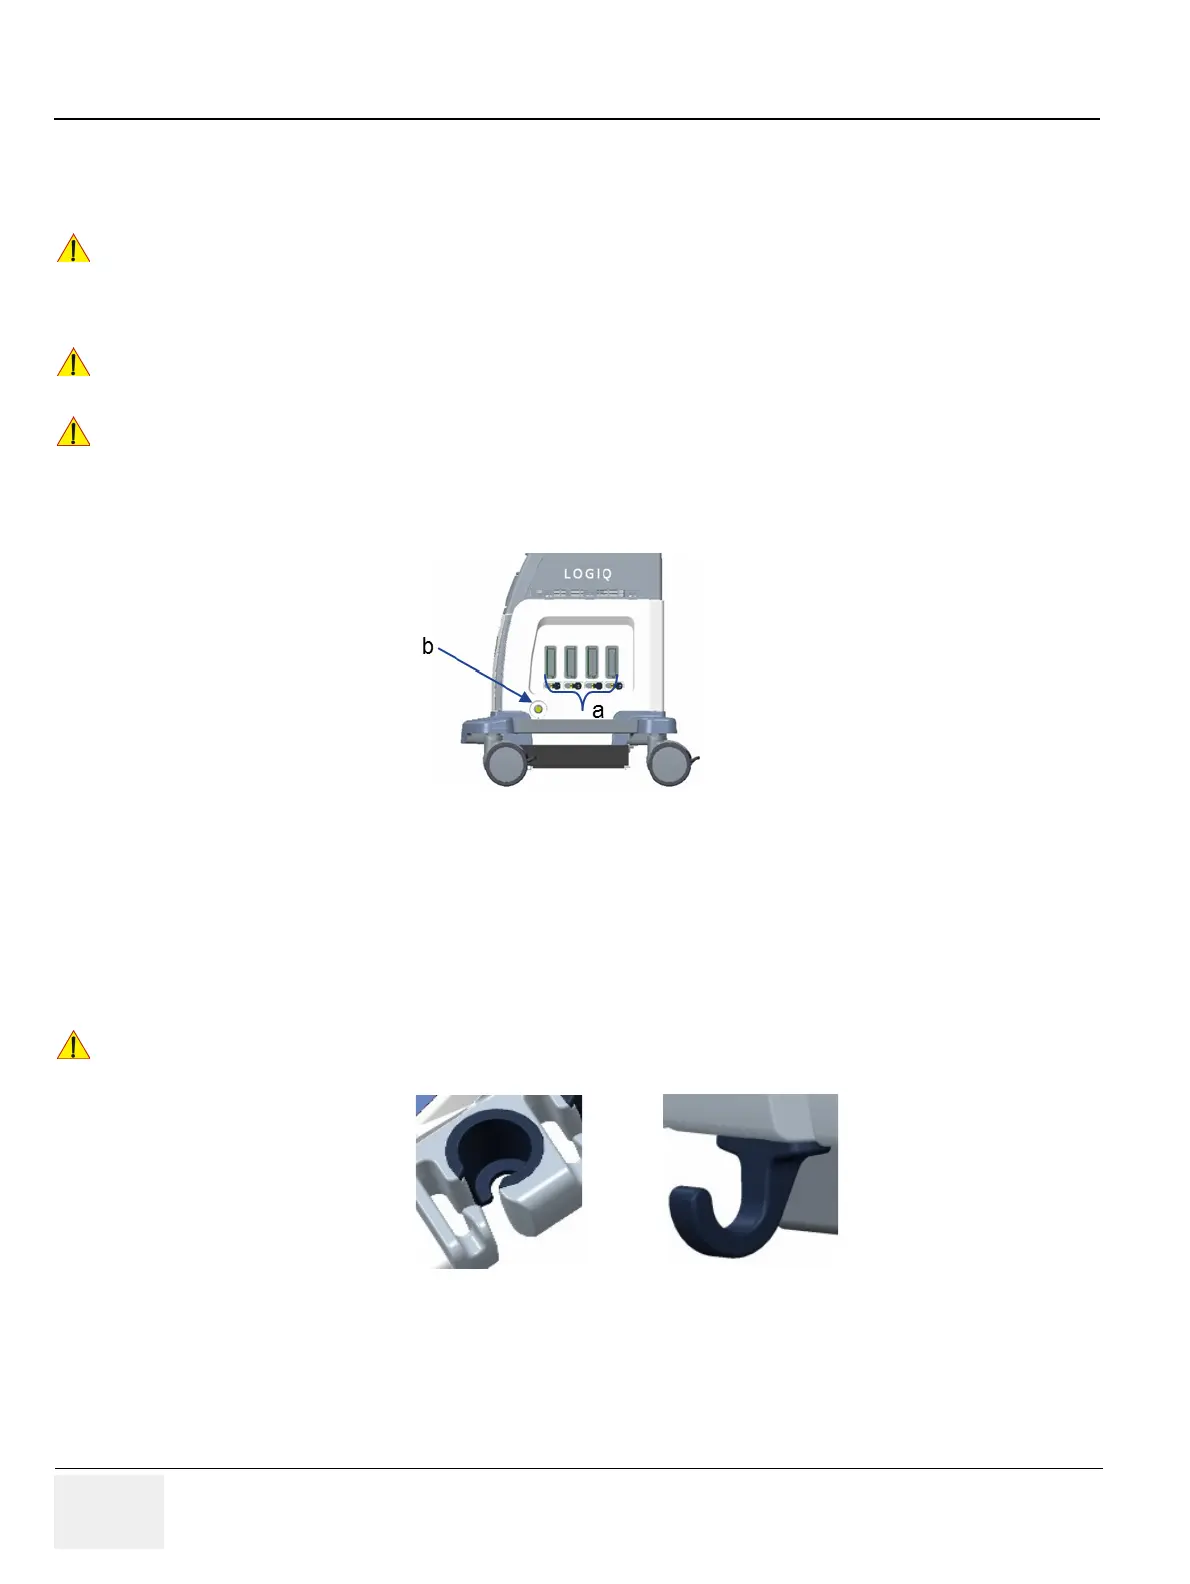
3-7-4-1 Connecting the Probe
Probes can be connected at any time, regardless of whether the console is powered on or off. To ensure
that the ports are not active, place the system in the image freeze condition.
Figure 3-18 Probe port
To connect a probe:
1) Place the probe's carrying case on a stable surface and open the case.
2) Carefully remove the probe and unwrap the probe cord.
3) Put the probe in the probe holder.
4) Hold the probe connector vertically with the cable pointing upward.
5) Turn the connector locking handle to the left.
6) Align the connector with the probe port and carefully push into place.
7) Turn the connector locking handle to the right to secure the probe connector.
8) Carefully position the probe cord so it is free to move and is not resting on the floor.
!! CAUTION:
Inspect the probe before and after each use for damage or degradation to the housing, strain
relief, lens, seal, cable and connector. DO NOT use a transducer which appears damaged until
functional and safe performance is verified. A thorough inspection should be conducted during
the cleaning process.
!! CAUTION:
Remove any dust or foam rests from the probe pins.
!! CAUTION:
Fault conditions can result in electric shock hazard. Do not touch the surface of probe
connectors which are exposed when the probe is removed. DO NOT touch the patient when
connecting or disconnecting a probe.
!! CAUTION:
DO NOT allow the probe head to hang free. Impact to the probe head could result in irreparable
damage. Use the integrated cable management hook to wrap the cord.
a. Active probe port
b. Pencil probe port

 Loading...


