5 Using the unit
62 Gendex Dental Systems
207723 rev 7
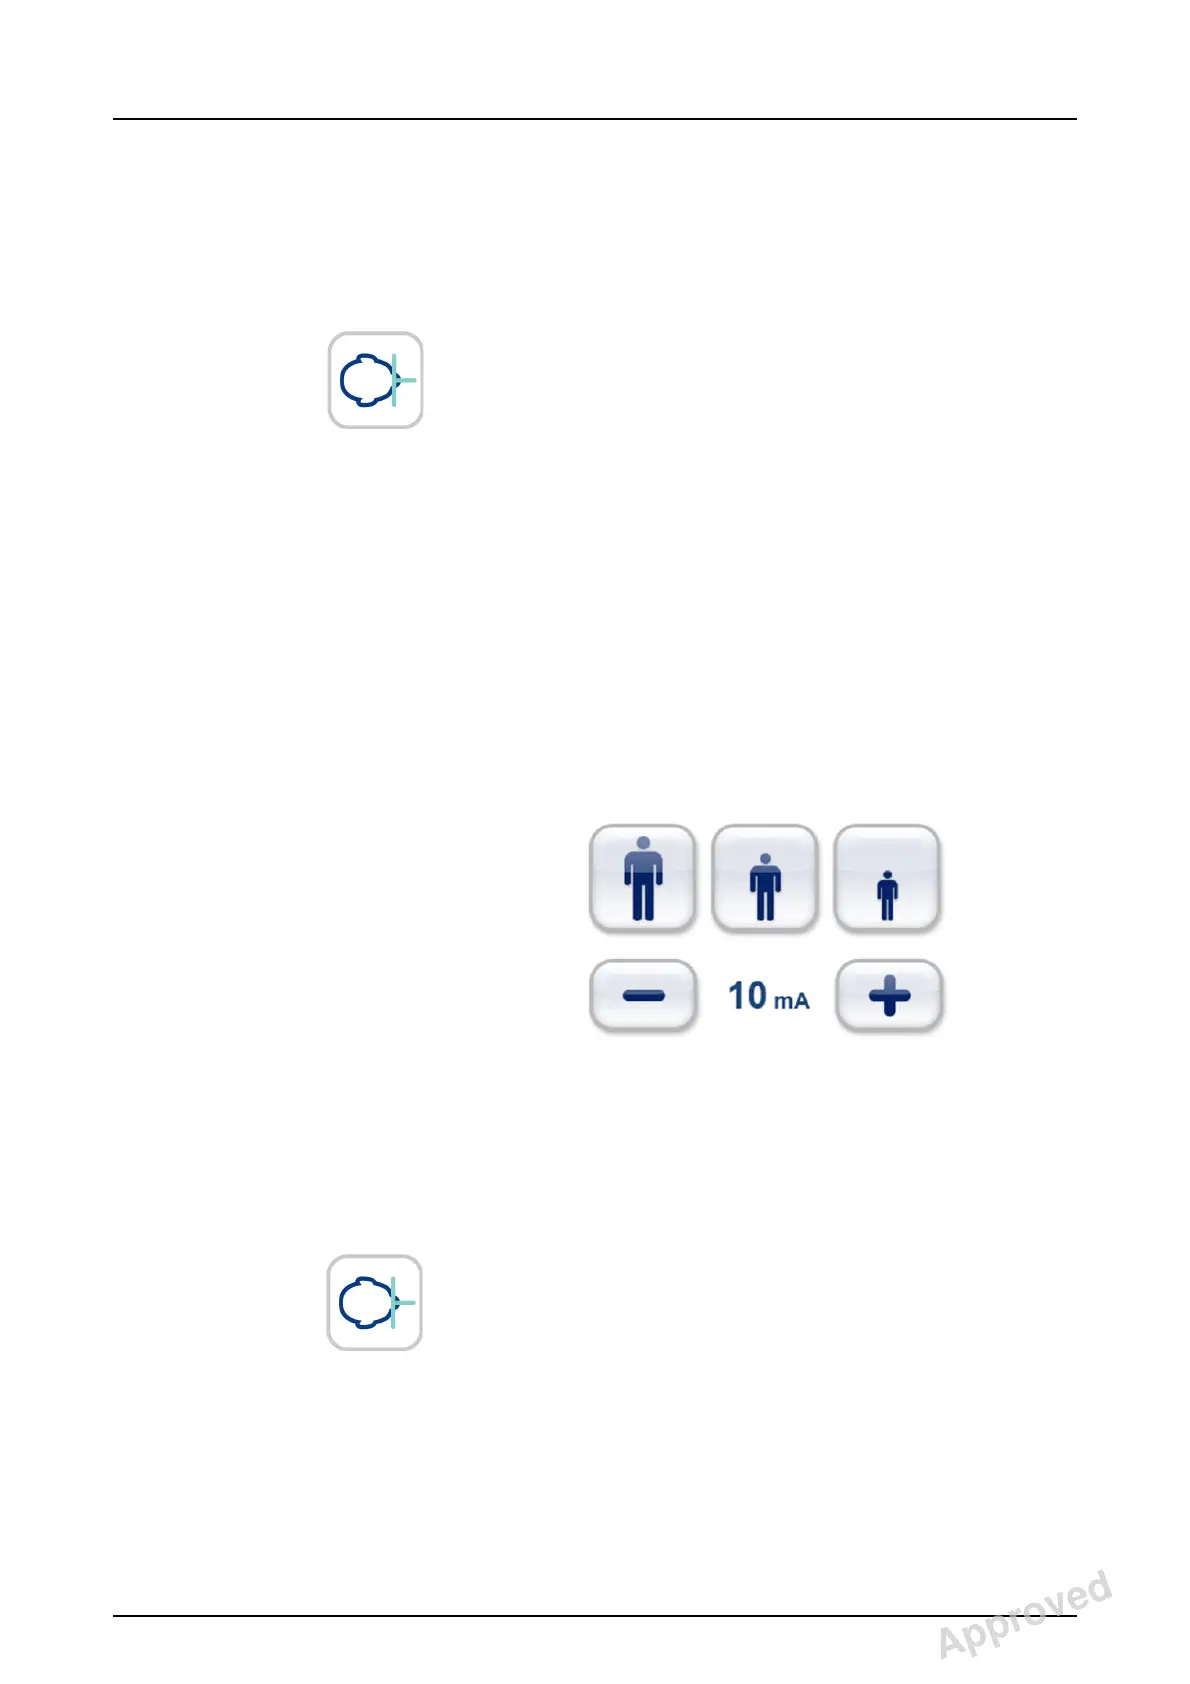
5. Select patient size and adjust mA if needed.
6. Select the area of interest dragging the 'target' on the
dental arch display while centering the crosshairs on the
region of interest. The 3D FOV is positioned more accu-
rately by using the scout image mode. The area of inter-
est can be adjusted on the touch screen display after the
scout image has been taken.
7. Press Patient In to rotate the unit to ‘patient in’ position.
8. Ask the patient to remove eye glasses, hearing aids, re-
movable dentures, jewellery (necklaces, tongue rings, lip
rings, etc.) and hair clips, and pins.
5.5.3 Patient positioning
1. Insert the sinus rest, chin rest and chin support. Place the
hygienic barrier.
NOTICE! Use a new hygienic barrier for every patient.
2. Select patient size, and adjust mA if needed.
3. Select the area of interest dragging the 'target' on the
dental arch display while centering the crosshairs on the
region of interest. The 3D FOV is positioned more accu-
rately by using the scout image mode. The area of inter-
est can be adjusted on the touch screen display after the
scout image has been taken.
4. Press Patient In to rotate the unit to ‘patient in’ position.
5. Adjust the unit height using the carriage Up Down but-
tons on the column control panel to slightly higher than
the patient's chin.
Approved: Laihonen Tuuli 2016-12-02 16:41
Reviewed: Nieminen Timo Antero 2016-12-02 15:31
Approved
See PDM system to determine the status of this document. Printed out: 2017-03-22 10:54:38
D507729, 7
Copyright © 2016 by PaloDEx Group Oy. All rights reserved.
 Loading...