Fax Operation (Advanced) 3-49
Having Received Faxes Forwarded to
Another Fax Number (Fax Forwarding)
Fax Forwarding allows documents received during designated hours to
be saved into memory and automatically forwarded to another fax
number that is registered in advance. In order to use Fax Forwarding,
the destination and designated hours must be registered here and it is
additionally necessary to turn Fax Forwarding ON in advance.
Registering the Fax Forwarding Information
The following procedure must be performed when registering Fax
Forwarding information for the first time.
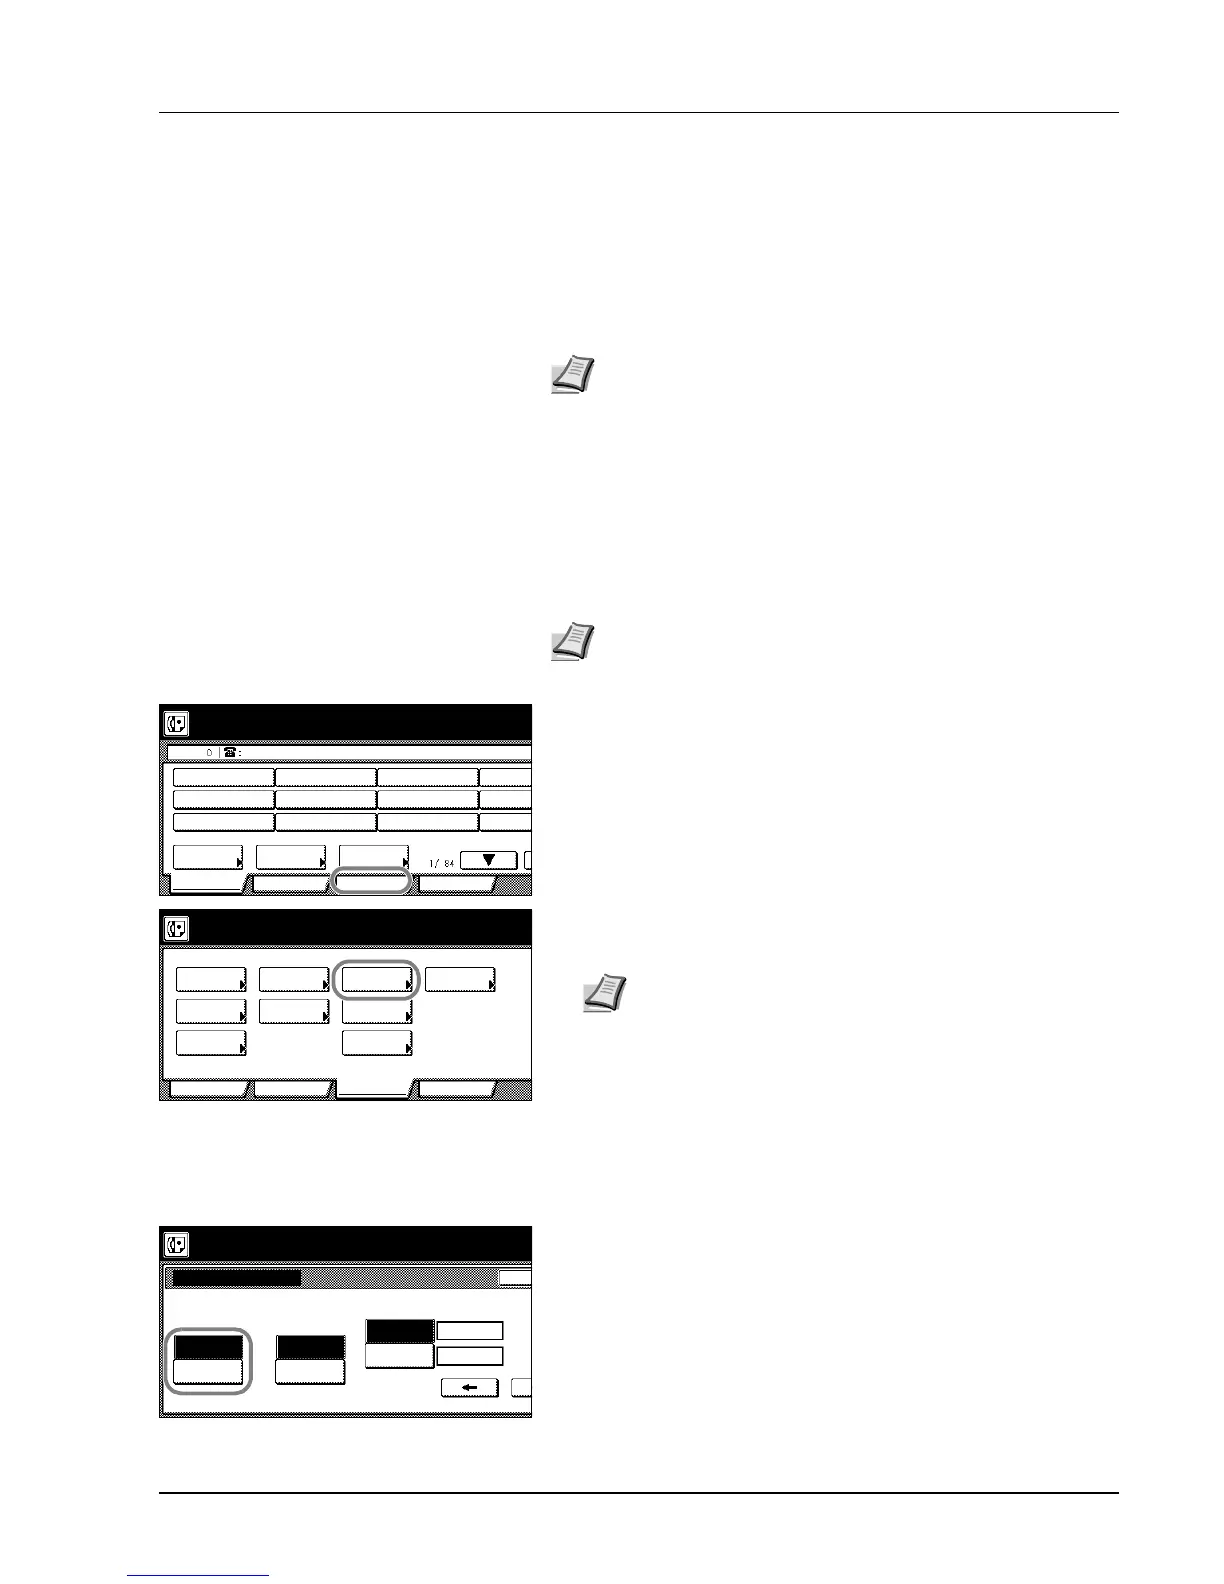
1 Press the [Register] key. The Register screen will appear.
2 Press the [Fax Forwarding] key.
3 Enter the fax number of the destination fax.
4 Press the [Finish dest. Set] ([Dest. set]) key.
5 Select whether or not you want the received documents to be printed
out at your fax. Press the [On] key to have them printed and the [Off]
key to stop print out.
6 Select whether or not you want to designate a time for the Fax
Forwarding operation to begin and end. To set the time, press the
[Delayed TX] key and go to the next step.
If you do not want to designate a time for the operation to begin and
end, press the [All Day] key and go to step 9. If you select All Day,
the Fax Forwarding operation will continue indefinitely, regardless of
the time of the day.
Note If the Fax Forwarding operation is not successful, the
received documents will be printed out at your fax and then deleted
from your fax machine's memory.
With different types of communications such as Encrypted
Communication, etc., Fax Forwarding may not be available
depending on the type of communication.
Note If you want to cancel the procedure part way through, press
the Reset key. The touch panel will return to the initial mode
settings.
Place the original & assign destination.
Dest
Ready for fax transmission.
Basic Application
Abbrev.
TXAddress
Register
settingbook
Print Report
Info.
Location
Dial
Basic Application Register
Box
Forwarding
Fax
dial
Remote SW
Test ID
Remote
Restrict.
TX/RX
Print Report
Registering item option screen.
Select item for register.
& Time
Date
key
Encryption
Note You can enter the fax number using the numeric keys,
abbreviated numbers or one-touch keys. Chain dial keys can
be used as well.
If you want to use F-Code Based Communication to forward
the fax, you must enter the fax number with the numeric keys.
In this case, press the [Subadd.] key and then enter the
appropriate subaddress and F-Code password (if necessary).
You can also use a one-touch key that is already designated
for F-Code Based Communication.
Local print/forw time
On
Print Here
Off
Ba
Register memory transmission.
Delayed TX
All Day
Start Time
End Time
Fax For'd Enter using # key.
00:00.
00:00.

 Loading...