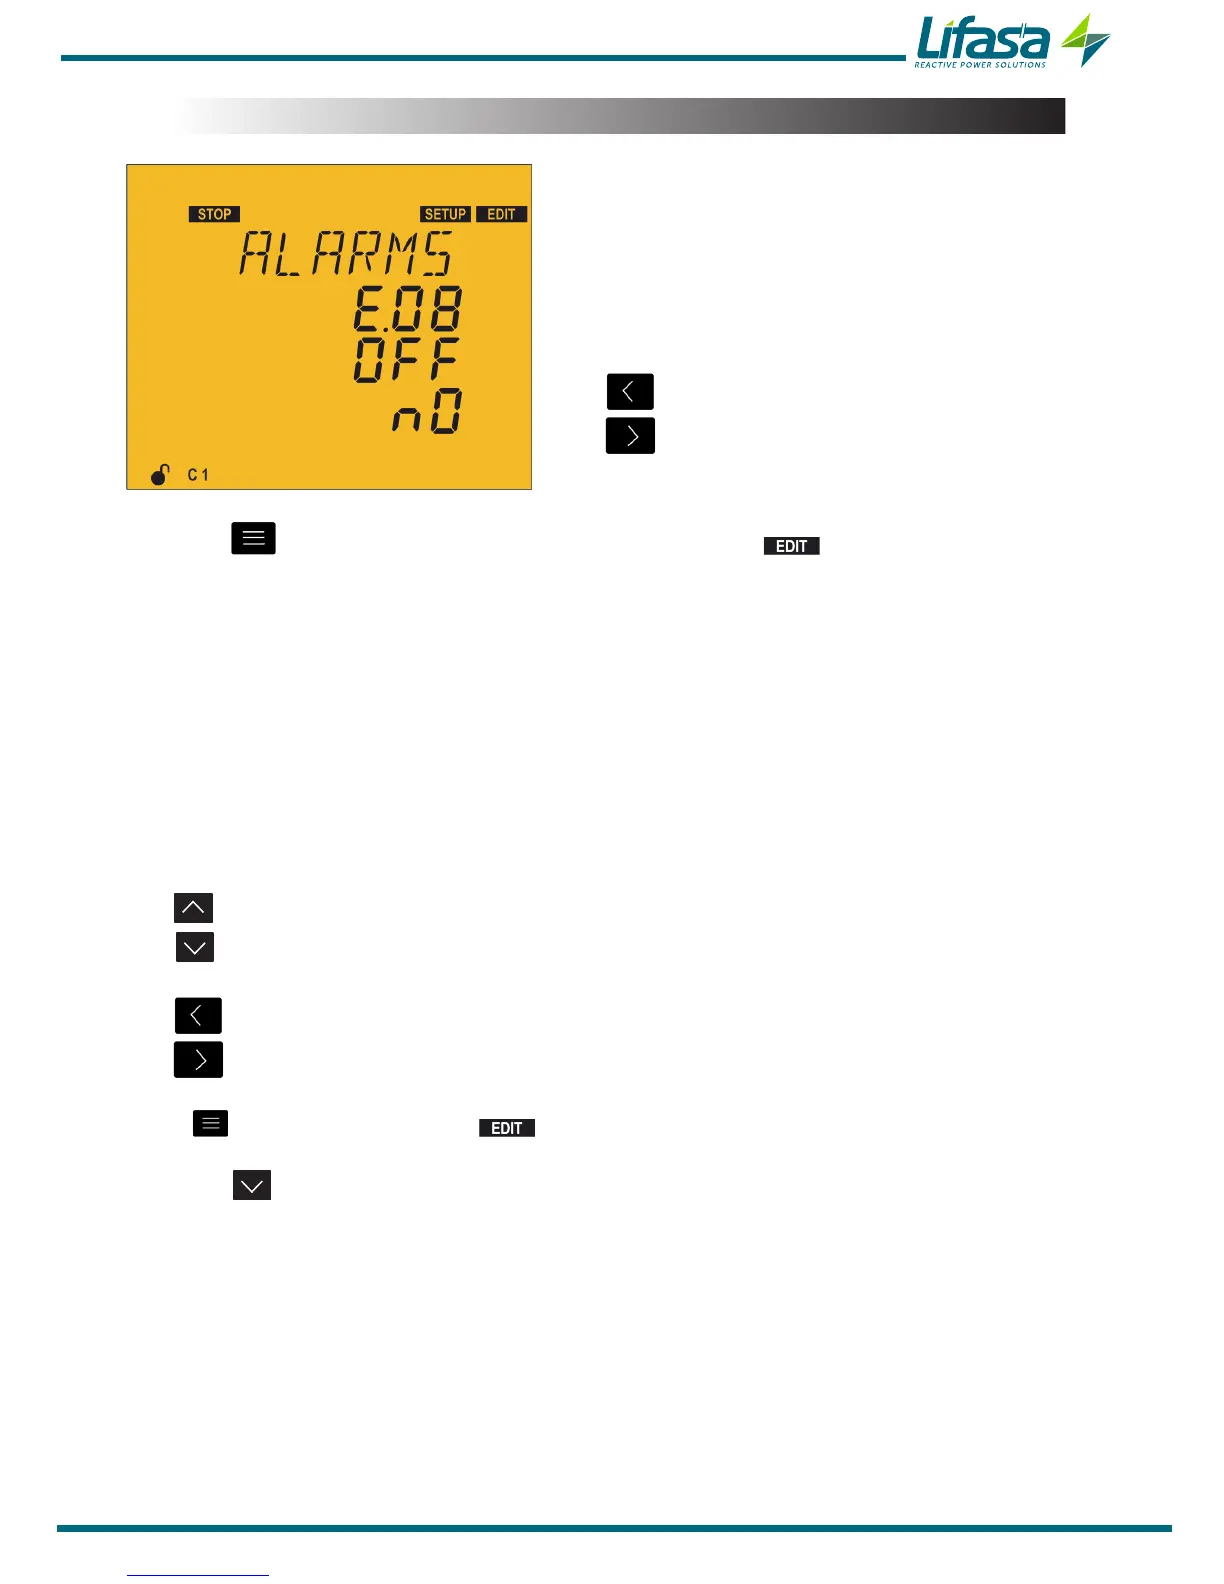
5.19.- ENABLING ALARMS
This screen is repeated for every type of Error or
Alarm (from E01 to E17); see Table 9� In it the
enabling or disabling of each error or alarm can be
configured, as can whether or not to associate it
with the activation of a relay or a digital output.
The key skips to the previous error.
The key skips to the next error.
Press the key to enter editing mode. It is identified by the symbol and the blinking
of the digits to be modified.
The parameters to be configured are:
Enabling ON or disabling OFF the error or alarm.
Association with a relay or digital output alarm:
reLay: the activation of the alarm is associated with the alarm relay.
d1: the activation of the alarm is associated with digital output 1.
d2: the activation of the alarm is associated with digital output 2.
no: not associated with any relay or digital output.
The key shows the next option.
The key shows the previous option.
The key skips to the previous parameter.
The key skips to the next parameter.
Press to validate the data; the symbol disappears from the display.
Press the key to access the next programming step.
If no keys are pressed for 5 minutes, the unit switches to the simulation screen, “5.27.-
SIMULATION SCREEN”.
93

 Loading...