2202MYJE-MY-C8-N_2018.02.
Chapter 5 Maintenance and Inspection
Compound 2-stage Screw Compressor 3225**C 5.4 Disassembly and Inspection
5-23
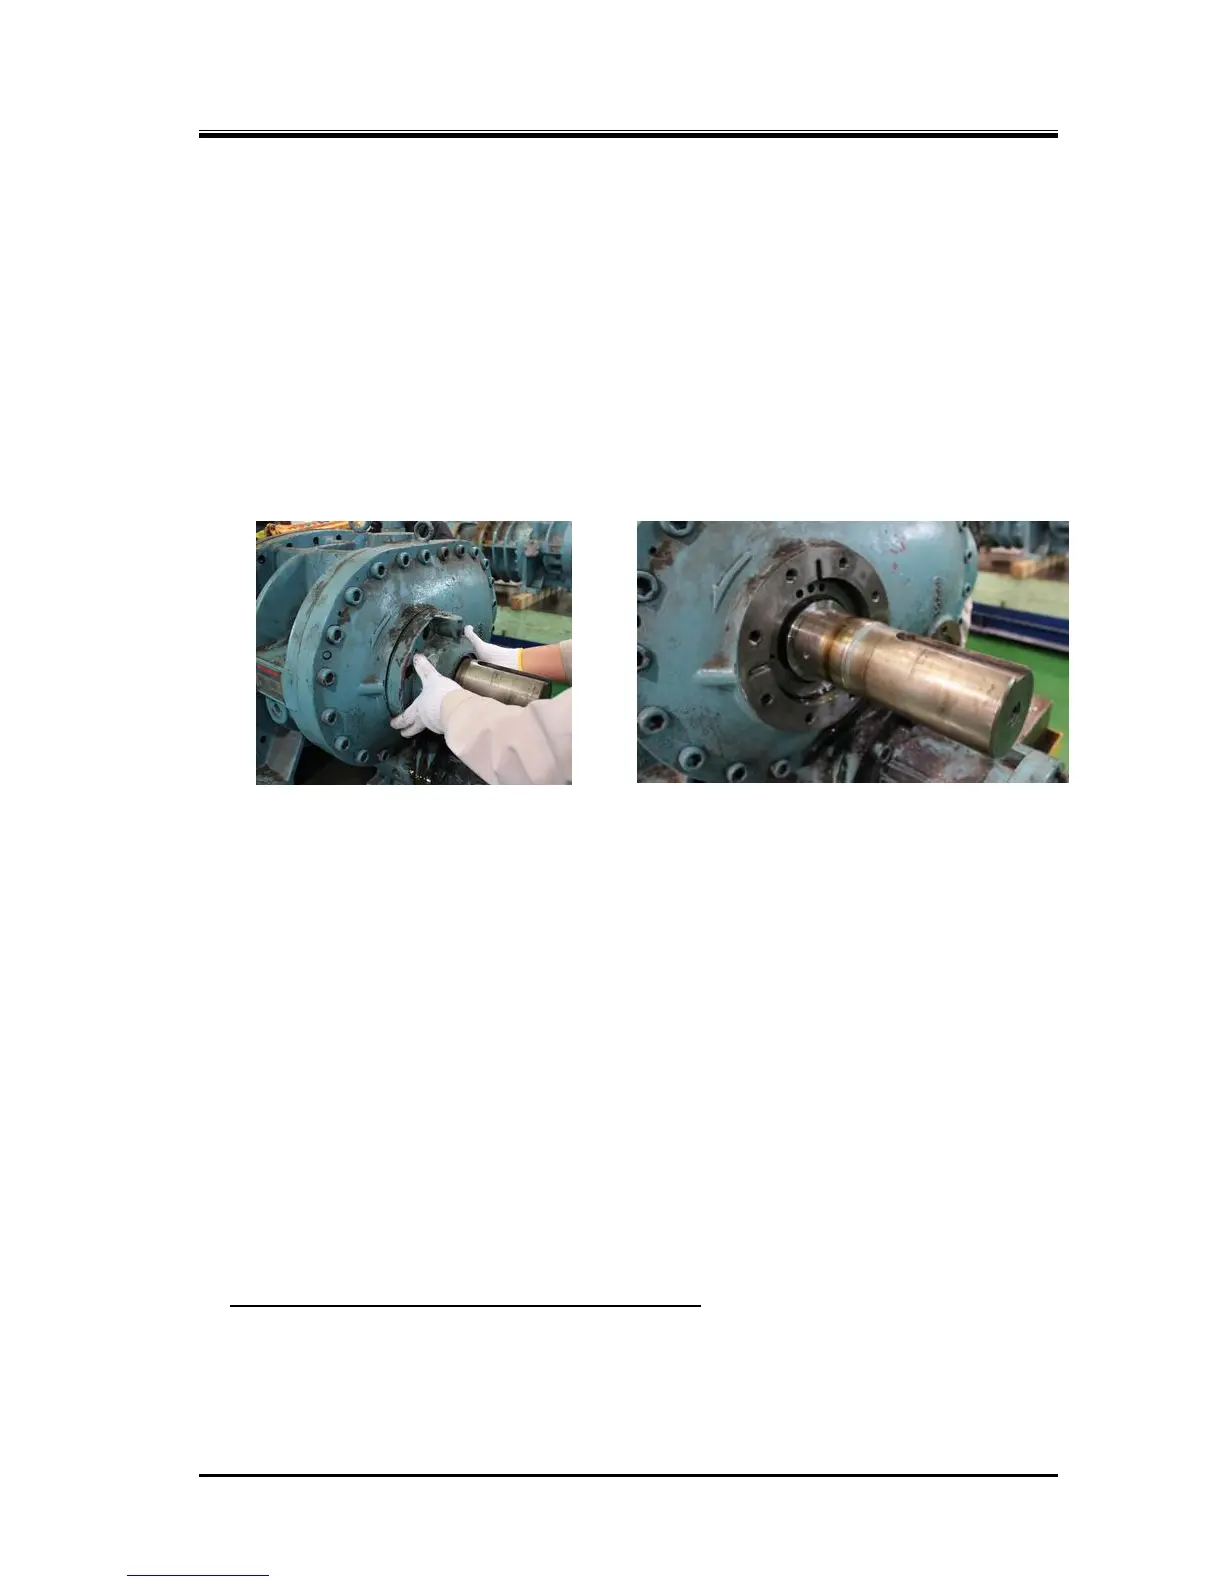
f) After the seal cover has been removed, wipe clean the shaft and then check its surface. If any flaw
is found, use a fine sandpaper to smoothen the surface. This correction is intended to prevent
possible damage of the internal O-ring when the mechanical seal is pulled out.
g) Loosen the set screws [111] securing the seal collar [109] about three turns. Do not remove the set
screws completely. Loosen them such that their ends are retracted from the surface of the seal
collar. These two screws are located 90° apart from each other.
h) Pull out the mechanical seal assembly by holding the seal collar with your fingertips. While
removing the assembly, make sure that the ends of the set screws do not touch the shaft surface.
Any scratch on the shaft will cause leakage.
i) Pull out the oil seal sleeve [528] after removing the two set screws [529] .
j) Screw two M8 eye bolts into the screw holes in the seal retainer and pull out the seal retainer while
keeping it in the right angle with the shaft.
k) Remove the oil seal [50] that is atacched into the oil seal retainer.
5.4.4.2 Inspection
a) Although it is instructed that the mechanical seal must be replaced after abnormality is found in the
inspection, only visually checking the sliding surface may be insufficient in determining any
abnormality. It is thus recommended to always replace it with a new one, similarly to the case of
O-rings and gaskets, if the inspection is done in such a way.
Also, if it is difficult to stop the compressor operation except for scheduled inspections, we
recommend to replace the mechanical seal assembly with a new one at every inspection of this
block.
However, even if the assembly is to be replaced without exception, it is still necessary to visually
check the condition of the sliding surface between the mating ring and the seal collar. If any
unevenness or flaw is observed on the sliding surface, analyze the condition to determine whether it
is due to aging, overheating, or other reasons in order to take necessary corrective actions.
b) Replace the O-rings every time the mechanical seal assembly is inspected because they normally
swell and deform over time.
c) Check the wear of the oil seal sleeve in the area it rubs against the oil seal lip.
If wear is evident, replace both the oil seal [50] and oil seal sleeve [528] with new parts. Since the oil
seal is made of a special material, only genuine oil seals must be used for the replacement.
Information on the O-ring [744] for the oil seal sleeve
A design modification was made in March 2010 to insert an O-ring [744] in the oil seal sleeve.
 Loading...