Get Started
13
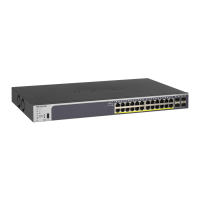
NETGEAR 24-Port Gigabit Smart Managed Pro Switch with PoE+ and 2 SFP Ports Model GS724TPv2
following procedures show how to change the static IP address on a computer running a
Microsoft Windows 7.
To modify the network settings on your computer:
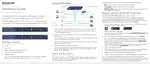
1. Open the Control Panel and click the Network and Sharing Center option.
2. Click the Local Area Connection link.
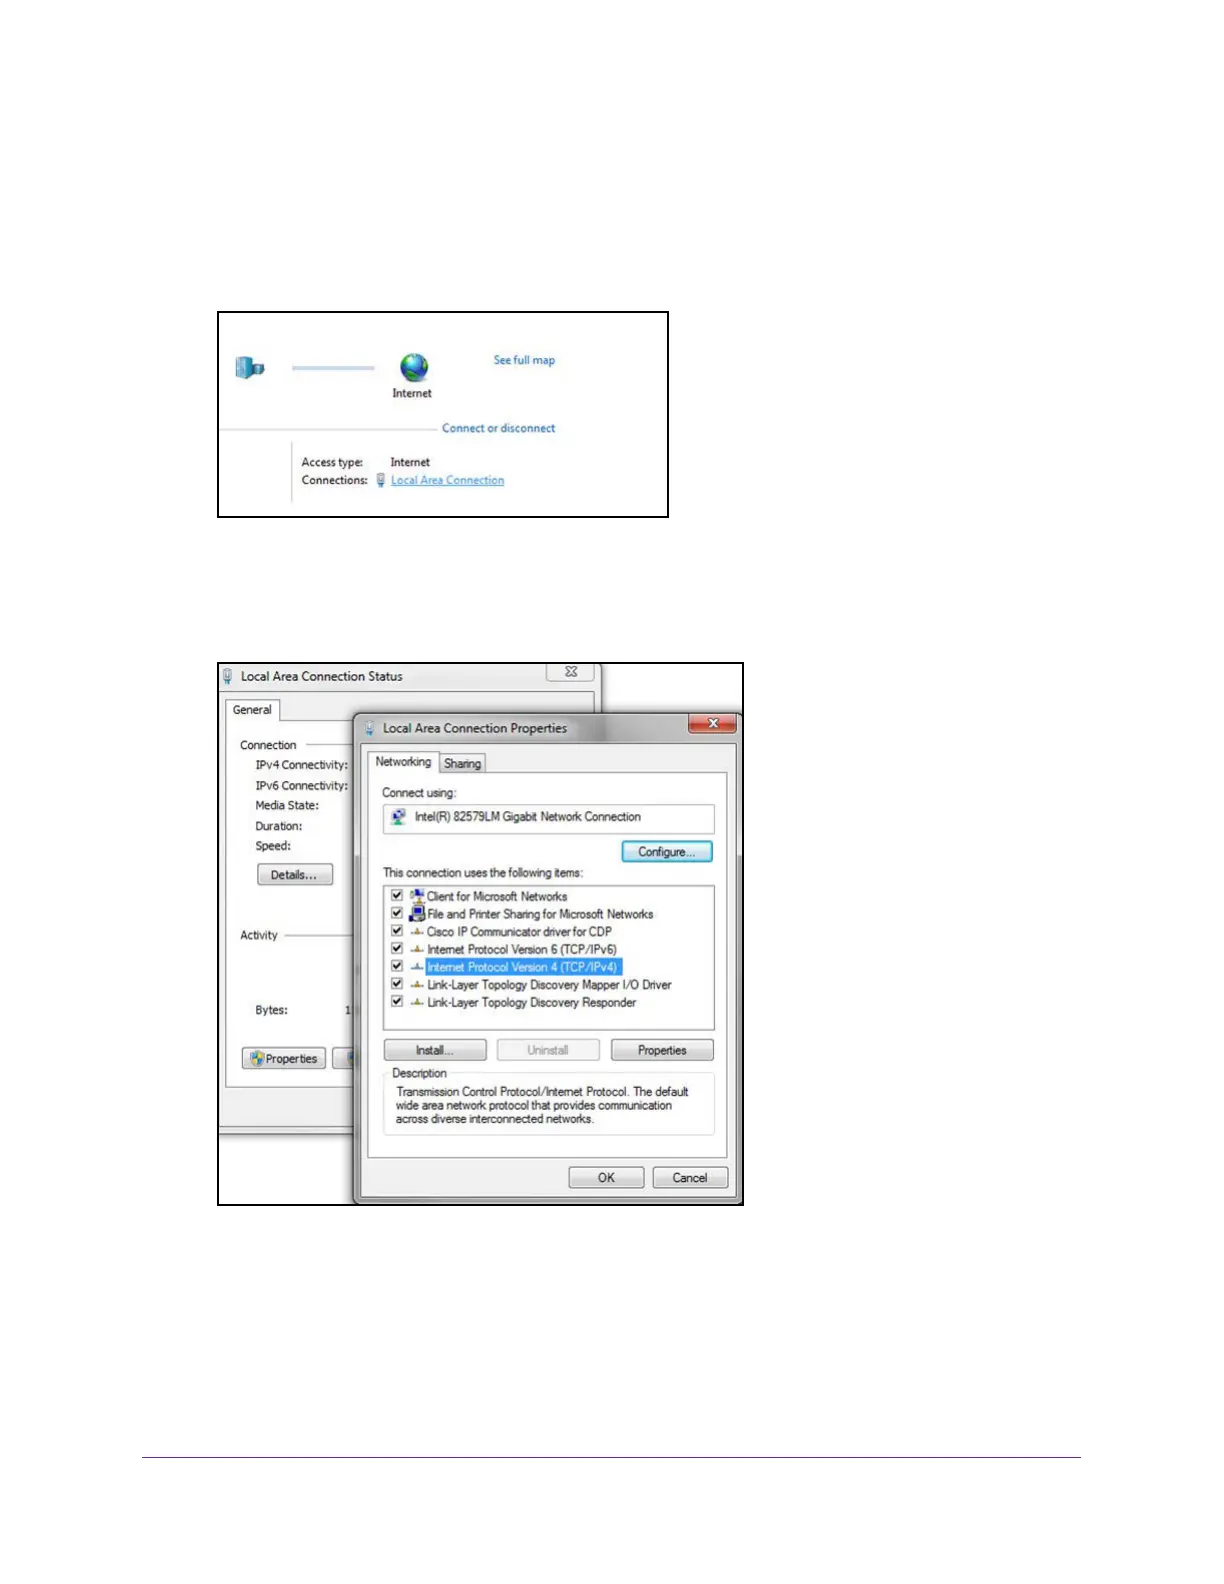
The Local Area Connection Status pop-window opens.
3. Click the Properties button.
4. Select Internet Protocol Version 4 (TCP/IPv4).
5. Click the Properties button.
The Internet Protocol Version 4 (TCP/IPv4) Properties pop-up window opens.
6. Select the Use the following IP address radio button and change the IP address of the
computer to an address in the 192.168.0.0 network, such as 192.168.0.200.
The IP address must be different from that of the switch but within the same subnet.
 Loading...