Manage Device Security
203
NETGEAR 24-Port Gigabit Smart Managed Pro Switch with PoE+ and 2 SFP Ports Model GS724TPv2
Configure Global 802.1X Settings
You can configure global port access control settings on the switch.
To globally enable all 802.1X features:
1. Connect your computer to the same network as the switch.
You can use a WiFi or wired connection to connect your computer to the network, or
connect directly to a switch that is off-network using an Ethernet cable.
2. Launch a web browser.
3. In the address field of your web browser, enter the IP address of the switch.
If you do not know the IP address of the switch, see Change the Default IP Address of the
Switch on page 9.
The login window opens.
4. Enter the switch’s password in the Password field.
The default password is password.
The System Information page displays.
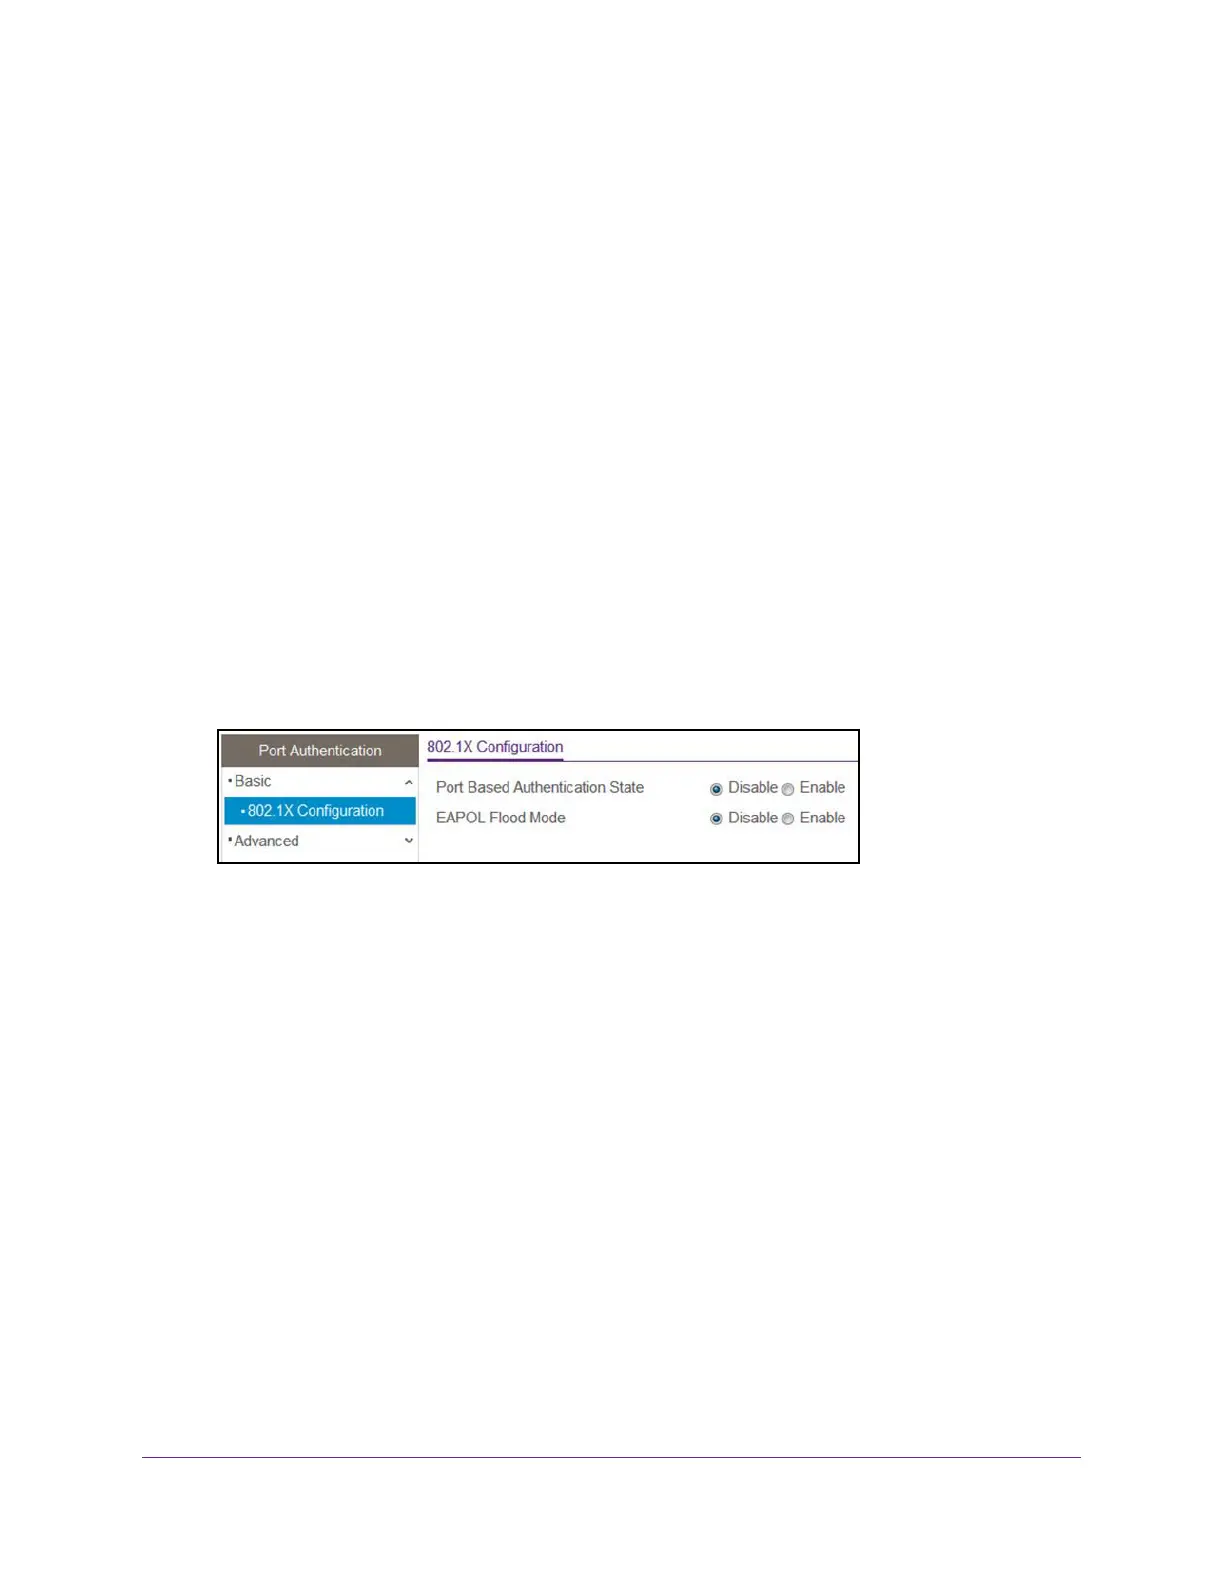
5. Select Security > Port Authentication > Basic > 802.1X Configuration.
6. Next to Port Based Authentication State, select the Enable radio button.
This enables or disables 802.1X administrative mode on the switch.
Note: If 802.1X is enabled, authentication is performed by a RADIUS server.
This means that the primary authentication method must be RADIUS. To
set the method, select Security > Management Security >
Authentication List and select RADIUS as method 1 for defaultList. For
more information, see Configure Authentication Lists on page 191.
When port-based authentication is globally disabled, the switch does not check for
802.1X authentication before allowing traffic on any ports, even if the ports are configured
to allow only authenticated users.
7. Next to EAPOL Flood Mode, select the Enable radio button.
The default is Disable. Extensible Authentication Protocol (EAP) over LAN (EAPoL) flood
support is enabled on the switch.
8. Click the Apply button.
The updated configuration is sent to the switch. Configuration changes take effect
immediately.
 Loading...