19NIBE F1330
Installation / Adjustment
Description of functions - Start up
Start up with several F1330s in a system
1. F1330 is delivered as the Master. Other units in the sys-
tem must be selected as unique slaves. This is done ac-
cording to the instructions in Description of Functions
- Start up > Master/Slave. It is extremely important that
this is done for all units when the following settings are
made.
2. Start all the heat pumps by turning the power
switch (8) to the 1 position. The slaves will now flash
Connecting, while the Master is in screen saver mode.
3. Deactivate the screen saver on the Master by holding
down the button in the far left corner and the enter
button for approximately 8 seconds. (See the section
the Description of Functions - Start up > Screensaver.)
4. Set the Master in the Service position from menu
8.1.1. (See the example in Control > Changing para-
meters.)
5. Set each connected unit’s operating type, i.e. which
pumps should produce hot water and/or heating. This
is done in menu 0.2.1. (See the section Description
of Functions - Start up > ”Operating type selection”.)
As long as Off is selected as the operating type, no
communication with the Slave will occur, however, as
soon as the operating type is changed to something
other than Off, the Slave’s display will stop flashing
Connecting and will enter Screen saver mode.
6. Check that all connected heat pumps display the cor-
rect Slave number on the display. If this is not the case,
check that all communication cables are correctly con-
nected and shutoff all heat pumps. Now restart the
Slaves and then the Master. Should the wrong Slave
number be displayed or a display continues to flash
Connecting - start again with the Master/Slave settings
in point 1.
7. Continue with the start up settings with the help of
Description of Functions - Basic Functions. Connect
and configure the pertinent functions for the installa-
tion.
Operating type selection
The operating type must be selected for each connected
F1330. This is selected in the sub-menus to 0.2.0 and can
be selected from:
Off: Compressor modules A and B are not used. No com-
munication with the heat pump.
Heat: Compressor modules A and B only provide heating.
No shuttle valve necessary.
Hot water: Compressor modules A and B only provide
hot water. No shuttle valve necessary.
Combi: Compressor module B provides both hot water
and heating via the shuttle valve, while compressor mod-
ule A always provides heating. The shuttle valve should be
installed to the flow line on compressor B.
Parallel: Compressor modules A and B provide both hot
water and heating via the shuttle valve. The shuttle valve
should be connected to the common flow line for com-
pressors A and B.
External control: Start and stop signal from external
equipment. The shuttle valve can be connected, but
should not be controlled from F1330.
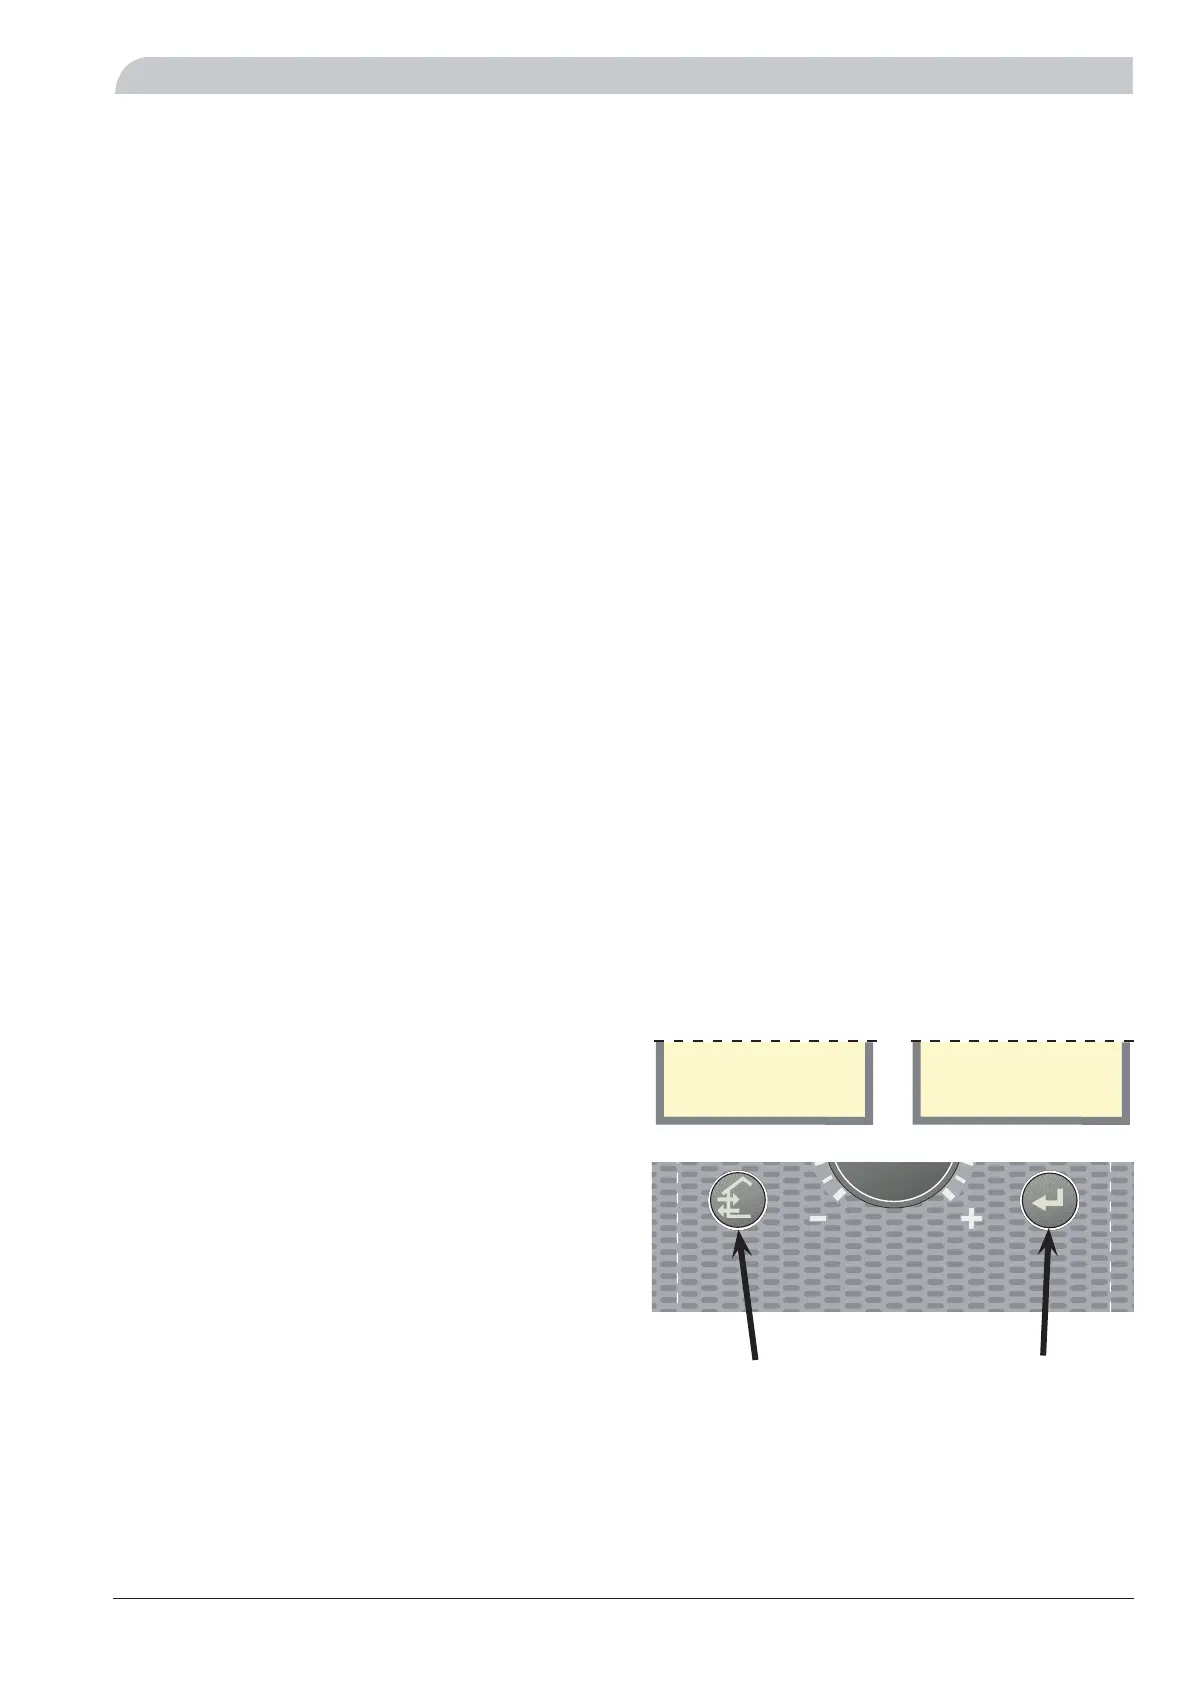
Screen saver
In screen saver mode, you can see any alarms as well as
the flow temperatures currently given by the compressors
(VBFA and VBFB) and whether the heat pump is a Master
or Slave. The screen saver is deactivated by pressing
the enter button and the button in the lower left for
approximately 8 seconds. Menu 1.0 is then displayed.
The screen saver comes on automatically 30 minutes after
the last button was pressed and when starting the heat
pump.
Exemple:
54,1 55,7 °C
Slave 3
HP-ALARM
Slave 3
alt.
 Loading...