Mechanical Installation
2
2.8 Change the Drive Enclosure Type
SIEPYEUOQ2A01A AC Drive Q2A Technical Manual 47
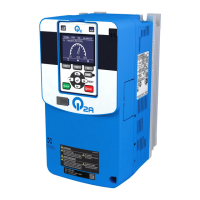
2. Align the screw holes on conduit bracket 1 with the screw holes on the drive and push the bracket into
position. Use the screws to attach it.
A - Conduit bracket 1
B - Wiring holes
C - Screw holes
D - Screw hole
Figure 2.34 Attach Conduit Bracket 1
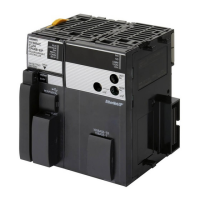
3. Align the screw holes on conduit bracket 2 with the screw holes on conduit bracket 1.
Tighten the screws to a tightening torque of 0.98 N∙m to 1.33 N∙m (8.67 lb.∙in. to 11.77 lb.∙in.).
A - Conduit bracket 2
Figure 2.35 Attach Conduit Bracket 2
4. Attach the front cover.
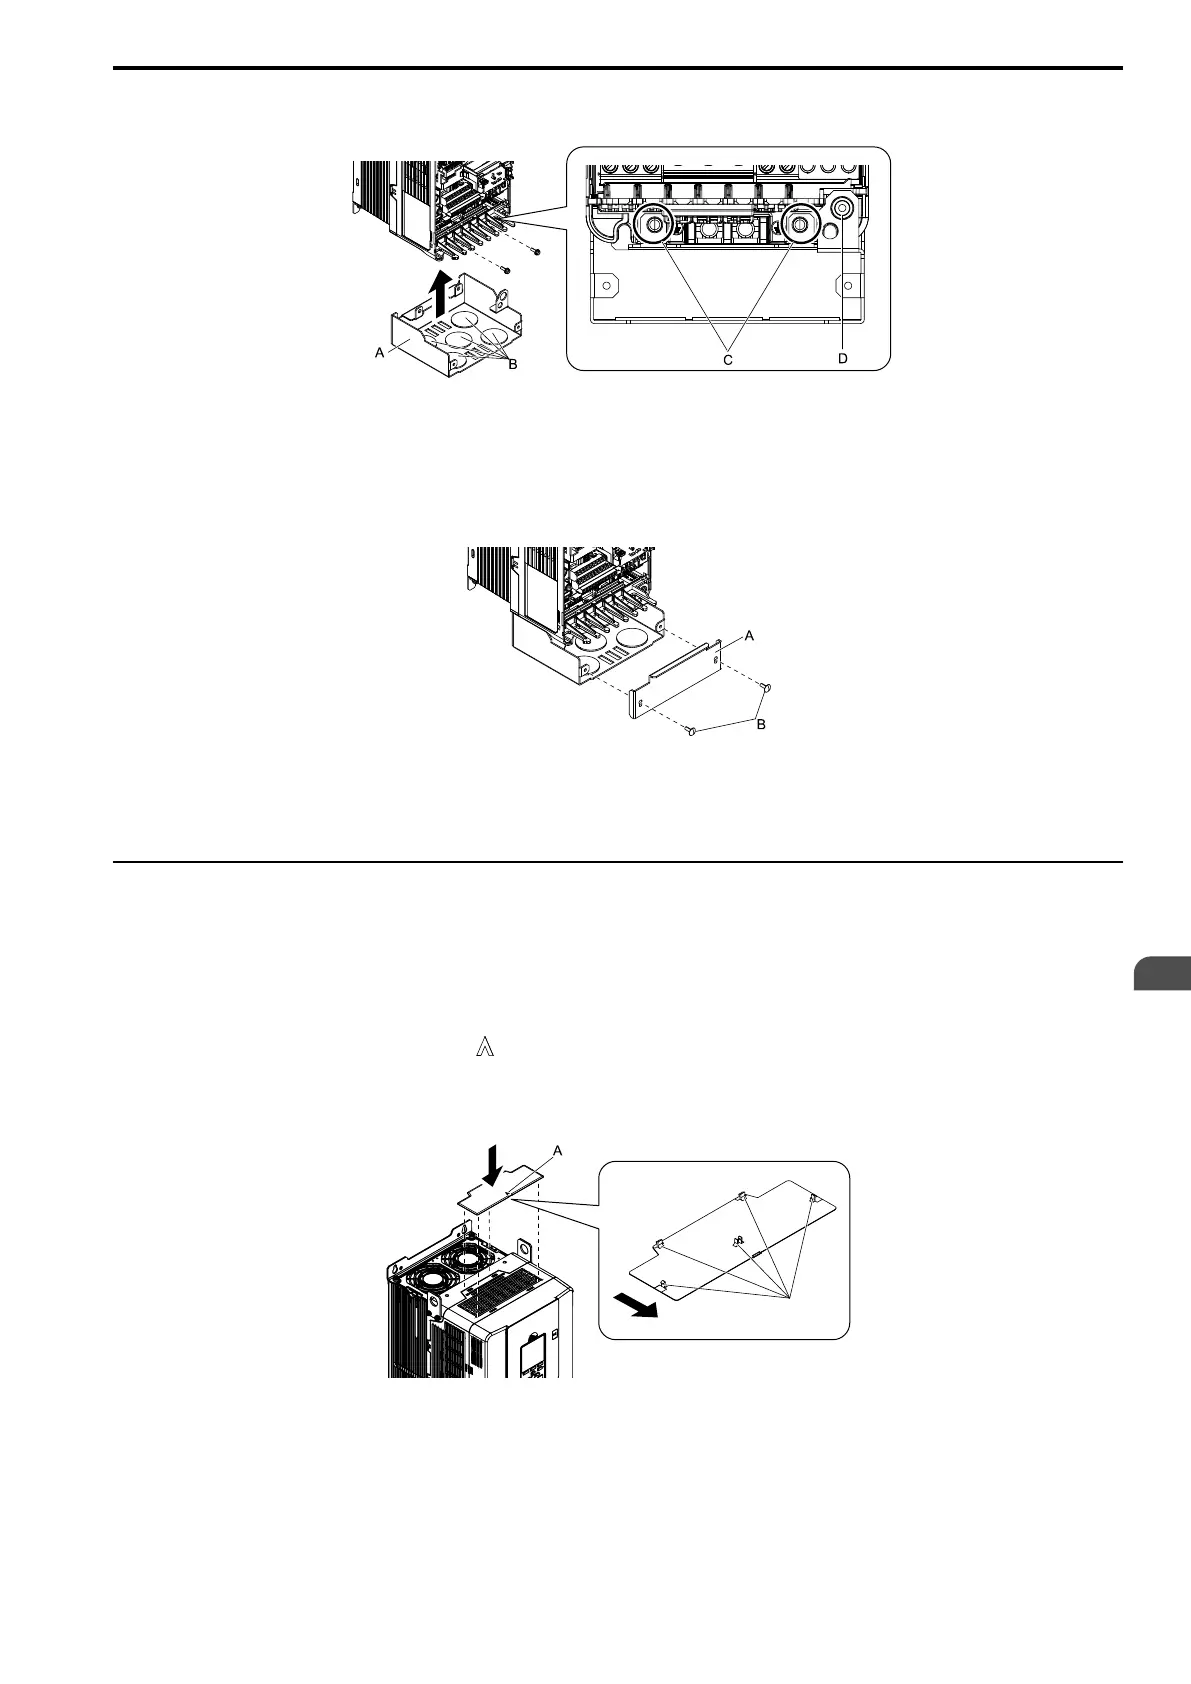
◆ Attach the Protective Cover of Drive Models 4075
■ Attach the Top Protective Cover
Align the hooks on the rear of top protective cover with the holes on the top of the drive to attach the top
protective cover.
Note:
• Attach the top protective cover and point the ( ) mark on the upper surface of the top protective cover away from the front of the
drive.
• Put the two small hooks on the rear of the top protective cover into the mounting holes near the back of the drive. Then push down on
the front side of the top protective cover to attach the cover.
A - Mark
B - Rear side of top protective cover
C - Hooks
D - Front of drive
Figure 2.36 Attach the Top Protective Cover
 Loading...