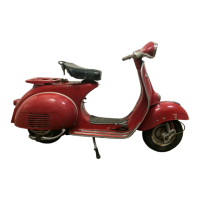
- Remove the wheel and check using the appro-
priate tools that the axial run-out of the brake
surface is within the prescribed limits.
- If this is not the case, replace the disc and repeat
the test.
WHEN INSTALLING, THOROUGHLY CLEAN THE DISC
AND ITS SEAT ON THE HUB.
Characteristic
Max. axial run-out
0.1 mm
Front brake pads
Removal
Proceed as follows:
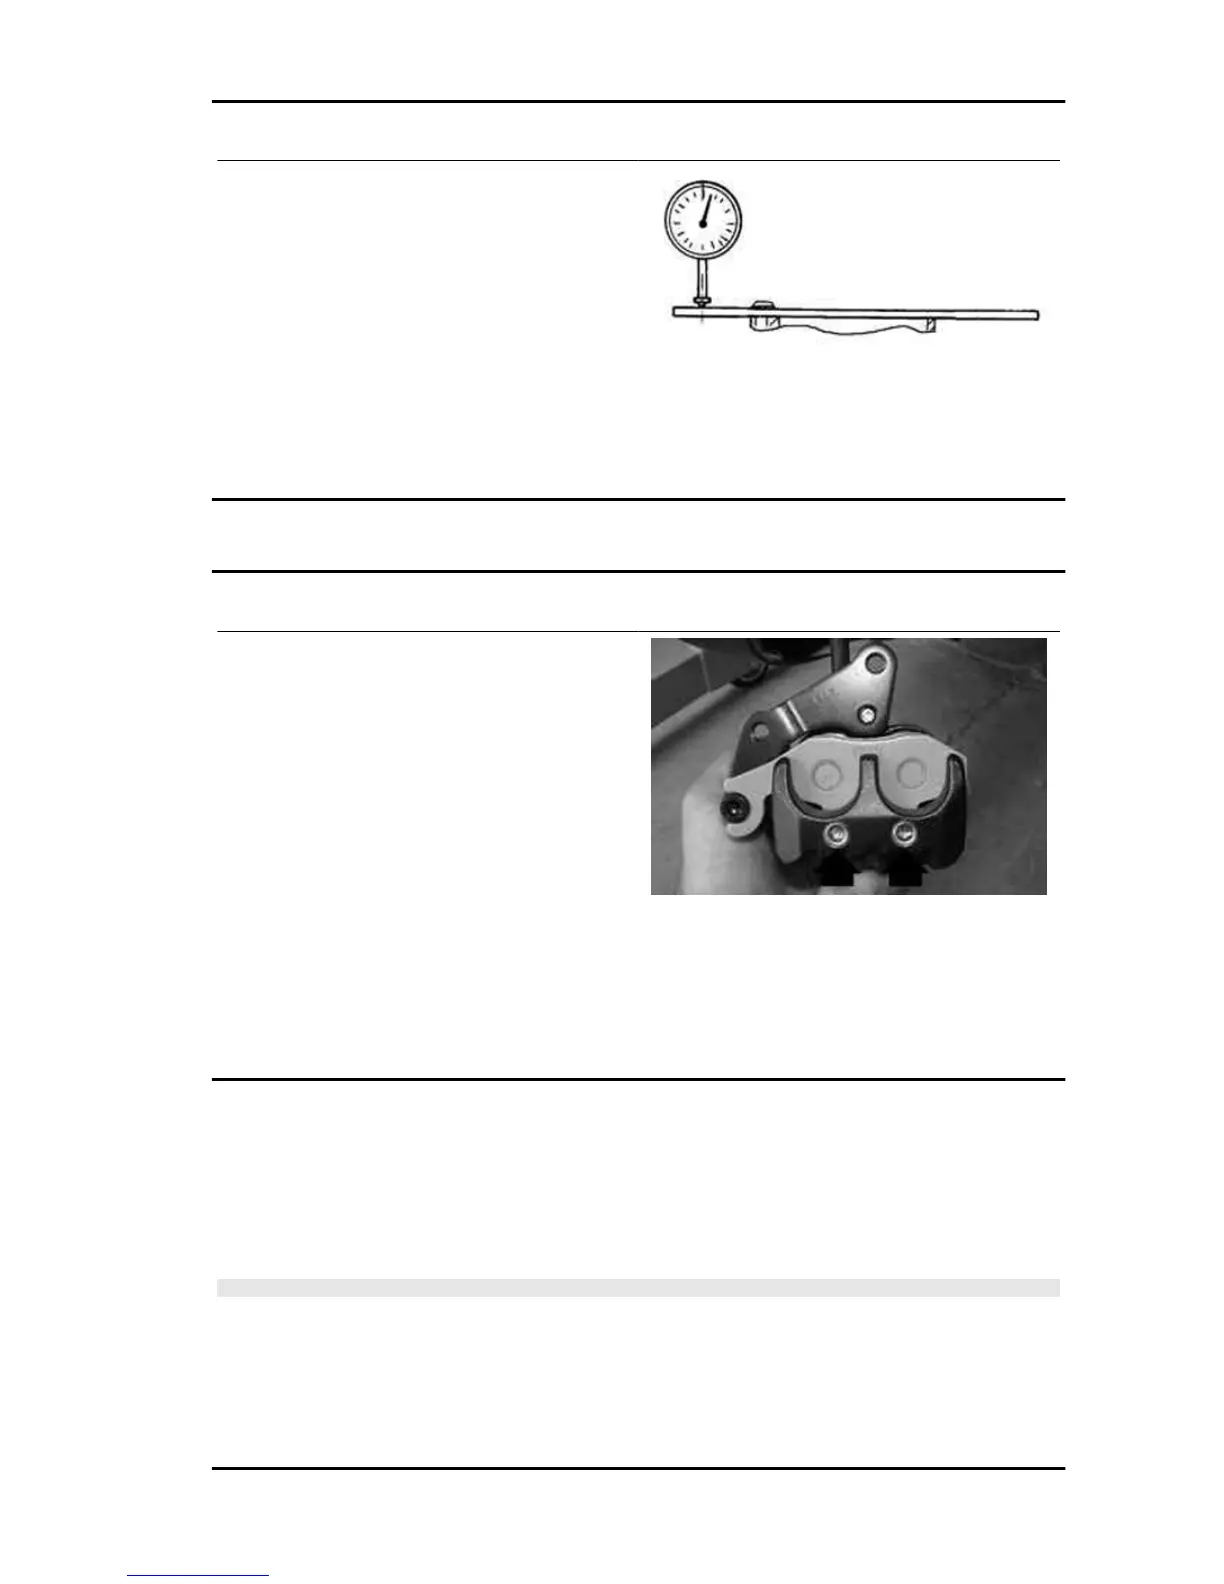
- Remove the front calliper.
- Loosen the two pins shown in the figure that lock
the two pads.
- Remove the pads, being careful with the pad
spring clamp.
- Check the thickness of the pads.
Characteristic
Minimum value
1.5 mm
See also
Front
brake calliper
Refitting
To fit, proceed as follows:
- Insert the two pads in the callipers.
- Screw the two pad lock pins to the correct torque, and apply the recommended product.
- Fit the calliper on its support, tightening the two screws to the prescribed torque.
N.B.
IF IT IS NOT POSSIBLE TO CORRECTLY POSITION THE CALLIPER ON THE DISC DURING FIT-
TING, GENTLY EXPAND THE PADS.
Recommended products
Loctite 243 Medium strength threadlock
Loctite 243 medium-strength threadlock
Carnaby 125 - 200 Braking system
BRAK SYS - 225
 Loading...