2. Adjust the keystone distortion using the [ ] and [ ] buttons.
Press the [ ] button to decrease the width of the bottom of the projected image. Press the [ ] button
to decrease the width of the top of the projected image.
• Some data may be lost or the image quality may be degraded depending on the degree of the
keystone adjustment and the type of the image.
• You can manually adjust for keystone distortion even if [Auto Keystone] is specified as [On].
However, if you change the angle of the projector, it is automatically adjusted again.
• The keystone adjustment level stays registered even if the projector is turned off. We recommend
that you specify [Auto Keystone] to [Off] if the projector and screen are permanently installed.
• You can also adjust the keystone distortion using the [
] and [ ] buttons on the control panel.
Reducing the Size of the Projected Image
If the projected image is larger than the screen, reduce the size of the image using the [Zoom] button.
The image can be reduced by 80 to 100% using the digital zoom function.
1. Press the [Zoom] button.
The value bar appears at the bottom of the screen.
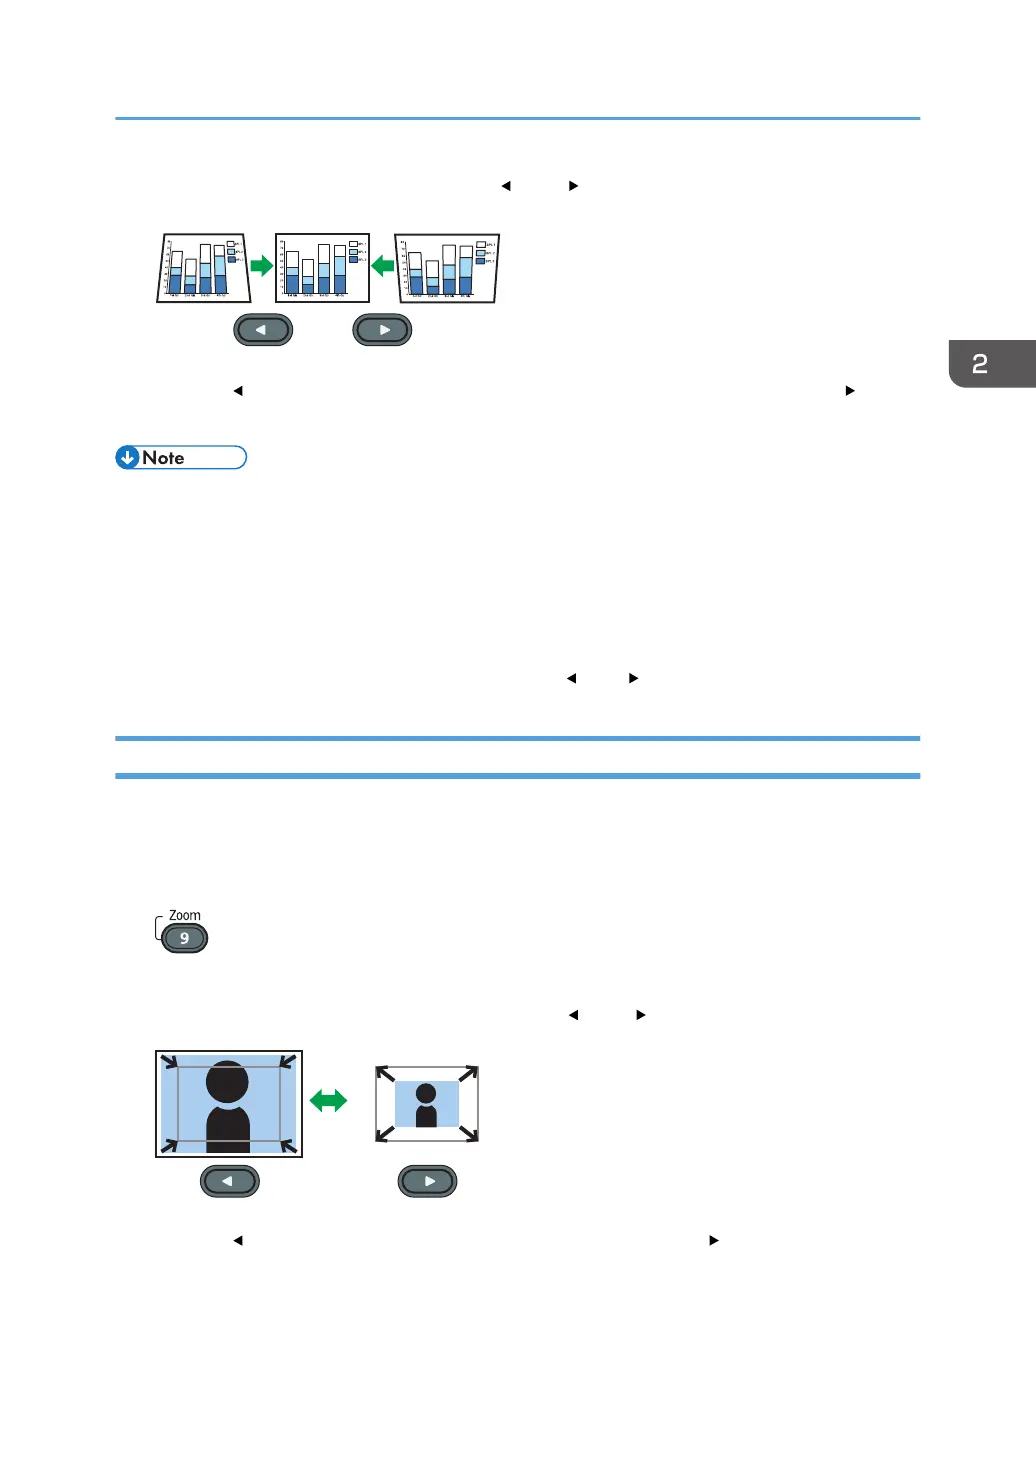
2. Adjust the size of the projected image using the [ ] and [ ] buttons.
Press the [ ] button to reduce the size of the projected image. Press the [ ] button to enlarge the
size of the projected image. The image is enlarged until it reaches the original size.
Adjusting the Projected Image
41
 Loading...