DIAGNOSTICS & TROUBLESHOOTING
Whirlpool 2014 CABRIO
®
Direct Drive Washer
n
5-3
For Service Technician Use Only
Diagnosc Guide
Before servicing, check the following:
n Make sure there is power at the wall outlet.
n Has a household fuse blown or circuit breaker tripped?
Was a regular fuse used? Inform customer that a me-
delay fuse is required.
n Are both hot and cold water faucets open and water
supply hoses unobstructed?
n Make sure drain hose is not sealed into drain pipe, and
that there is an air gap for venlaon. Ensure drain
height is between 39” (991 mm) and 8’ (2.4 m) above
the oor.
n All tests/checks should be made with a VOM (volt-
ohm-milliammeter) or DVM (digital-voltmeter) having a
sensivity of 20,000 Ω per volt DC or greater.
n Resistance checks must be made with washer
unplugged or power disconnected.
n IMPORTANT: Avoid using large diameter probes when
checking harness connectors as the probes may
damage the connectors upon inseron.
n Check all harnesses and connecons before replacing
components. Look for connectors not fully seated,
broken or loose wires and terminals, or wires not
pressed into connectors far enough to engage metal
barbs.
n A potenal cause of a control not funconing is
corrosion or contaminaon on connecons. Use an
ohmmeter to check for connuity across suspected
connecons.
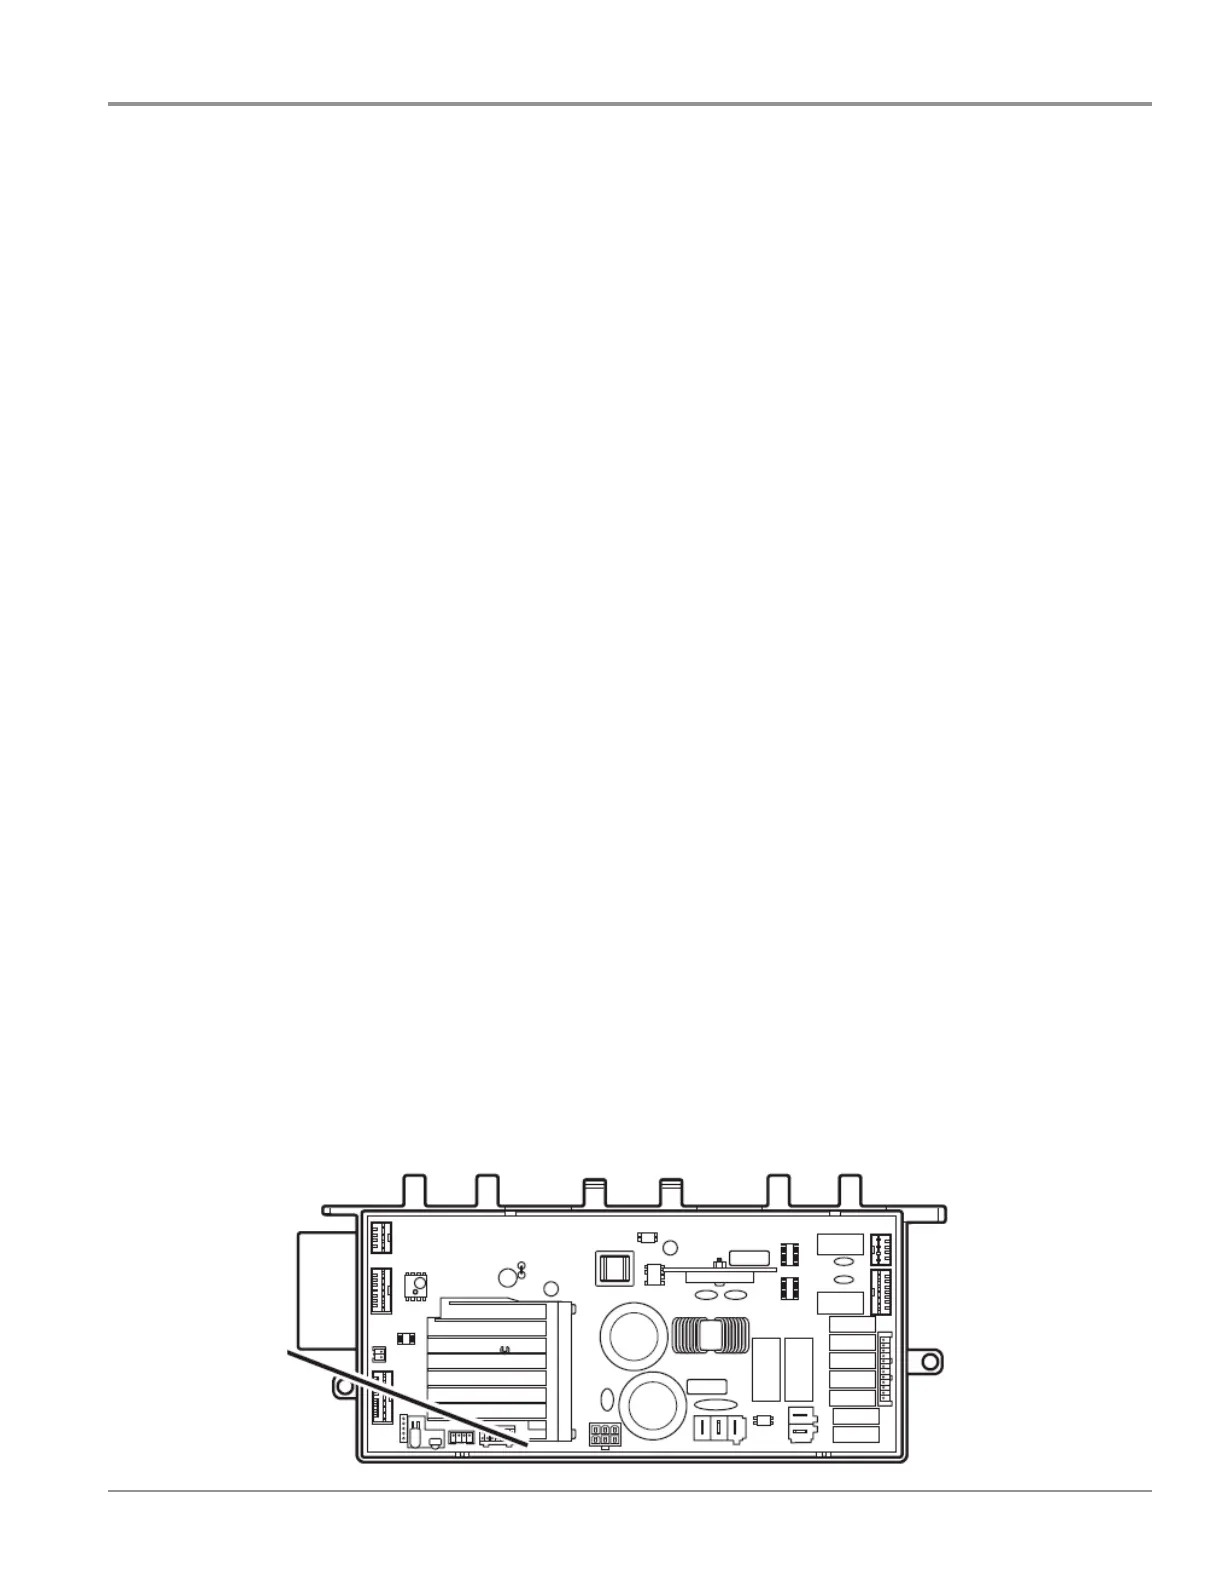
Diagnosc LED – Main Control
A troubleshoong tool has been implemented onto the main
control board—a diagnosc LED (see Figure 1). LED Flashing –
The Control is detecng correct incoming line voltage and the
processor is funconing. LED OFF or ON – Control malfuncon.
Perform TEST #1: Main Control, page 6-5, to verify main
control funconality.
Self Diagnosc Mode
These tests allow factory or service personnel to test and
verify all inputs to the main control board. You may want to
do a quick and overall checkup of the washer with these tests
before going to specic troubleshoong tests.
Figure 1 - Diagnostic LED
LED
LOCATION
ACTIVATING SERVICE DIAGNOSTIC
MODE
1. Be sure the washer is in standby mode (plugged in with all
indicators o).
2. Select any three (3) buons (except POWER) and follow
the steps below, using the same buons (remember the
buons and the order that the buons were pressed):
Within 8 seconds,
• Press and Release the 1st selected buon,
• Press and Release the 2nd selected buon,
• Press and Release the 3rd selected buon;
• Repeat this 3 buon sequence 2 more mes.
3. If this test mode has been entered successfully, all
indicators on the console will be illuminated for 5 seconds
with “888” showing in the three-digit display and a tone
will sound. If there are no saved fault codes, all indicators
on the console will momentarily turn o, and then only
the seven segment display will come back on and display
“888”. Upon entry to Service Diagnosc mode, all cycles
and opons reset to factory default.
NOTE: The Service Diagnosc mode will me out aer
5–10 minutes of user inacvity, or shut down if AC power
is removed from the washer.
Unsuccessful Activation
If entry into diagnosc mode is unsuccessful, refer to the
following indicaon and acon:
Indicaon: None of the indicators or display turn on.
Acon: Select any cycle.
¾ If indicators come on, try to change the funcon for
the three buons used to acvate the diagnosc test
mode. If any buon is unable to change the funcon,
something is faulty with the buon, and it will not
be possible to enter the diagnosc mode using that
buon. Replace the user interface.
¾ If no indicators come on aer selecng the cycle, go to
TEST #1: Main Control, page 6-5.
Activation with Saved Fault Codes
If there is a saved fault code, it will be ashing in the display.
Review the Fault/Error Codes table on pages 5-9 to 5-11 for
the recommended procedure. If there is no saved fault code,
“888” will be displayed.
 Loading...