Applying Effects
EN-63
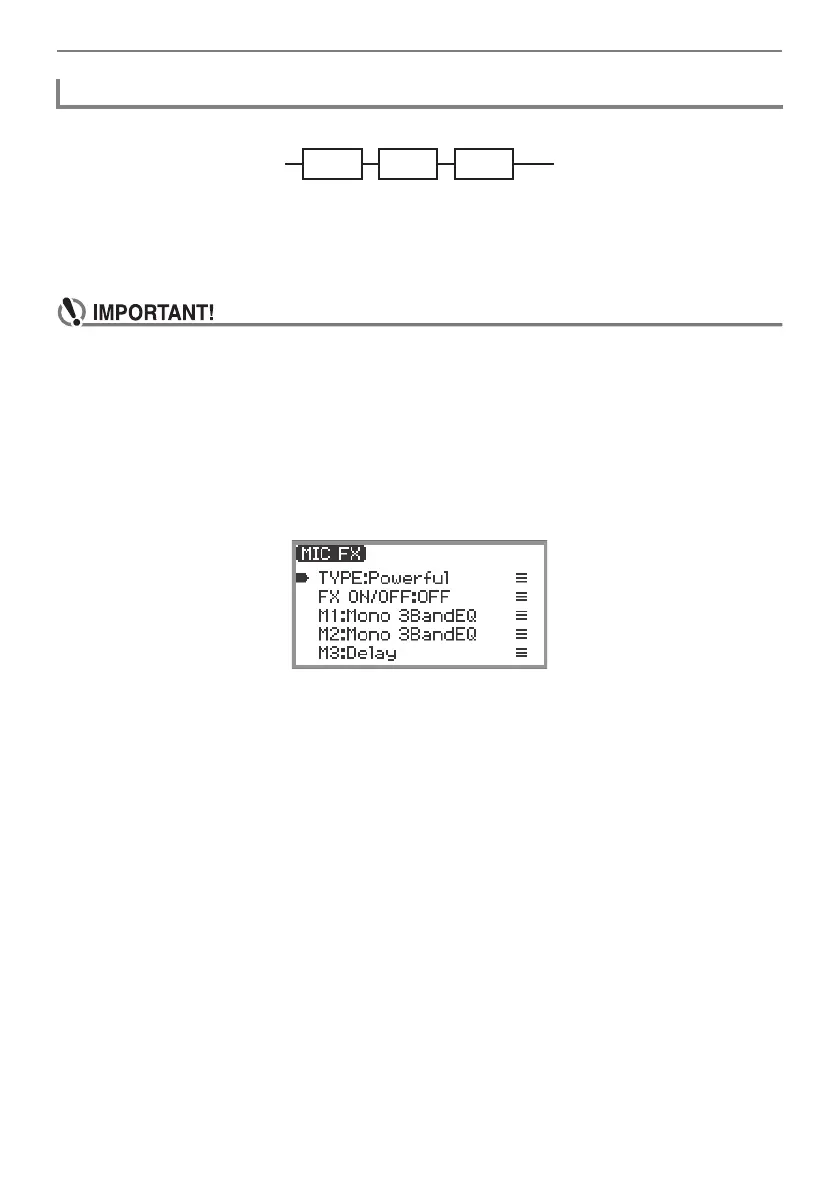
The microphone effect is made up of three modules (M1 to M3) as shown in the figure below.
• Each module contains different effects (equalizer, delay, limiter, etc.).
• Each type of microphone effect has a specific set of effects in each module. For more information,
see “Microphone Effect Type List” (page EN-224).
To change microphone effect settings, adjust the parameters of the effect inside each module.
• Settings changed by the following operations will be erased when the Digital Piano is turned
off. If you want to save the modified settings, use the registration function (page EN-86) to
save them.
1.
Select the “05 Song Play” of the F button set. See “To change the F Button Set”
(page EN-32).
2.
Touch and hold the F4 button (MICFX).
The “MIC FX” screen appears.
3.
Touch the ENTER button to display the “MIC FX TYPE” screen.
4.
Use the touch ring to select the type of microphone effect for which you want to
change the settings.
• After making your selection, touch the EXIT button to return to the “MIC FX” screen.
5.
If “FX ON/OFF:OFF” is displayed, switch it to ON by the following operation.
(1) Use the touch ring to select “FX ON/OFF:OFF” and touch the ENTER button.
(2) Use the touch ring to set the value to “On”.
(3) Touch the EXIT button to return to the “MIC FX” screen.
Changing Microphone Effect Settings
 Loading...