Clearing Paper Jams
Paper jam in the paper path
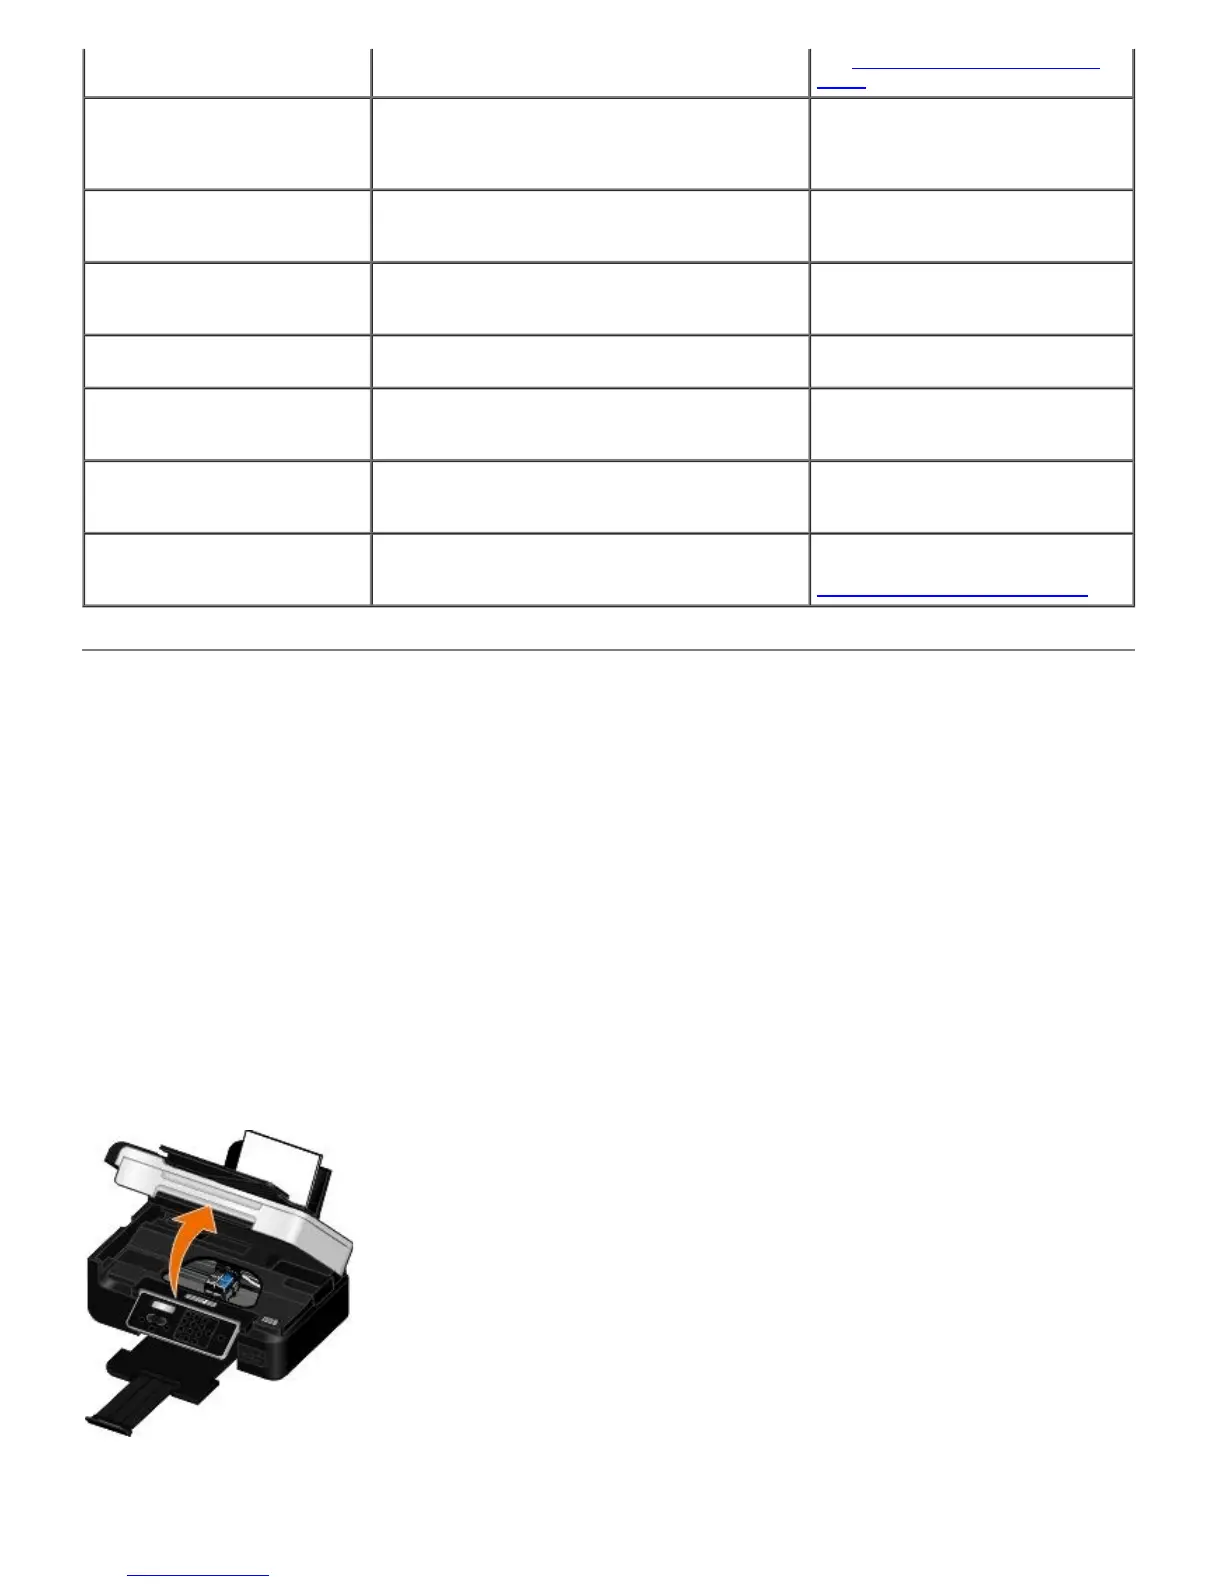
1. Pull the paper firmly to remove it. If you cannot reach the paper because it is too far into the printer, lift the
scanner base unit to open the printer.
2. Pull the paper out.
3. Close the scanner base unit.
4. Resend your print job to print any missing pages.
Paper jam not visible
1. Turn off the printer.
2. Lift the scanner base unit.
3. Firmly grasp the paper, and gently pull it from the printer.
Sheet.
Could not detect a proof sheet. The printer could not recognize the proof sheet,
or the proof sheet is skewed or not properly
placed on the scanner glass.
Reprint the proof sheet and select
your options, or properly place the
proof sheet face down on the
scanner glass, and scan it again.
No layout selection has been
made.
The proof sheet is being scanned without a photo
or paper size option selected.
Select a photo or paper size option
on the proof sheet, and scan it
again.
Only one layout selection can
be chosen at a time.
The proof sheet is being scanned with multiple
photo or paper size options selected.
Reprint the proof sheet, select only
one photo or paper size option, and
scan it again.
No images have been selected. The proof sheet is being scanned without any
images selected.
Select images on the proof sheet,
and scan it again.
No Proof Sheet information. The proof sheet is being scanned, and the proof
sheet information is deleted or removed from the
memory card.
Reprint the proof sheet, select your
options, and scan it again.
Some photos removed from
card by computer.
A photo selected by the user on the proof sheet
has been deleted or removed from the memory
card.
Reprint the proof sheet, select your
options, and scan it again.
Error NNNN. If the display shows Error followed by a four-
digit number, an advanced error has occurred.
Contact Customer Support. For
more information, go to
http://support.dell.com/support.
 Loading...