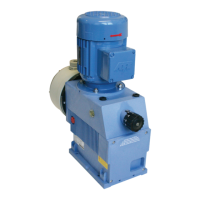
11.7 Pump head size 5 l/h and 11 l/h
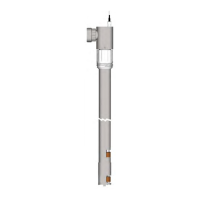
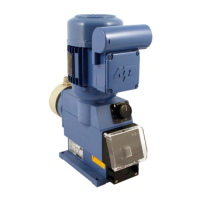
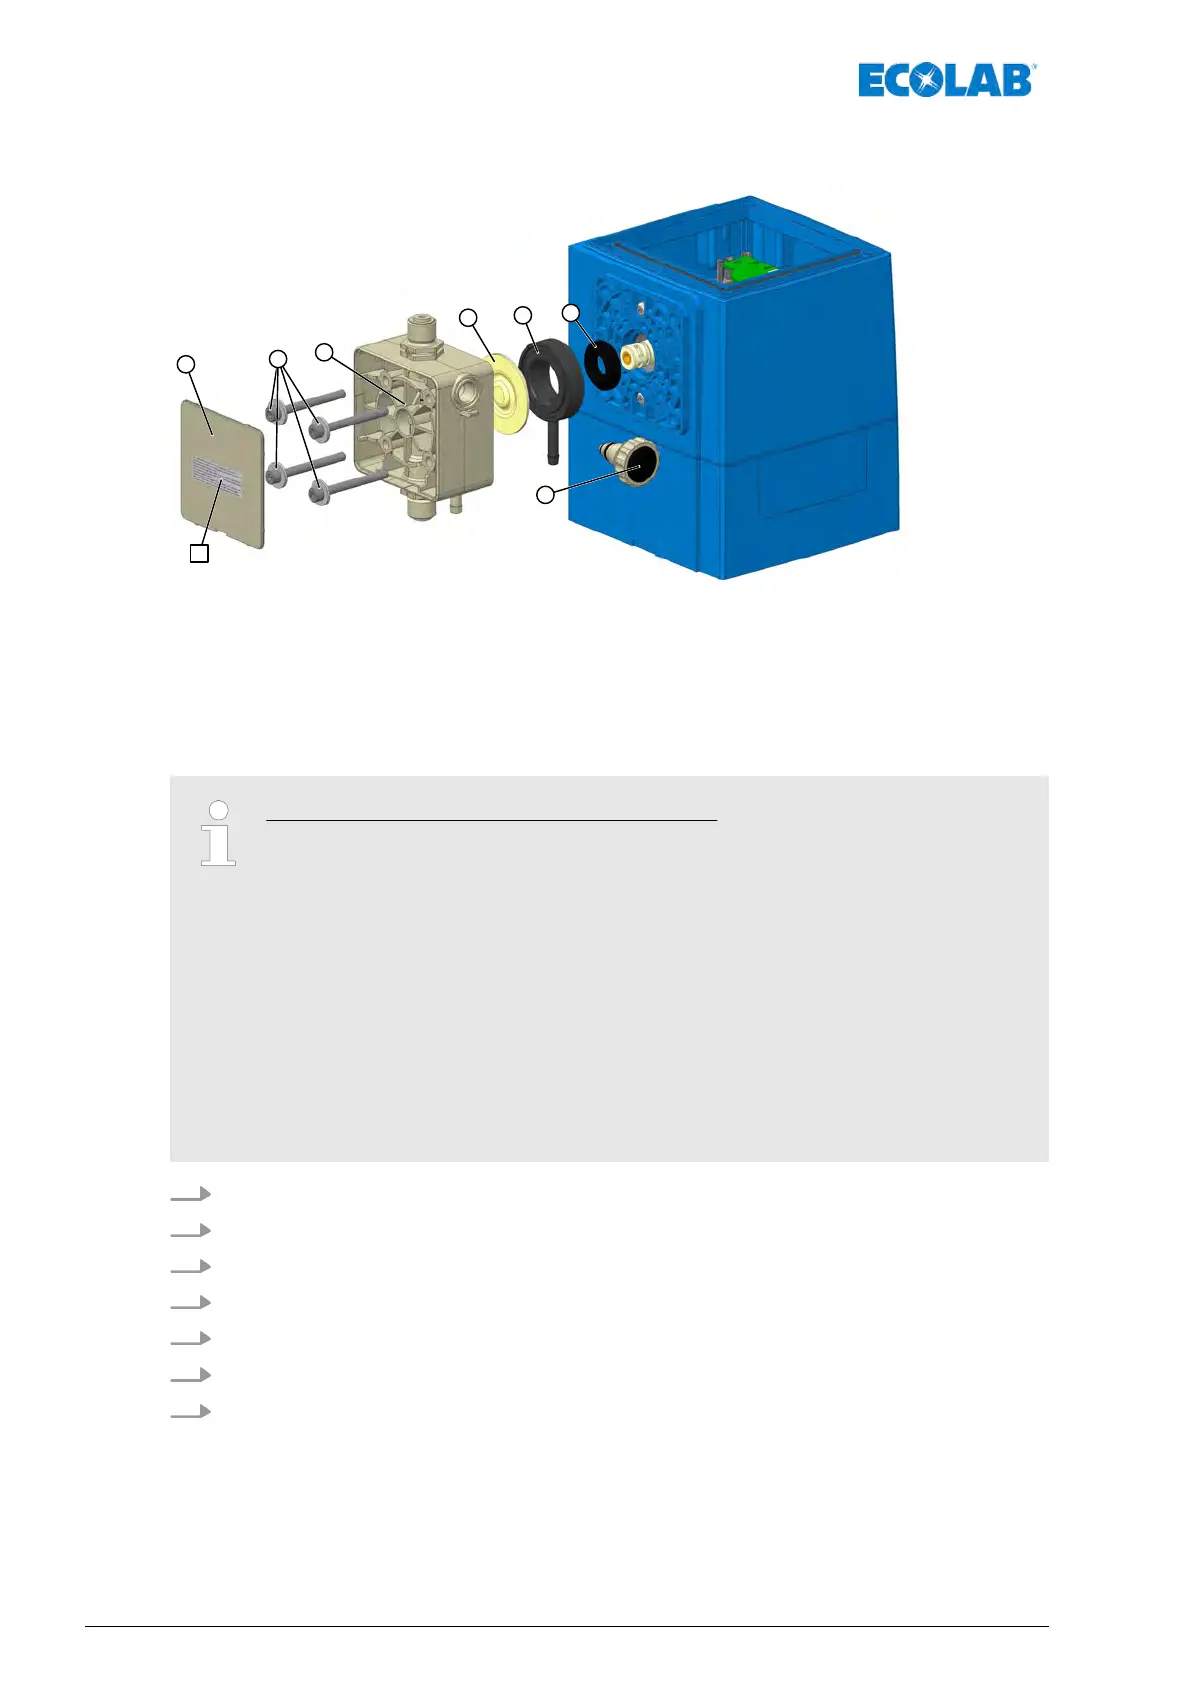
Fig. 93: Replacement of diaphragm and pump head
A Adhesive label: Tightening torque of metering head
screws
1 Cover plate
2 Metering head screws (4 off)
3 Pump head
4 Diaphragms
5 Intermediate plate
6 Protective membrane
7 Vent screw
Note the following points during assembly:
– Fit new protective diaphragm in the correct positions.
– Place in the intermediate plate in the correct position.
– T
urn the adapter plate clockwise until the diaphragm rupture drain faces
down.
– Mount the pump head and pay attention to the direction of flow
– Hand-tighten the pump head screws and then tighten them cross-wise.
– Prior to start-up and after 24 hours of operation, the metering head
screws must be diagonally tightened diagonally.
– It is not permitted to exceed the tightening torque to avoid damage to
the thread. If the tightening torque is undershot, this can result in leaks.
Tightening torques, see
Ä
Chapter 14.6 ‘Tightening torques’
on page 185
1. Remove the cover plate (pos. 1) on the metering head
2. Loosen the metering head screws (pos. 2).
3. Remove the pump head (pos. 3).
4. T
ake out diaphragm (4) and intermediate plate (5).
5. Remove the protective diaphragm (6) from the plunger
.
6. Fit new protective diaphragm in the correct positions.
7. Reverse this procedure for re-installation.
Servicing
164417102276 Rev. 5-02.2020
 Loading...