13.1 Conversion
13.1.1
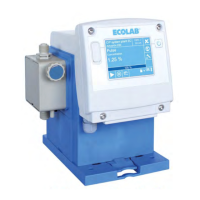
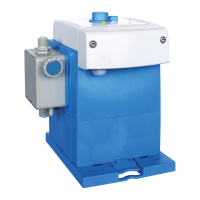
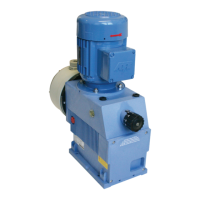
Rotating the control unit
To allow the pump to be adjusted to the site conditions, it is possible to turn the control
unit (operating unit/upper part of the pump).
DANGER!
Risk of electric shock
Pay attention to disconnect the power supply immediately and to secure
against accidental switch-on!
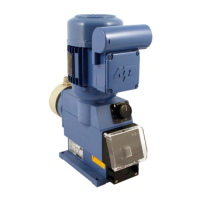
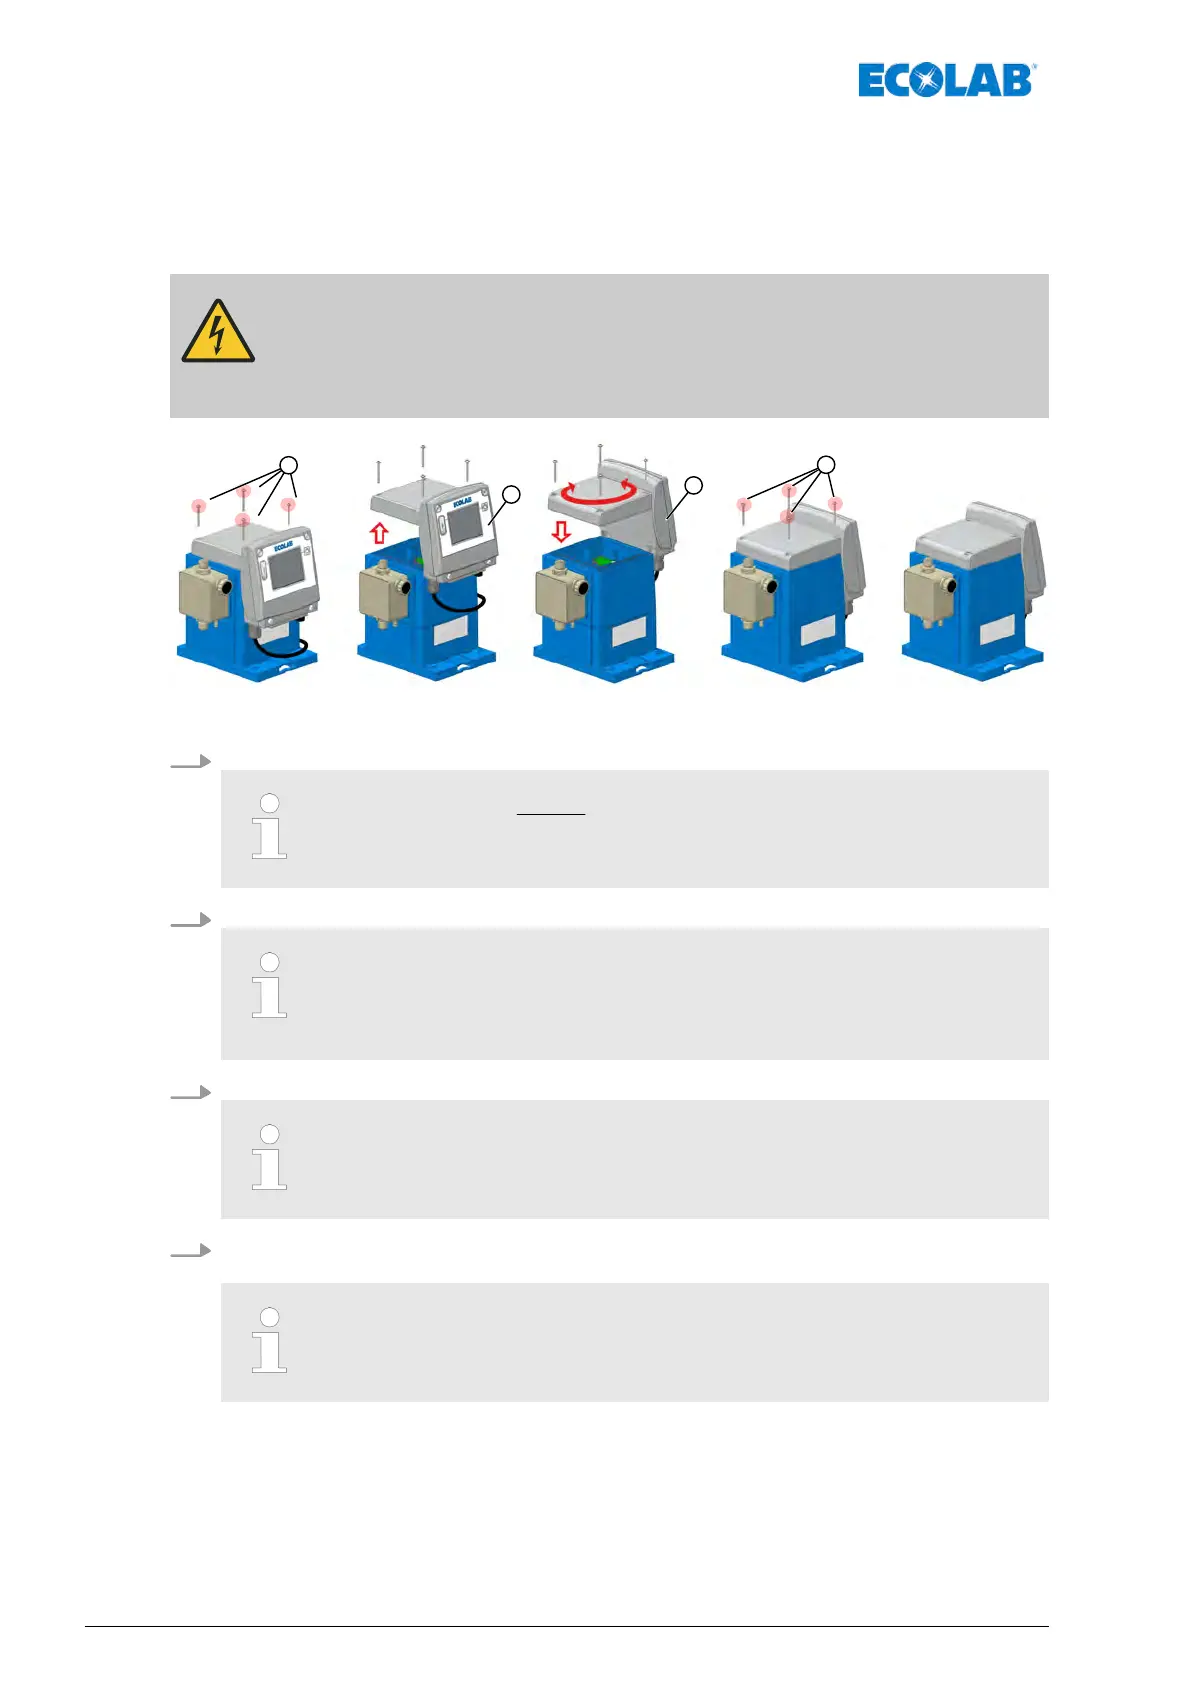
Fig. 104: Turning the pump head
1. Loosen the fastening screws on the control unit.
The screws (pos. 1) are not secured against falling out!
Ensure that the screws are not lost during disassembly and do not use
any screws other than those originally provided.
2. Lift the control unit approx. 5 cm upwards.
Two cables that pass control signals to the pump are located between
the pump control unit and the bottom part of the pump. When
performing the conversion, ensure that you do not trap these
cables between the control unit and the upper part of the pump.
3. T
urn the control unit in the desired direction and place it on the housing.
The blue pump housing contains a seal for the control unit. During
assembly
, ensure that the seal is free of contamination to prevent
leaks.
4. T
ighten the fastening screws on the control unit (operating unit/upper part of the
pump).
The tightening torque for the fastening screws on the control unit is
approx. 1 Nm. T
o prevent damage to the thread, we recommend
tightening the screws handtight.
Conversion, upgrade, repair
176417102276 Rev. 5-02.2020
 Loading...