G
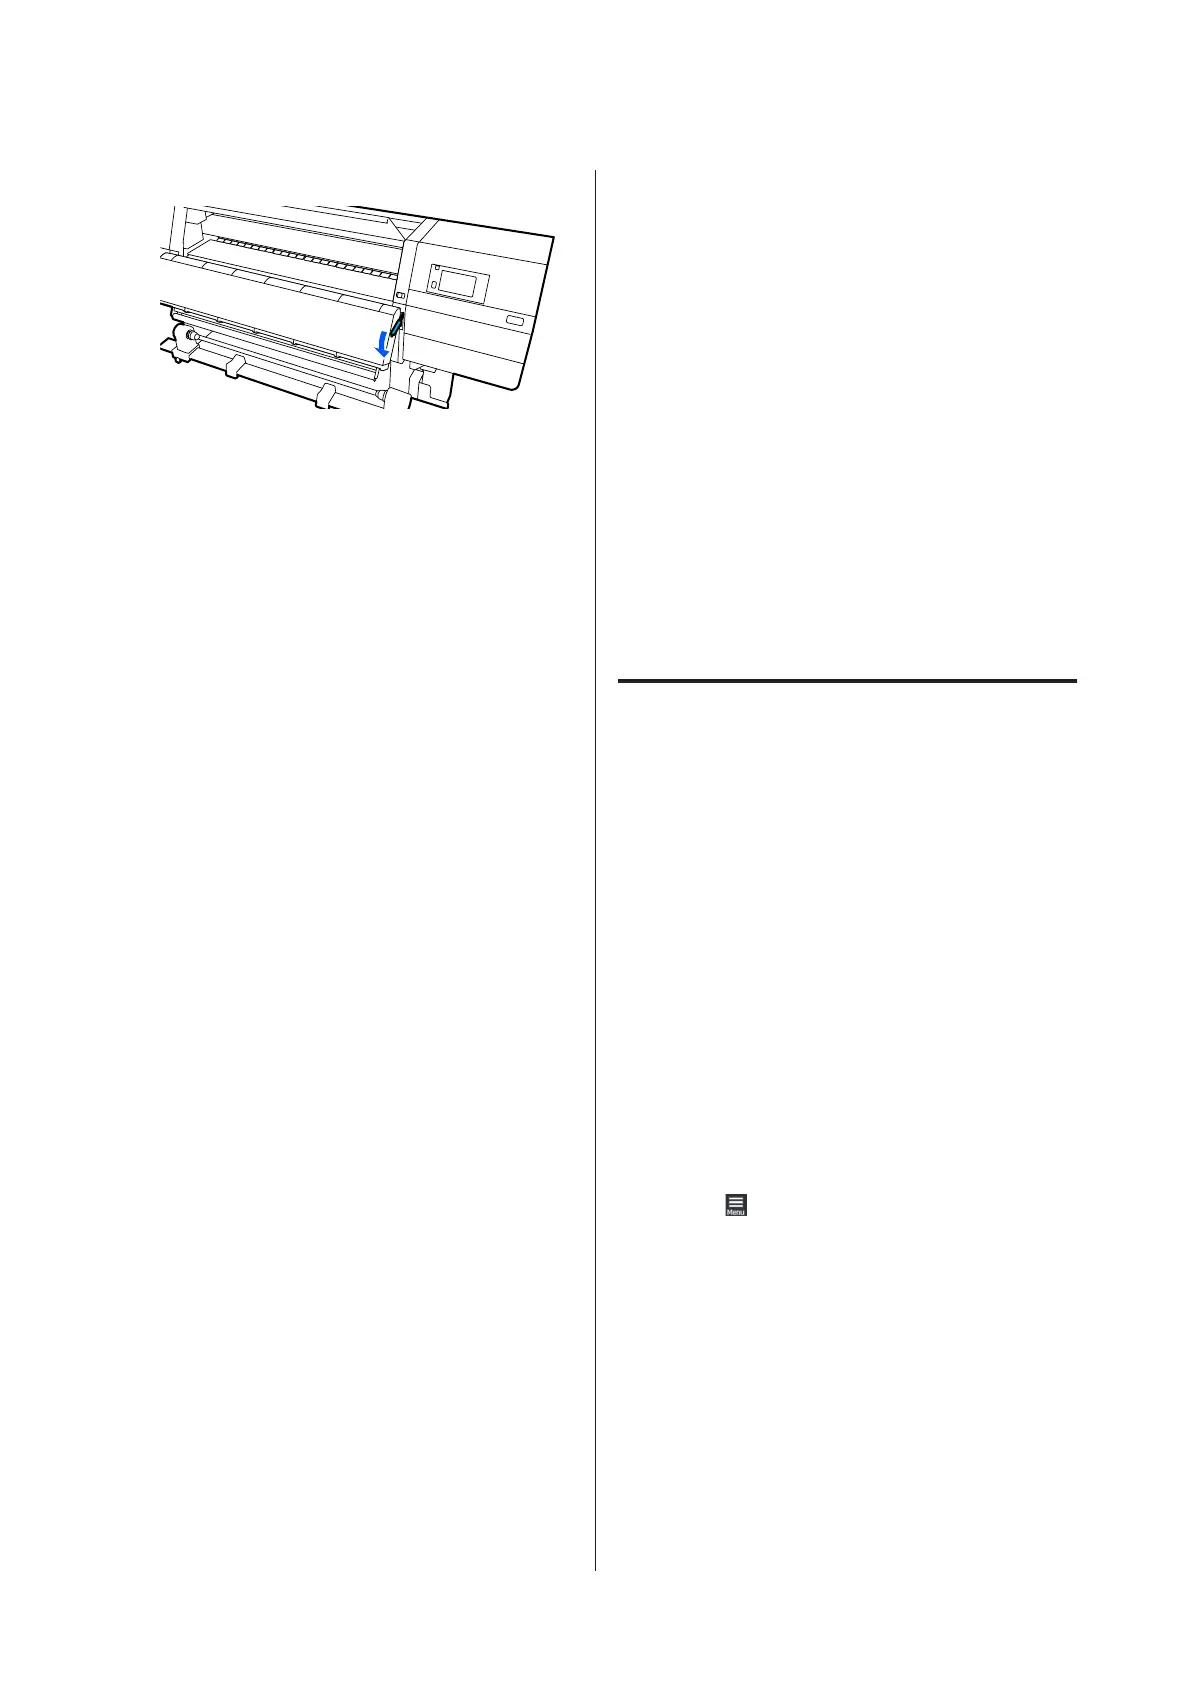
Lower the media loading lever.
Follow the on-screen instructions to load a new media,
and attach it to the Auto Take-up Reel Unit to resume
printing.
U “Loading media” on page 67
U “Using the Auto Take-up Reel Unit” on page 74
Before Printing
To maintain print quality, perform the following
inspection before starting work each day.
Check the amount of ink remaining:
Check the amount of ink remaining, and replace the old
ink cartridge if ink is expended. If ink is expended
during printing, the printer automatically switches to
the other ink cartridge and continues printing.
You can replace the expended ink cartridge while
printing continues.
You can check the ink level on the Home screen.
Replacing Ink Cartridges U “Replacement procedure”
on page 117
Print head nozzle check:
Perform a print head nozzle check to check for clogged
nozzles.
Perform print head cleaning if parts of the printed
pattern are faint or missing.
Print head nozzle check U “Printing nozzle check
patterns” on page 135
Head Cleaning U “Print Head Cleaning” on
page 136
Print Adjustments
Use this menu in the following cases.
Using new media not registered to the printer
Perform Automatic Adjustment after loading media to
the printer.
When banding or graininess is found in the print
results even after Automatic Adjustment is
performed
Perform Print Head Alignment and Media Feed
Adjustment manually.
When changing Advanced Settings after saving
media settings
Automatic Adjustment
Print head position and media feed are adjusted while
printing the pattern.
The approximate maximum length of the media
required to print the test pattern is given below.
Approx. 600 mm
A
Check that the printer is ready, and load the
media according to the actual usage conditions.
When using the Auto Take-up Reel Unit, attach
the media to the roll core.
U “Loading media” on page 67
U “Using the Auto Take-up Reel Unit” on
page 74
B
Press , and then press in the order of Media
Settings - Print Adjustments - Automatic
Adjustment.
C
Press Start.
Auto adjust starts, and an adjustment pattern is
printed. Wait until adjustment is complete.
SC-F10000 Series User's Guide
Basic Operations
90
 Loading...