PanaFlow™ LC User’s Manual 23
Chapter 2. Installation
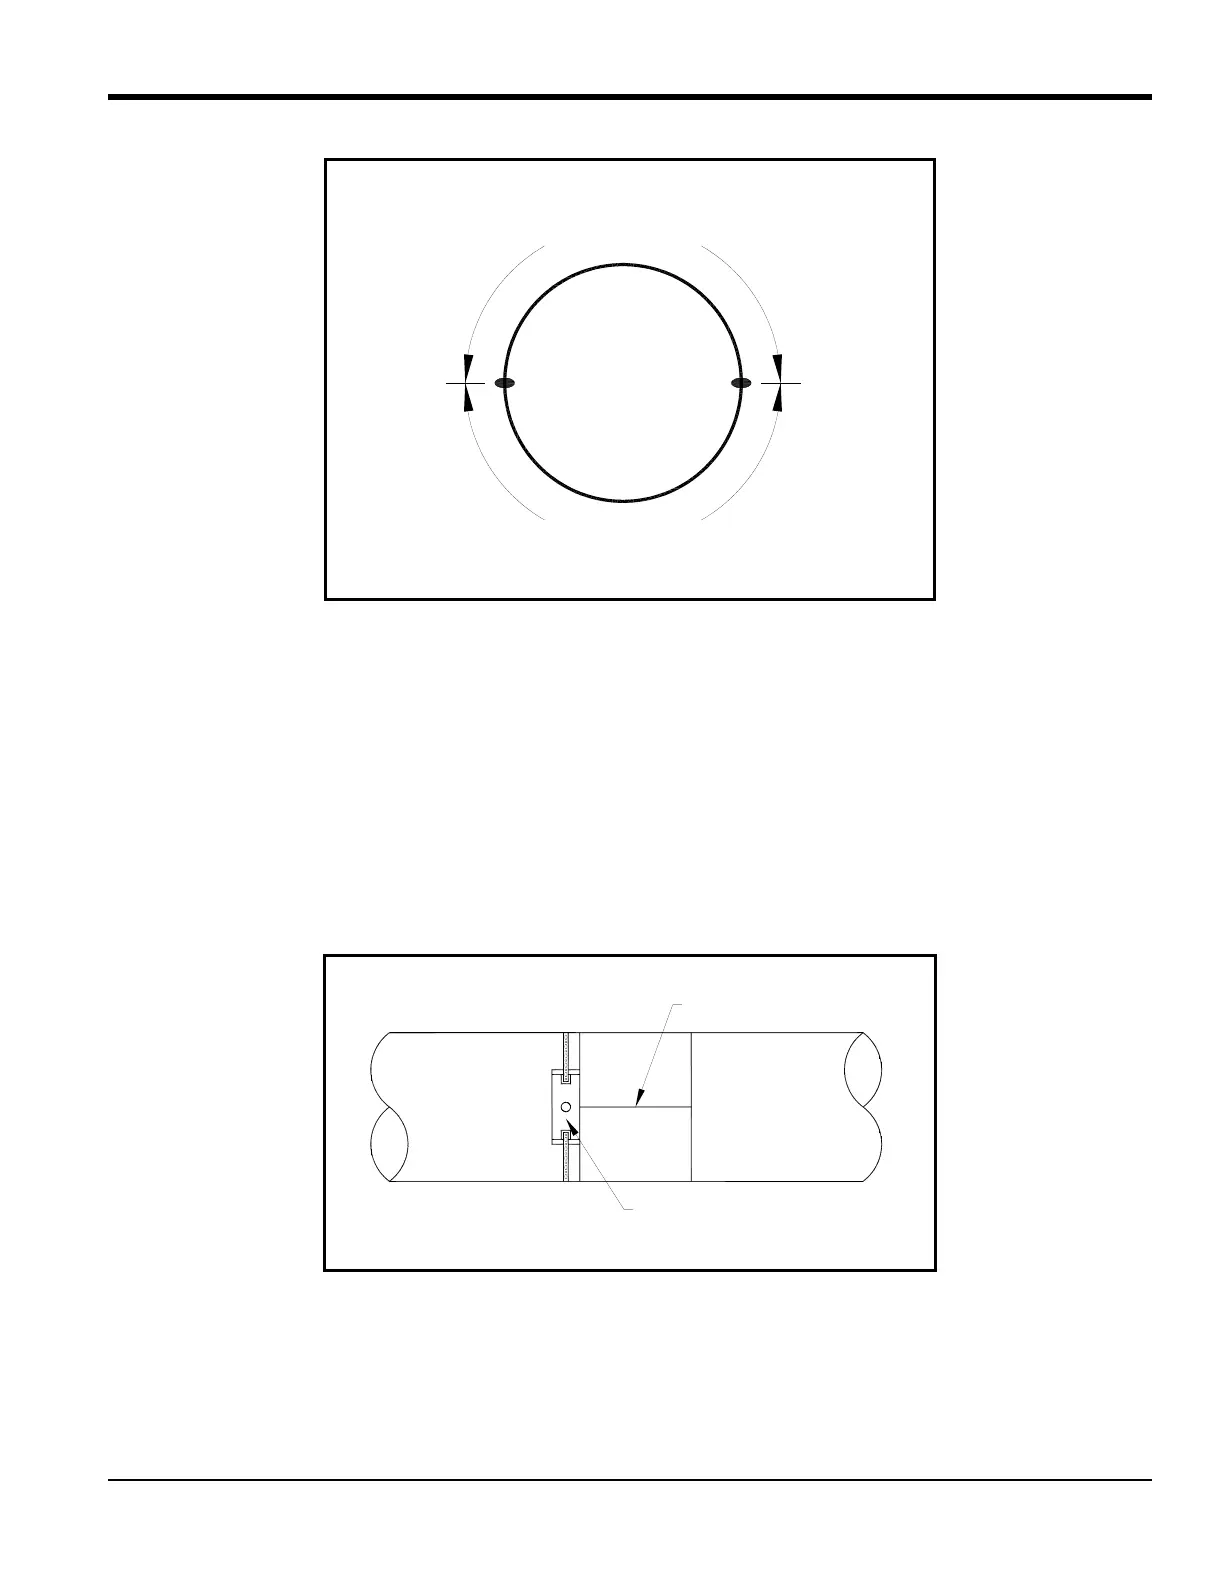
Figure 32: Measuring the 180° Point from Top and Bottom
2.9.2 Installing the First Bracket with a Chain
The following steps describe how to install the PI fixture with a supplied chain or strap.
1. Carefully wrap the chain or strap around the pipe, taking care not to twist it.
2. Loosen the wing nuts up to the end of the J-hooks. Then hook the chain into the tightest links and
loosely hand tighten the wing nuts. If you are using a strap, insert the J-hook into the smaller round
hole on the strap.
3. Line up one edge of the CFG-PI holder bracket with the origin scribe line and fully tighten the chain
or strap (see Figure 33 and Figure 34 below).
Figure 33: Lining up the First Bracket
4. Install the transducer dummy block to verify the circumferential and axial location. Center the
indicator line on the block to line up with the scribed mark (see Figure 34 below).
Origin Scribe Line
Front Edge of Holder Bracket

 Loading...