August 2003
2-8 Initial Setup
Installing the Probes
After you mount the sample system, you must insert moisture
probes into the sample cells. GE Panametrics Moisture Image
Series, M Series, and TF Series moisture probes have 3/4 inch-16
straight threads with an O-ring to secure probes into the sample
system or directly into the process line. Other fittings are
available for special applications.
Caution!
If mounting the moisture probes directly into the
process line, you must consult GE Panametrics for
proper installation instructions and precautions.
Moisture probes are usually installed into a sample system. The
sample system protects the probes from coming into contact with
damaging elements in the process. Moisture probes are installed
into a cylindrical shaped container, called the sample cell, that is
included as part of your sample system. (The sample cell is
labeled on the sample system plate.)
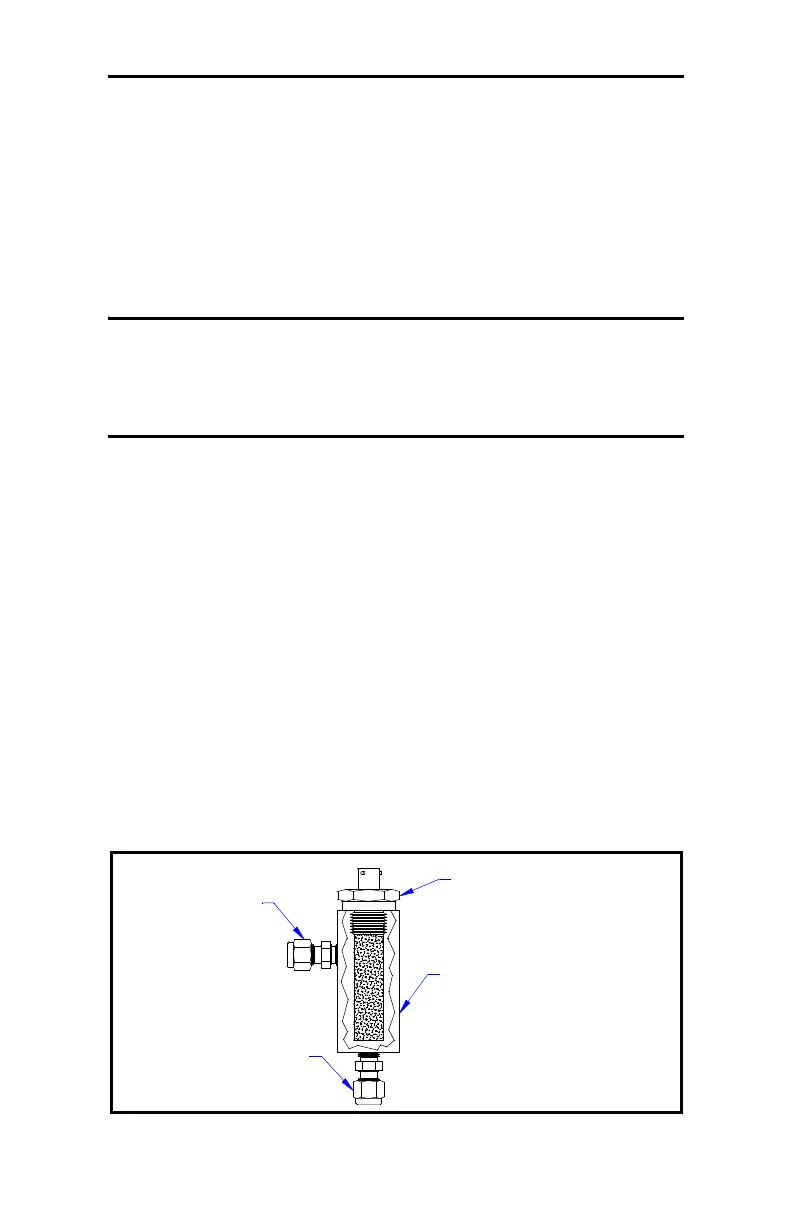
To install a moisture probe that has a 3/4 inch-16 straight thread,
insert it into the sample cell so it is perpendicular to the sample
inlet. Screw the probe in, making sure not to cross thread it.
Tighten down securely. Figure 2-2 below shows a typical
moisture probe orientation with the probe mounted in a GE
Panametrics sample cell. Install moisture probes with different
fittings in the appropriate manner.
Figure 2-2: Moisture Probe Installed in Sample Cell
Inlet
Sample Cell
Outlet
Probe

 Loading...


